Bridgeport Boss5 stepper to servo
- Duc
- Offline
- Senior Member
-

- Posts: 58
- Thank you received: 1
Part numbers.
1 1-2915-30 30mm METRIC KEYED H-BUSHING 5.50
1 1-2913-137 1.375 KEYED H-BUSHING 5.50
1 1-BKH90 8.75 O.D. H-BUSHING SINGLE GROOVE PULLEY 25.95
1 1-BKH50 4.75 O.D. H-BUSHING SINGLE GROOVE PULLEY 12.95
Pulleys installed. Turns out I needed a 40in belt instead of the 36in belt I order from surplus center. The autozone part number was 17400, last 3 numbers are the length for the belt. 17425 would be a 42.5in long belt.
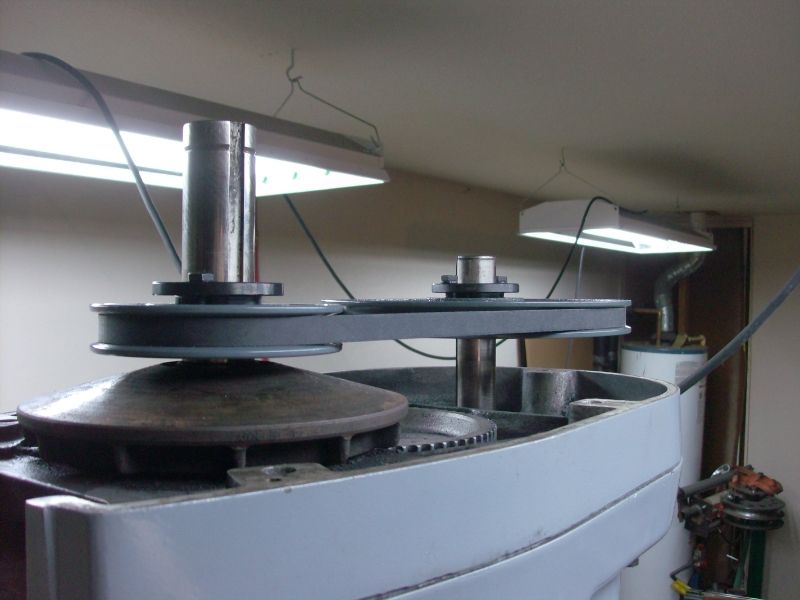
The 8in pulley hit the top cover rear bolt bracing.
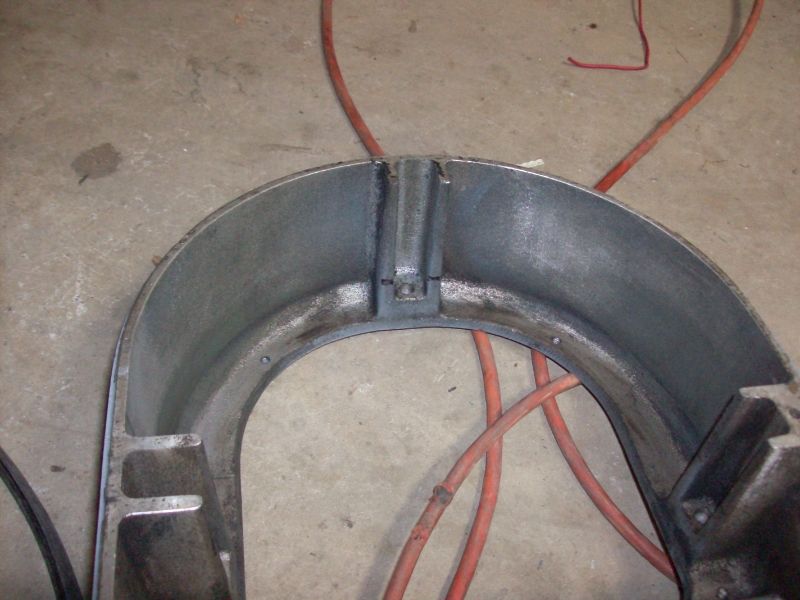
Over clearance for the 8in pulley.
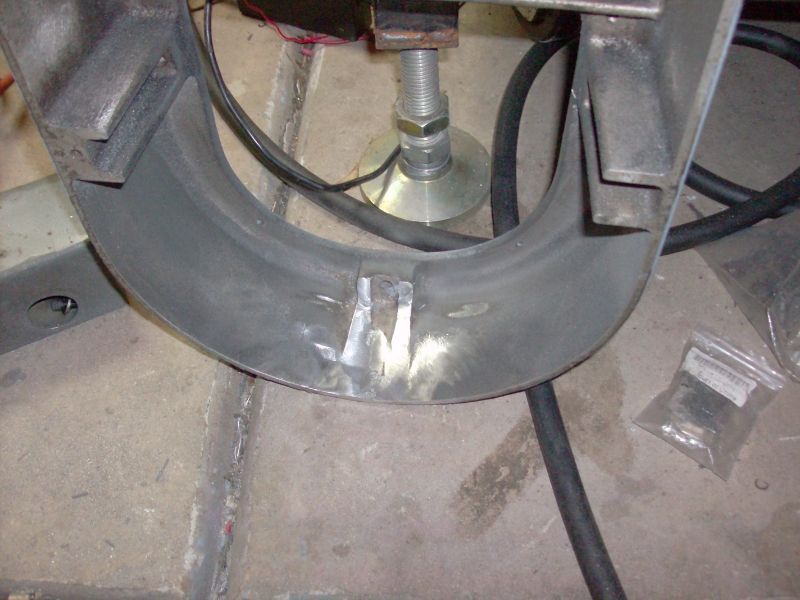
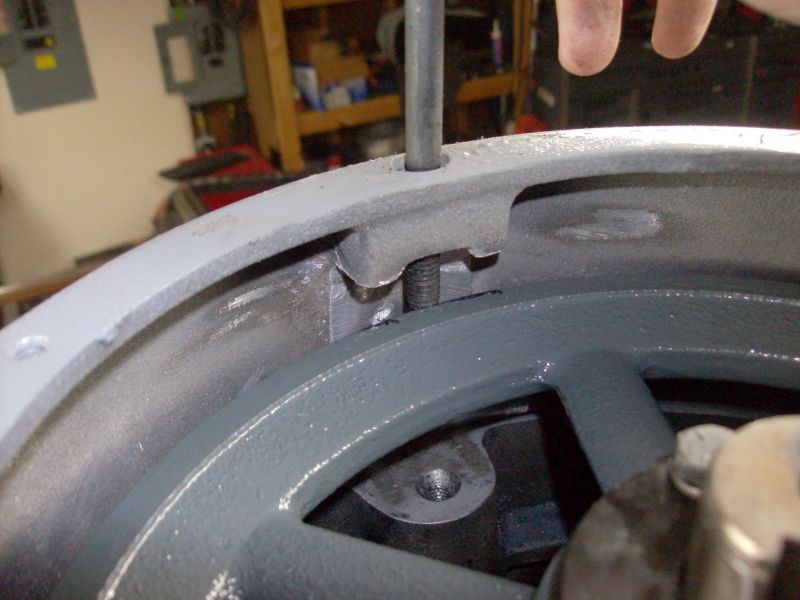
Rear bolt can no longer be used in the top cover.
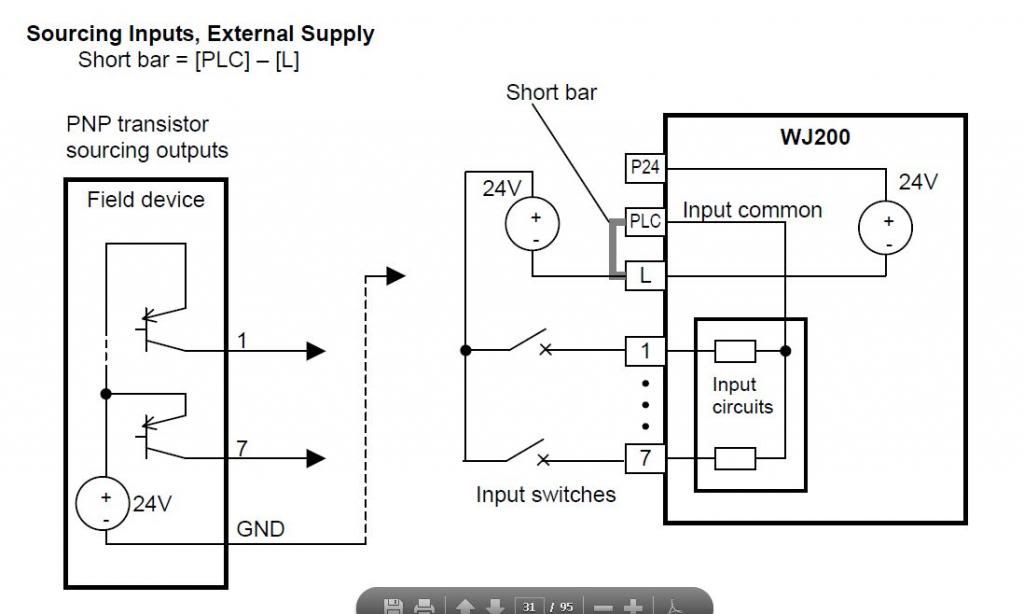
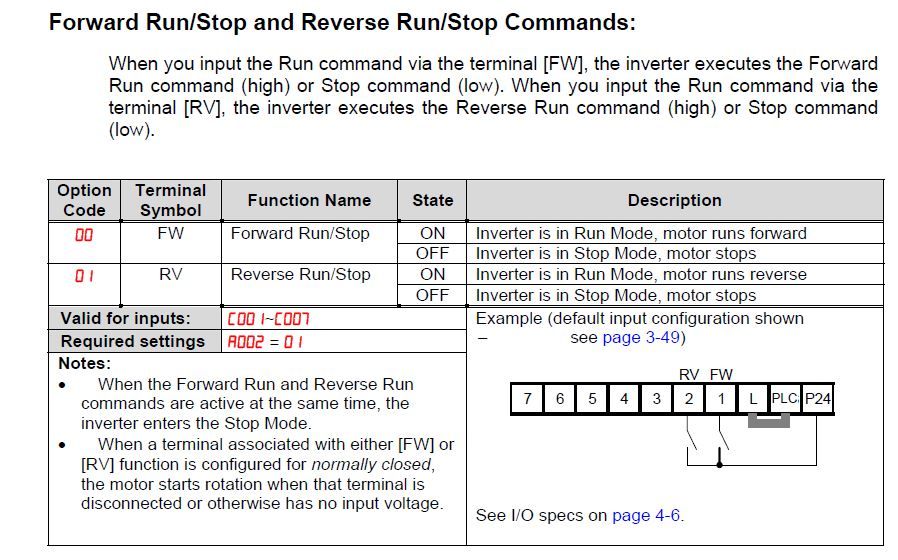
Wiring for the sourcing inputs on the VFD. The jumper for VFD inputs needs to be tied to the ground for the power supply which provides power to the outputs on the mesa 7i76 card.
Direction control wiring. I wired the FWD to output 4 and rev to output 5 on the Mesa 7i76 card. Don't forget to change A002 to 02
Tomorrow I should have the .hal and .ini file portion posted for the speed and direction change.
Please Log in or Create an account to join the conversation.
- Duc
- Offline
- Senior Member
-

- Posts: 58
- Thank you received: 1
Linuxcnc thread about the panel
LinuxCNC Support Forum :: Topic: Control Panel setup (1/2)
As it sits right now. Still need to finalize everything and paint the setup.
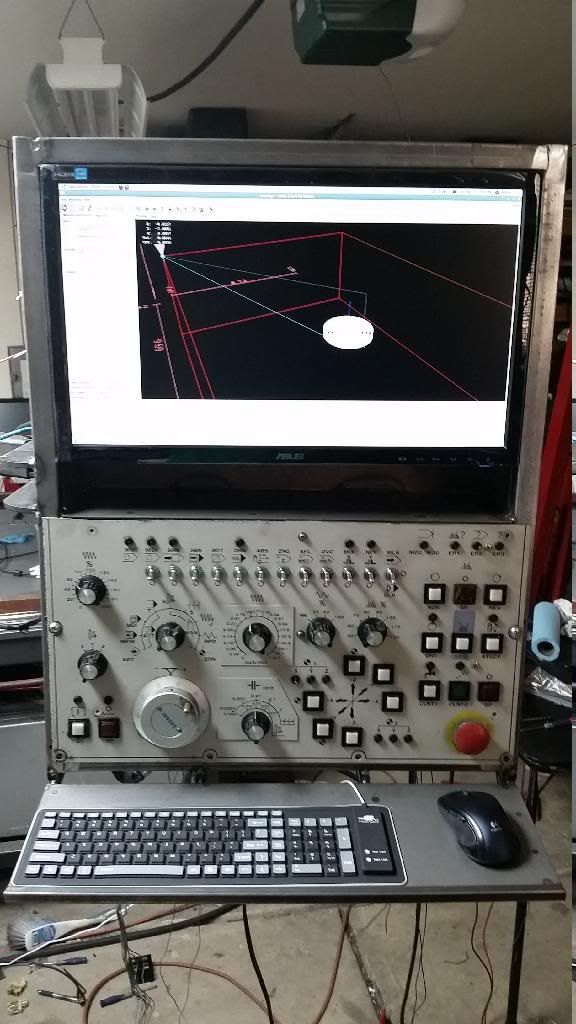
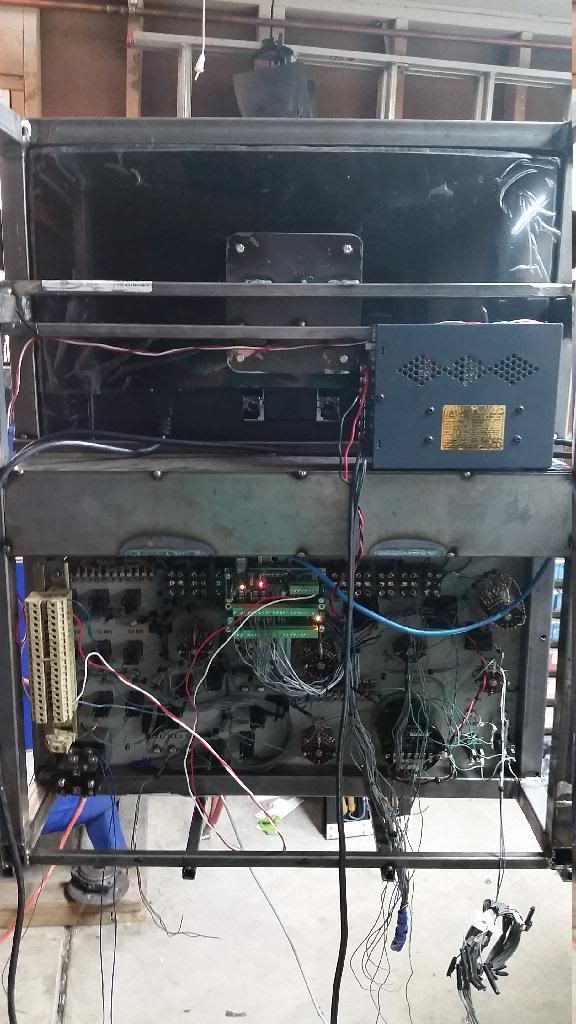
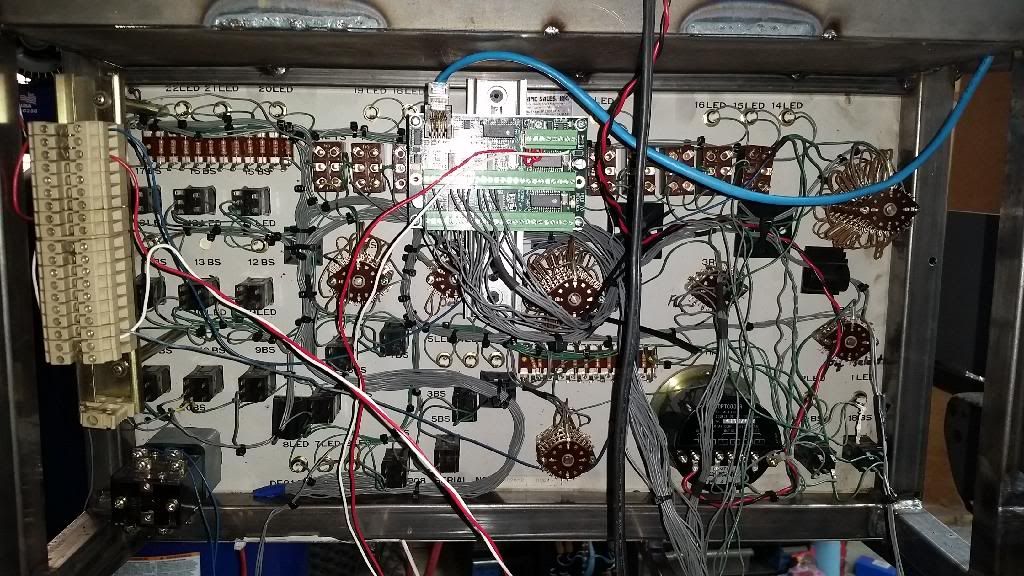
Still working on the wiring and will need to purchase another mesa 7i84 to handle all the I/O on the panel. I do have extra on the 7i76 but would rather run 4 wires to the panel verus 60+ some that would have been required if I didnt mount the remote I/O boards. Mounting the board on the panel also allows for easy removal of the panel.
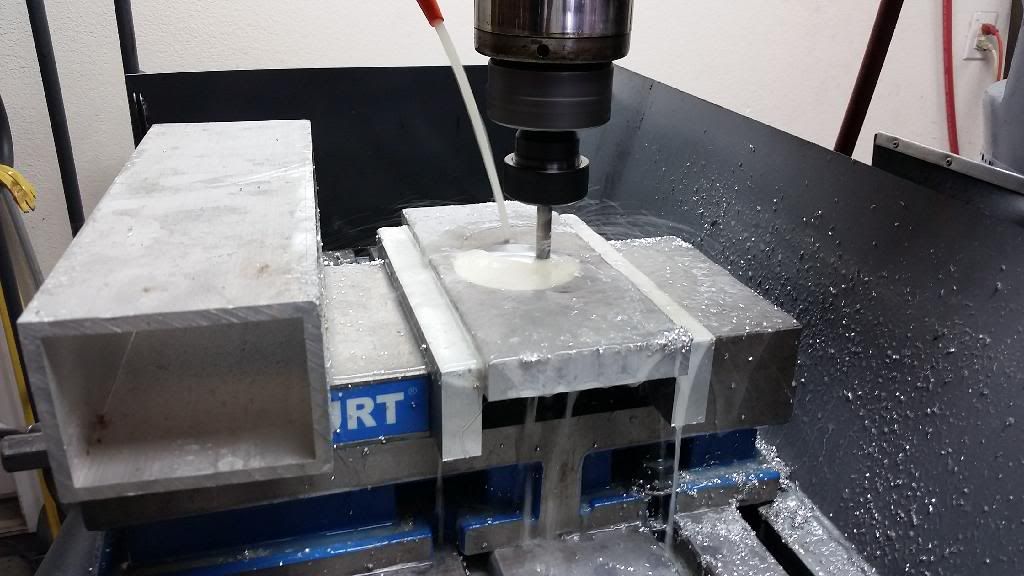
Here is a test cut on the mill. 3in circle in 7075 AL. I will be having the guys at work run the part on the CMM to see how my backlash looks before I adjust the gibs.
Please Log in or Create an account to join the conversation.
- Duc
- Offline
- Senior Member
-

- Posts: 58
- Thank you received: 1
Decided it was time to upgrade the mill with better motors to hopefully increase accuracy and repeatability. Plus its a little annoying the old Bridgeport boss steppers will only move in .001 increments at best.
Had 3 different choices when it came to the upgrade.
1. New stepper motors setup from automationtechnologiesinc.com
$99x3 1200 oz/in motors
www.automationtechnologiesinc.com/produc...tkl34h2120-60-4a-key
$69x3 KL driver 80v DC 6.2 Amp
www.automationtechnologiesinc.com/produc...epping-driver-kl8060
-Pulley adapters
2. DMM-tech servo setup.
$500x3 750 watt AC servo setup.
Original path I was taking till I missed the deal on ebay for $500 a axis. Later on I found I could email the company for the same deal. I did design and build pulley adapters for this setup. Small waste of time and money.
3. Yaskawa servo setup. aka money pit so far
$159x3 750 watt motors on ebay
$213x3 SGDV-5R5A01A Analog servopack
$35x3 Servo motor cables
$35x3 Servo encoder cables
$30x3 MDR 50pin I/O interface cable
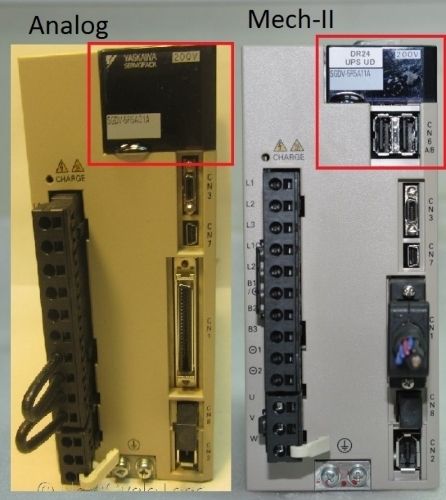
$159x3 SGDV-5R5A11A MECHATROLINK-II - costly fuck up
This was going to be a decent price setup until I screwed up and ordered the wrong servopack the first time. Linuxcnc does not play at all with MECHATROLINK-II and I didn't pay enough attention to the ebay ad to notice the slight difference between the analog version and MECHATROLINK-II version.
Analog versus MECHATROLINK-II
On to the build
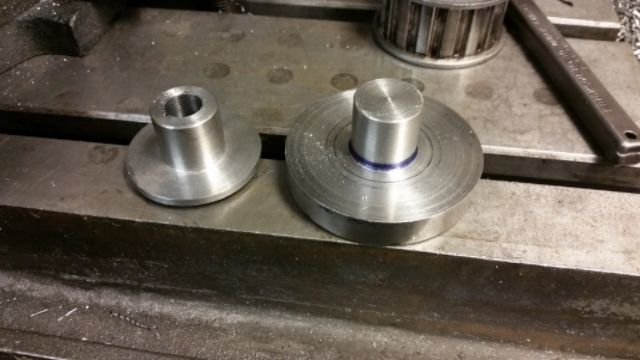
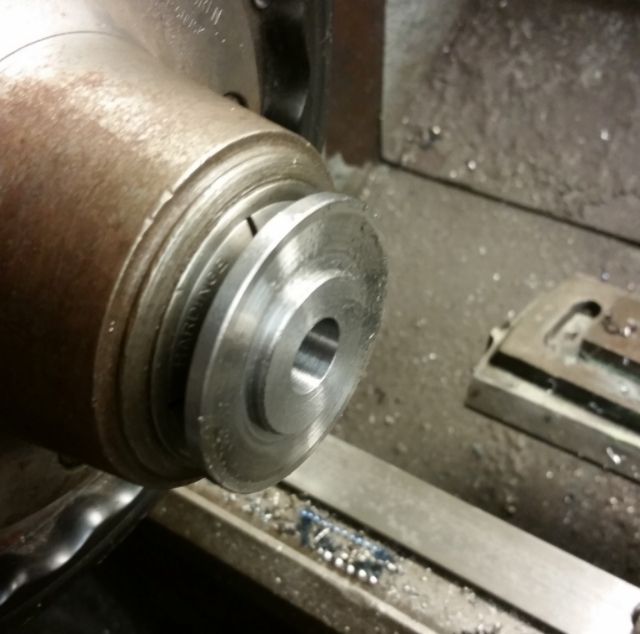
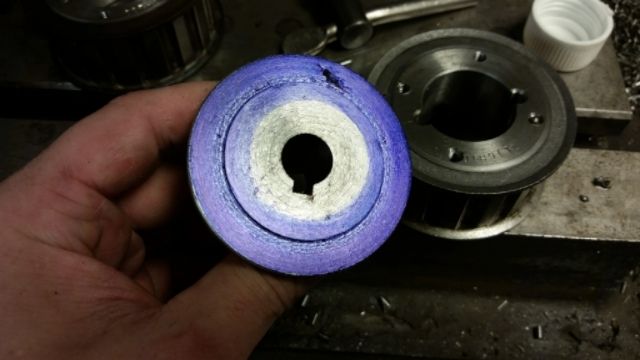
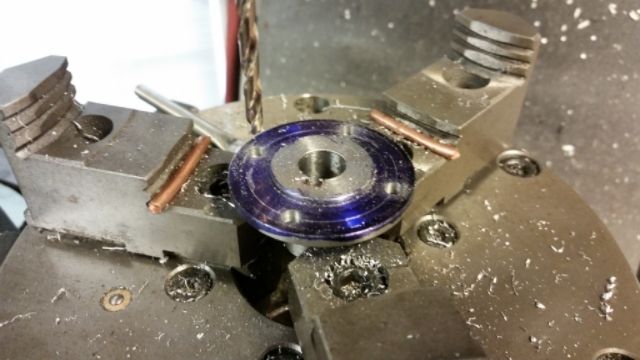
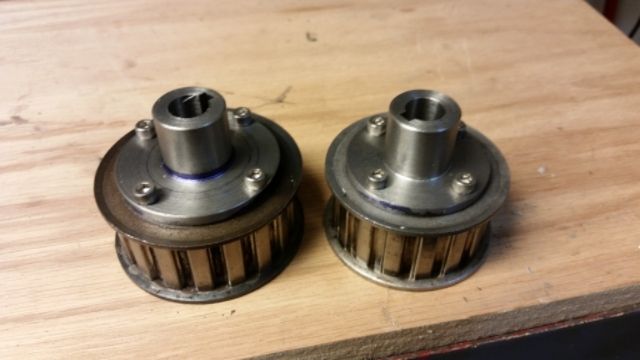
Pulley adapters. These were the original 14mm shaft ones I made for the DMM tech motors but I remade them for the 19mm shafts on the Yaskawa servos.
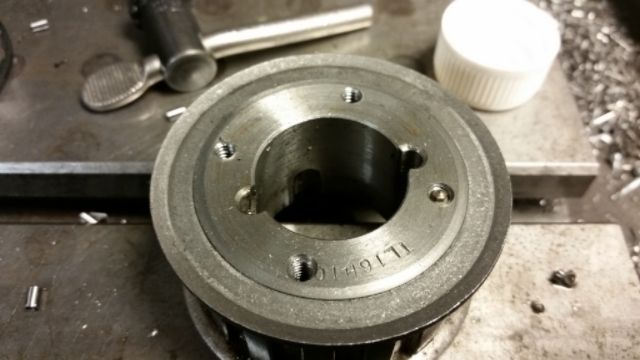
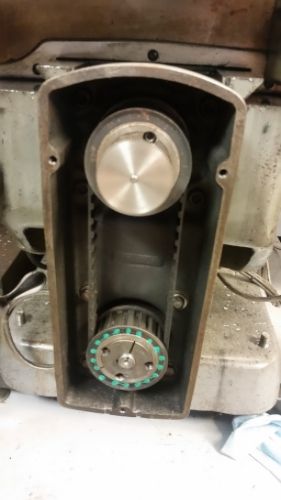
Original pulley setup.
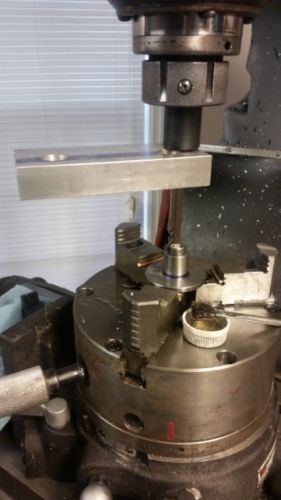
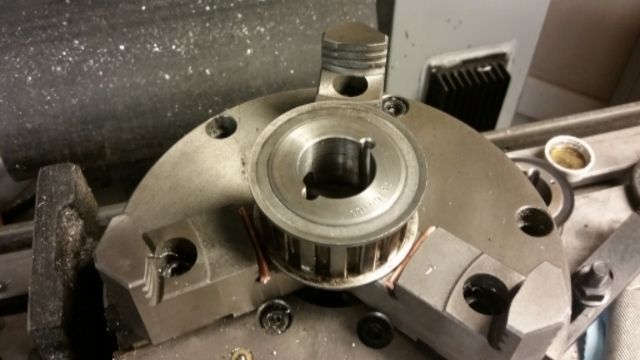
Drill and tapped the original pulleys for mounting to the adapters. 10-24 holes.
Please Log in or Create an account to join the conversation.
- Duc
- Offline
- Senior Member
-

- Posts: 58
- Thank you received: 1
Please Log in or Create an account to join the conversation.
- Duc
- Offline
- Senior Member
-

- Posts: 58
- Thank you received: 1
Please Log in or Create an account to join the conversation.
- Duc
- Offline
- Senior Member
-

- Posts: 58
- Thank you received: 1
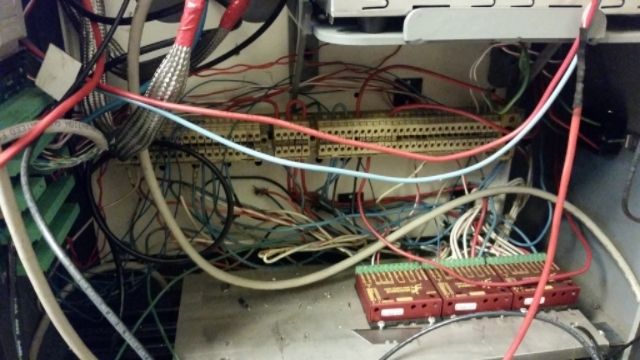
My massive wiring nightmare. Originally I tried to reuse parts but now I want to do it correct.
Not proud of this mess.
Ordered new terminal blocks that will allow better power distribution. This will also be used on the top half of the cabinet. Arrives on Tuesday.

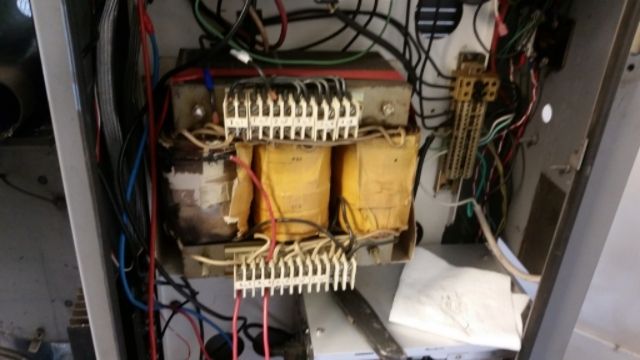
Removing old power transformer to install new servopacks. Weighs about 75lbs and will allow the removal of some massive caps that were used to smooth out the DC power to the gecko drives.
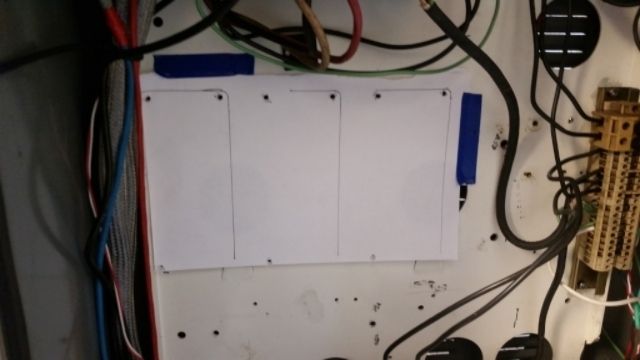
Marking new hole locations for the servopacks. Using paper to transfer the locations.
Much cleaner.
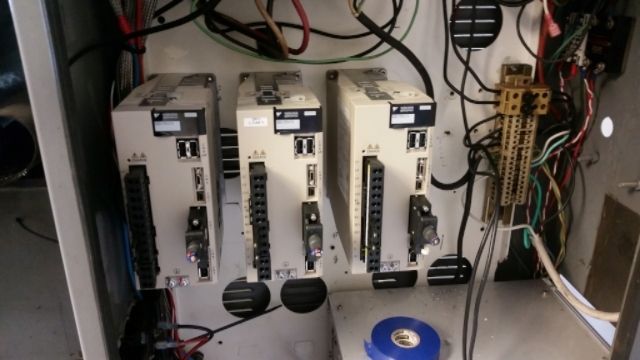
Current setup so I can still use the stepper motors on the mill till I get in the new Mesa 7i77 Servo card and build a new config file to drive them.
Please Log in or Create an account to join the conversation.
- andypugh
-

- Offline
- Moderator
-

- Posts: 19744
- Thank you received: 4581
[The teletypewriter is now in the back of the truck for a trip the scrap yard. Screw using that thing.
I don't think that there are many of those left, it is possible that some collector might want it.
Please Log in or Create an account to join the conversation.
- Duc
- Offline
- Senior Member
-

- Posts: 58
- Thank you received: 1
[The teletypewriter is now in the back of the truck for a trip the scrap yard. Screw using that thing.
I don't think that there are many of those left, it is possible that some collector might want it.
I scrapped it about 2 years ago. It was a fun unit to play with but limited the ability of the mill.
Wiring Diagram from the Yaskawa manual
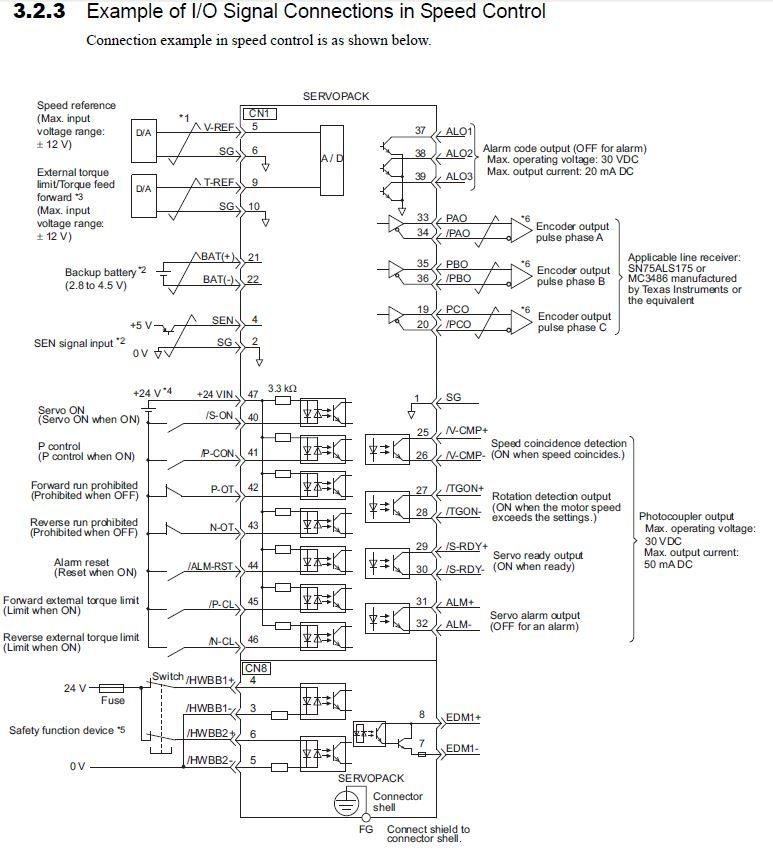
Mesa 7i77 questions
1. Does the yaskawa need to be single mode encoder setup on the mesa card? Appears to be differential to me.
2. Where does the 7i77 get the 10v power for the analog drives? Little short in the manual to explain this. Does it step down the 24v down to 10v or which Vfield on TB2 needs to have 10v supplied to it?
Please Log in or Create an account to join the conversation.
- andypugh
-

- Offline
- Moderator
-

- Posts: 19744
- Thank you received: 4581
Yes, that is showing a differential receiver.1. Does the yaskawa need to be single mode encoder setup on the mesa card? Appears to be differential to me.
2. Where does the 7i77 get the 10v power for the analog drives?
The TB1 description on manual page 6 seems to suggest that it comes from the cable 5V or the TB1 5V connector depending on a jumper. (if it does, then presumably it is via a DC to DC converter)
Please Log in or Create an account to join the conversation.
- Duc
- Offline
- Senior Member
-

- Posts: 58
- Thank you received: 1
Yes, that is showing a differential receiver.1. Does the yaskawa need to be single mode encoder setup on the mesa card? Appears to be differential to me.
2. Where does the 7i77 get the 10v power for the analog drives?
The TB1 description on manual page 6 seems to suggest that it comes from the cable 5V or the TB1 5V connector depending on a jumper. (if it does, then presumably it is via a DC to DC converter)
PCW confirmed that it comes from the 5V power
Cables
In the end, the china seller would not fix the encoder cables that were missing pin outs so I had to buy some yaskawa encoder cable extenders then swap the china end piece to the extender cable. Talk about tiny contacts.
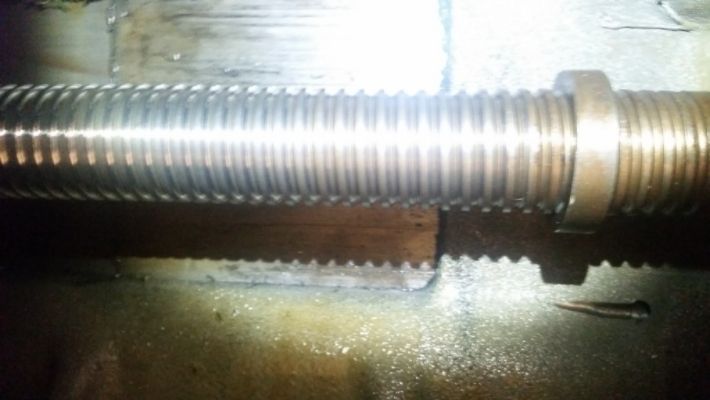
Before tuning the drive make sure to have the limits switches wired in. This guy learned that lesson. :homer: Managed to slam the table against the Y-axis hard limit due to this. The table was jammed so hard that I need to hook a chain wrench to the unused part of the ball screw to force it off the hard stop. Area to left is where the chain wrench was used
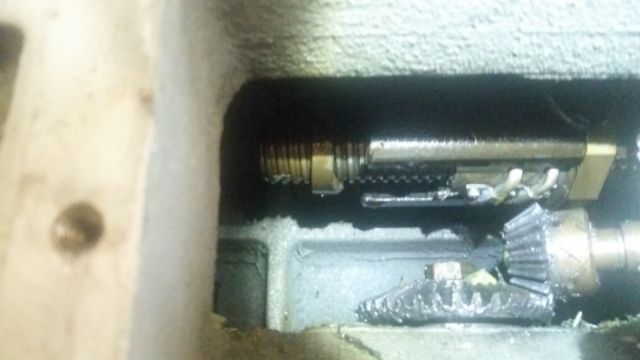
Picture of the hard stop that I hit. Its now off of it.
Velocity drives do not like a FF1 of 2. Caused the drive to move instantly once the power is turned on. Live and learn.
I was trying to fix this issue.
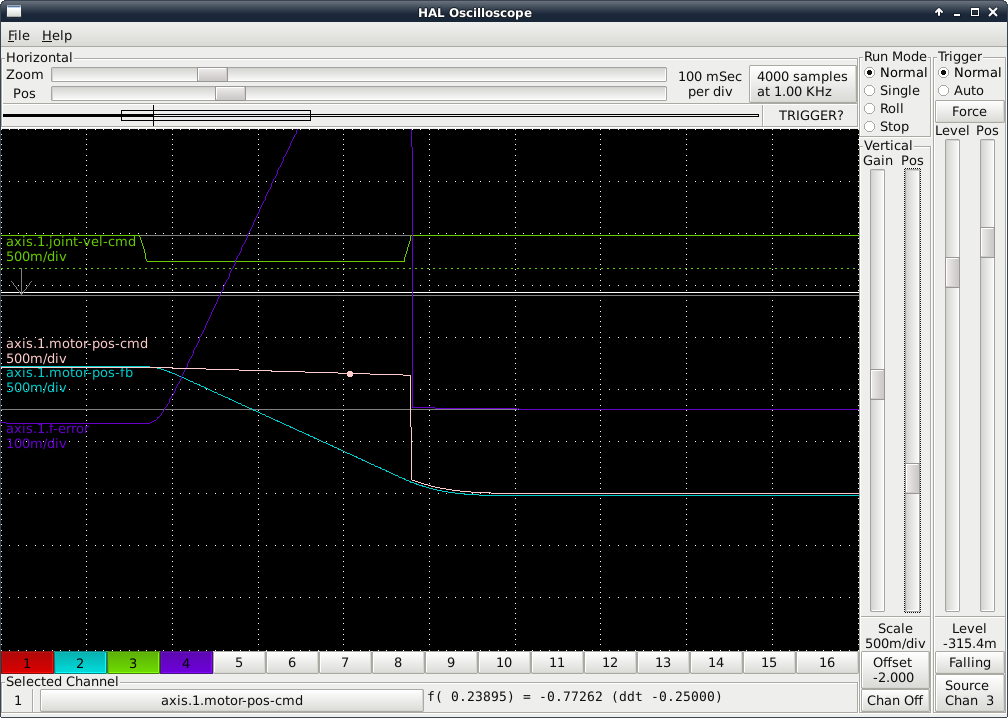
Multiple things went into fixing the follow error shown in the picture above. Cant really pin it down to one thing since I was trying a lot of things at once. Here are a few things I did to fix the error.
Limit RPM of drive.
Max Velocity = RPM * Gear Reduction * Ballscrew
200 IPM = RPM * 1* (.2"/REV)
Max RPM I wanted the Y drive to go is 1,000 RPM. Servo system love speed but I will be researching Servo gearboxes later on since there isn't room for new pulleys.
Tuning setting in Linuxcnc
Located under machine --> Calibration - Can be adjusted on the fly and checked with the Halscope
10V = FF1 * Machine velocity (IPS)
IPS = IPM/ 60 -> converting Inches per minute to inches per second
FF1 should be around 3.03
P - Stiffness - I had to play with this value till the drives did not oscillate in place. Before I hooked the drives to the table the values were around 14,000 but in system were around 1,000.
Yaskawa drive adjustment.
Had to adjust the gain on the drive to limit the speed to 1,000 RPM when it saw 10V.
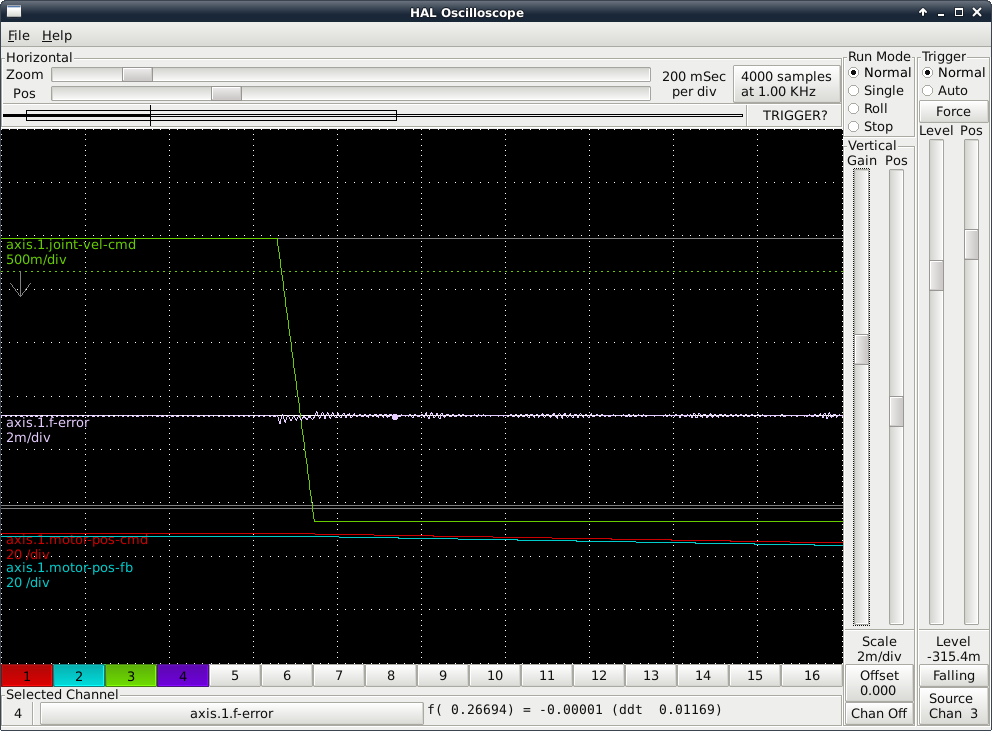
New Chart after some fiddling. A lot of the advice for fiddling with the Tuning came from PCW on Linuxcnc. Awesome support from the owner of Mesa.
Please Log in or Create an account to join the conversation.

