6 ton high speed VMC retrofit (in new zealand)
- Becksvill
- Offline
- Elite Member
-

Less
More
- Posts: 192
- Thank you received: 88
02 Apr 2021 02:36 #204456
by Becksvill
6 ton high speed VMC retrofit (in new zealand) was created by Becksvill
hi everyone just running through my second cnc mill retrofit and thought I would document it for those that come after me looking for answers on how to retrofit cnc machines.
2 years ago I stumbled through with the help of the forum and did a pretty basic retrofit on my old chevalier cnc mill (I have two almost identical machines) now that I know a bit more what I am doing I am making another build thread that hopefully shows a bit of how these things come together and also show cases how powerful linuxcnc is.
the new machine uses mesa cards 6i25 7i77 7i84
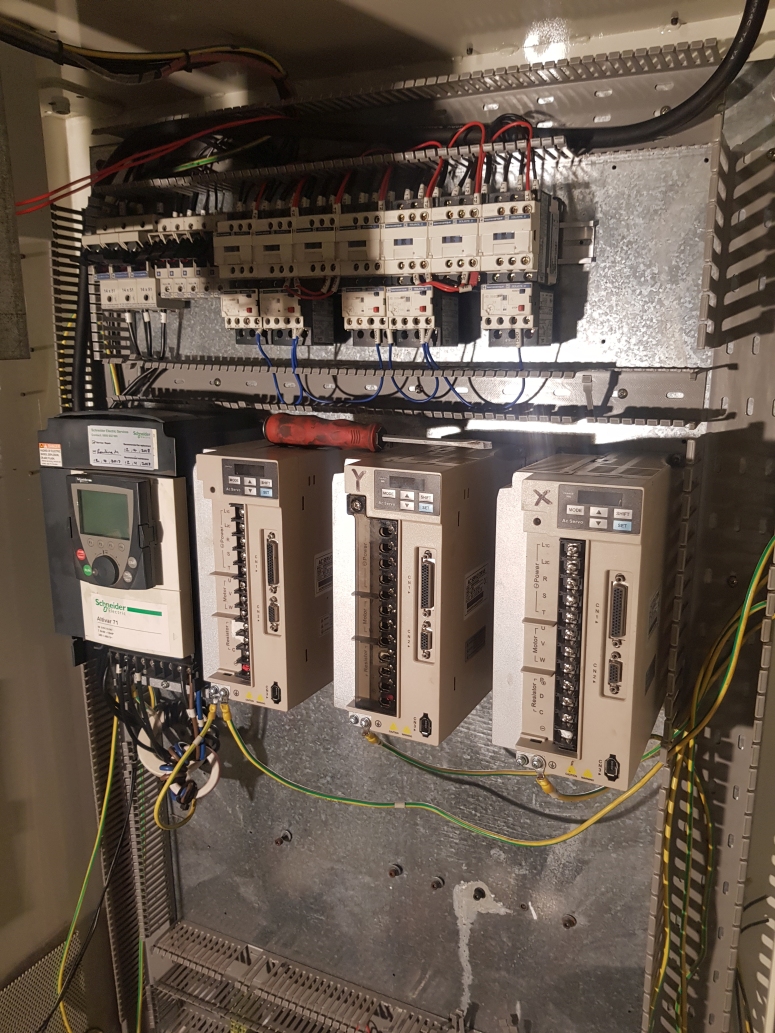
and I have chinese servo drives which are all 3kw
and a altivar 71 VFD for the spindle which I have encoder cards for to allow closed loop control of the spindle hopefully which is needed for toolchanging and nice for rigid tapping and for low speed torque
anway photos to follow as I add them. this will be a mainly photo and video build thread as that is the good stuff I think.
This is the current progress as we speak
mesa cards are all working on bench
servo drives are working and set up for motors and can be internally jogged
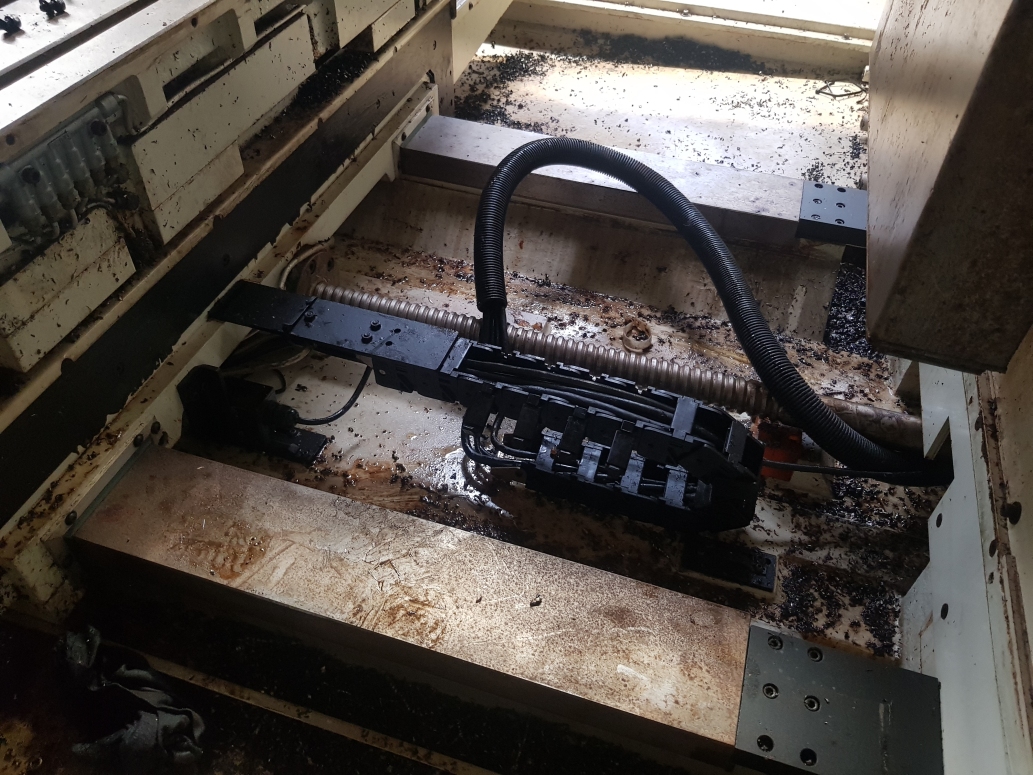
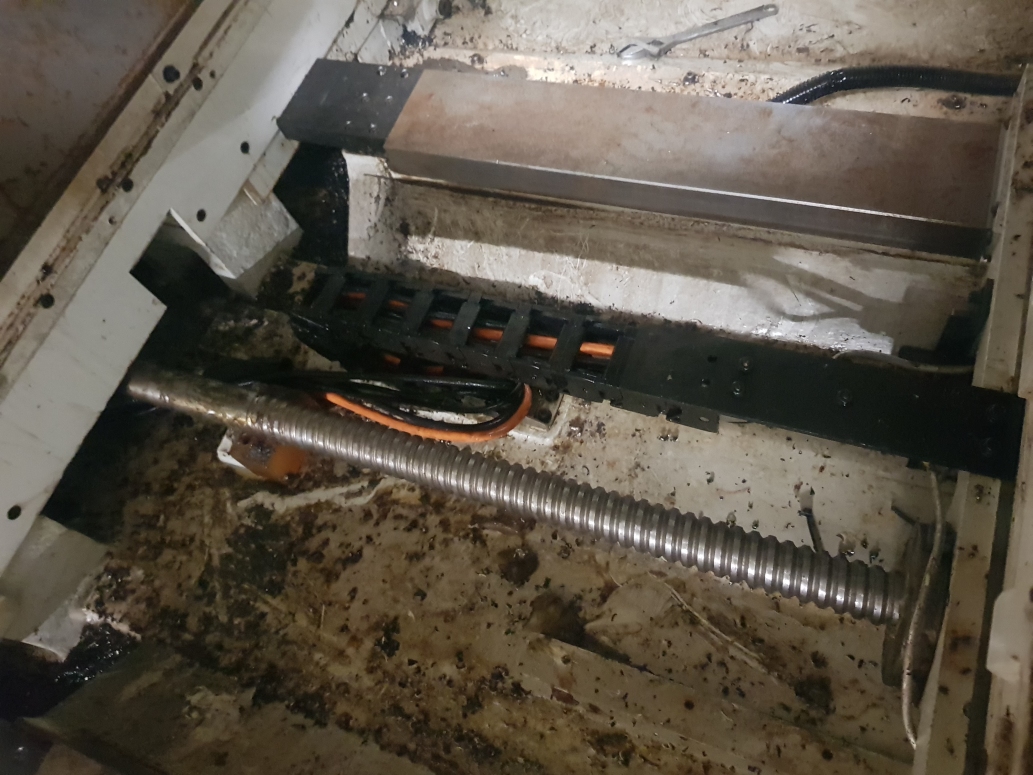
machine is stripped down and all covers off so I can start running cables
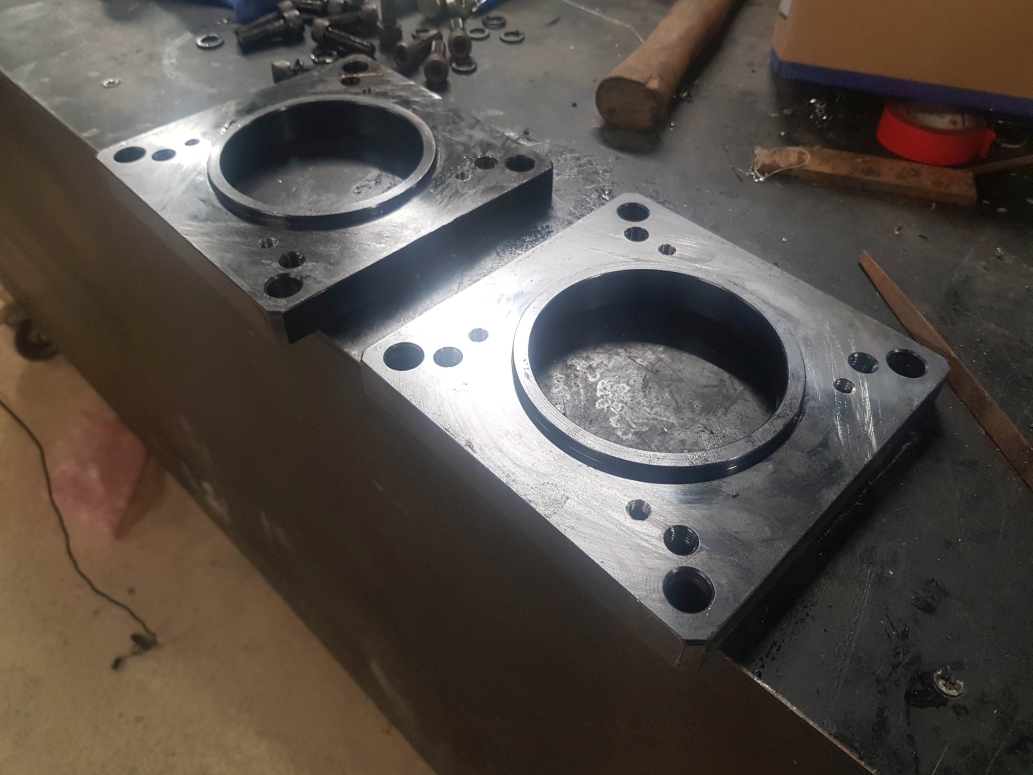
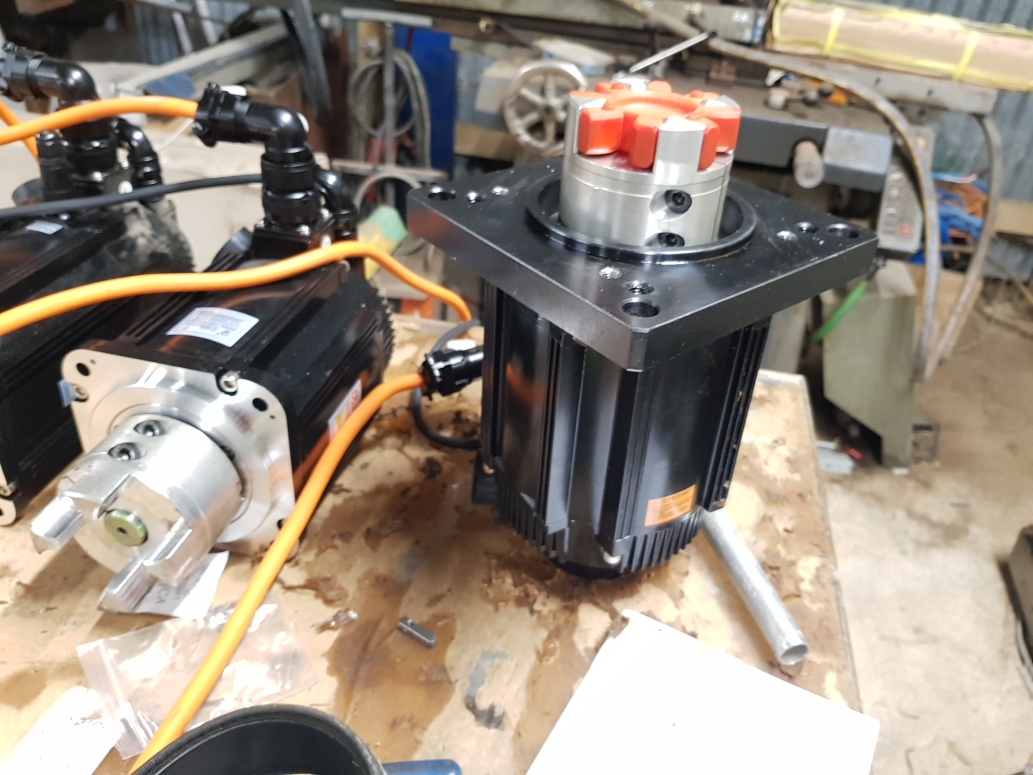
new servo motors are fitted into adapter plates which I modified for the motors to bolt into machine
next steps today
strip out rest of cables in machine that I don't need
start running din rail terminals and plan retrofit so everything comes out nice and tidy and clean and I end up with a machine that I can show people the cabinet and now be ashamed lol
need to mount servo drives and vfd
also need to mount mesa cards
then wire up basic limit switchs and bench tune servo motors just in case so I don't get too many runaways lol
thats it for now
cheers guys
Please Log in or Create an account to join the conversation.
- Becksvill
- Offline
- Elite Member
-

Less
More
- Posts: 192
- Thank you received: 88
02 Apr 2021 10:24 #204474
by Becksvill
Replied by Becksvill on topic 6 ton high speed VMC retrofit (in new zealand)
hey guys
here is the first photo up date
machining adapter plates to mount new motors. One trick I learnt last time was if the bolt holes don't fit then don't make new adapter plates. just rotate motor 5 degrees and redrill hole pcd. easy as. and if the spigot doesn't fit just either machine it out or reduce the size with a reducer spacer ring if needed.
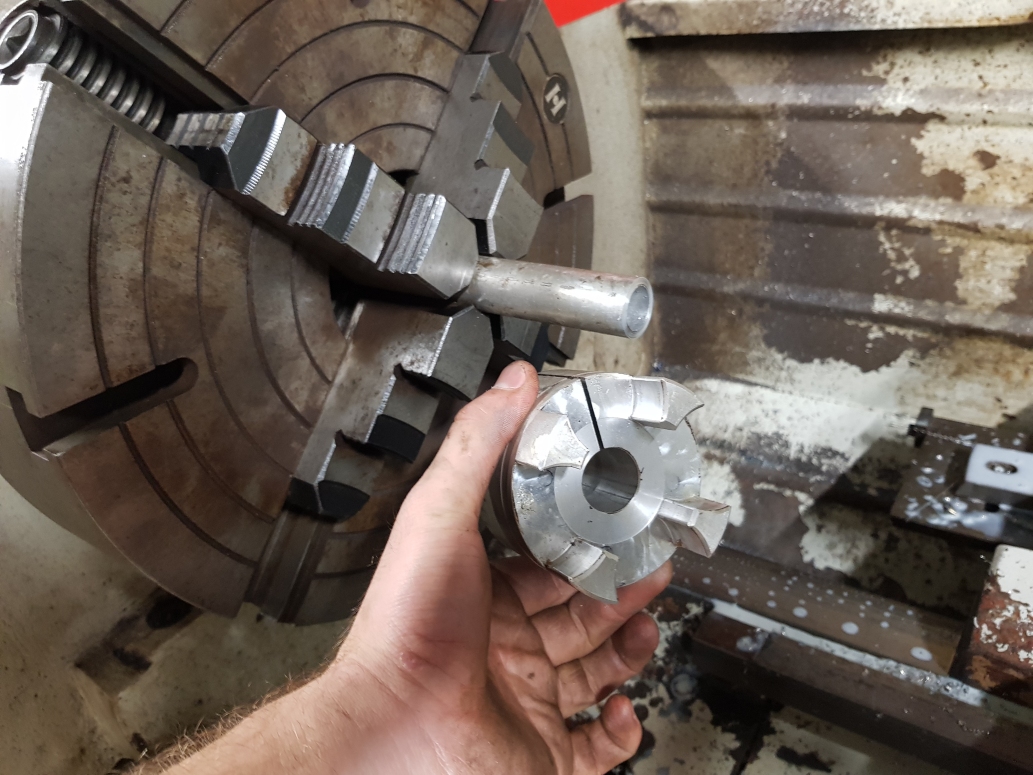
machining aluminium split ring to reduce the coupling dia from 24mm down to 22mm to suit new motor shafts. the size and finish on this spacer has to be pretty good to achieve a good strong fit that won't give me problems in the future. there is no keyway just friction. but it locks up so tight I will have no issues
motors mounted
Now tonight I was running the new servo drive cables and getting them through the flex conduit
view of back panel showing mounting of drives
a battery impact driver and self drilling and tapping screws make this so much easier than drilling and tapping
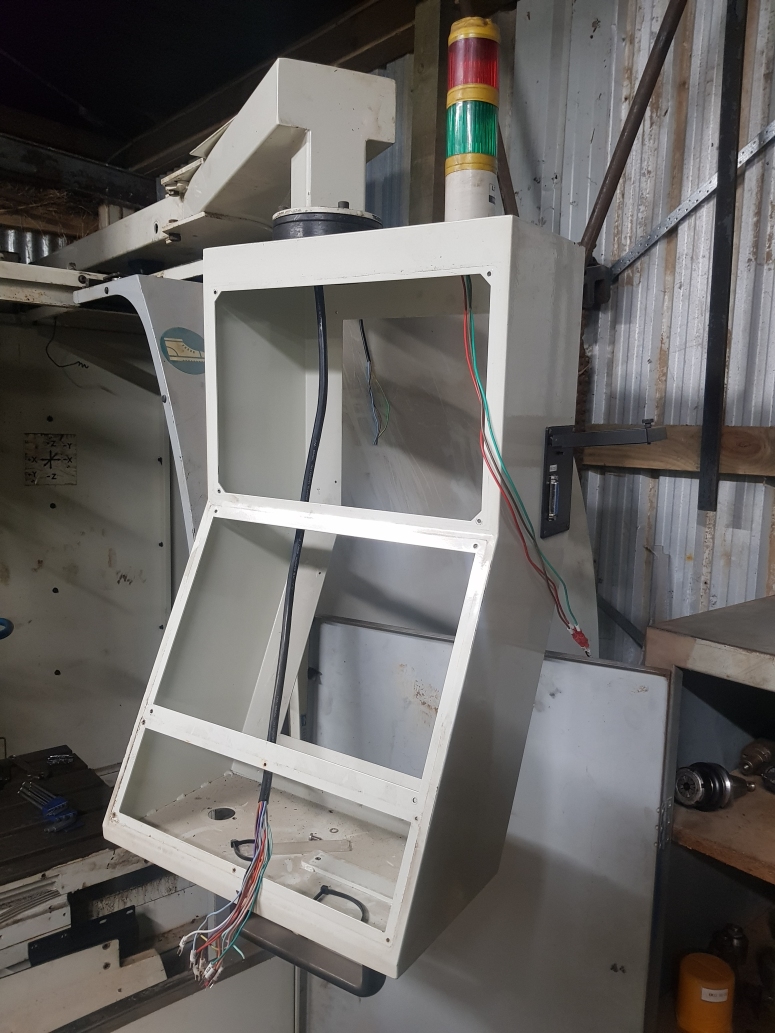
and view of the front control panel before I gut it to mount my new monitor (still need to get one lol)
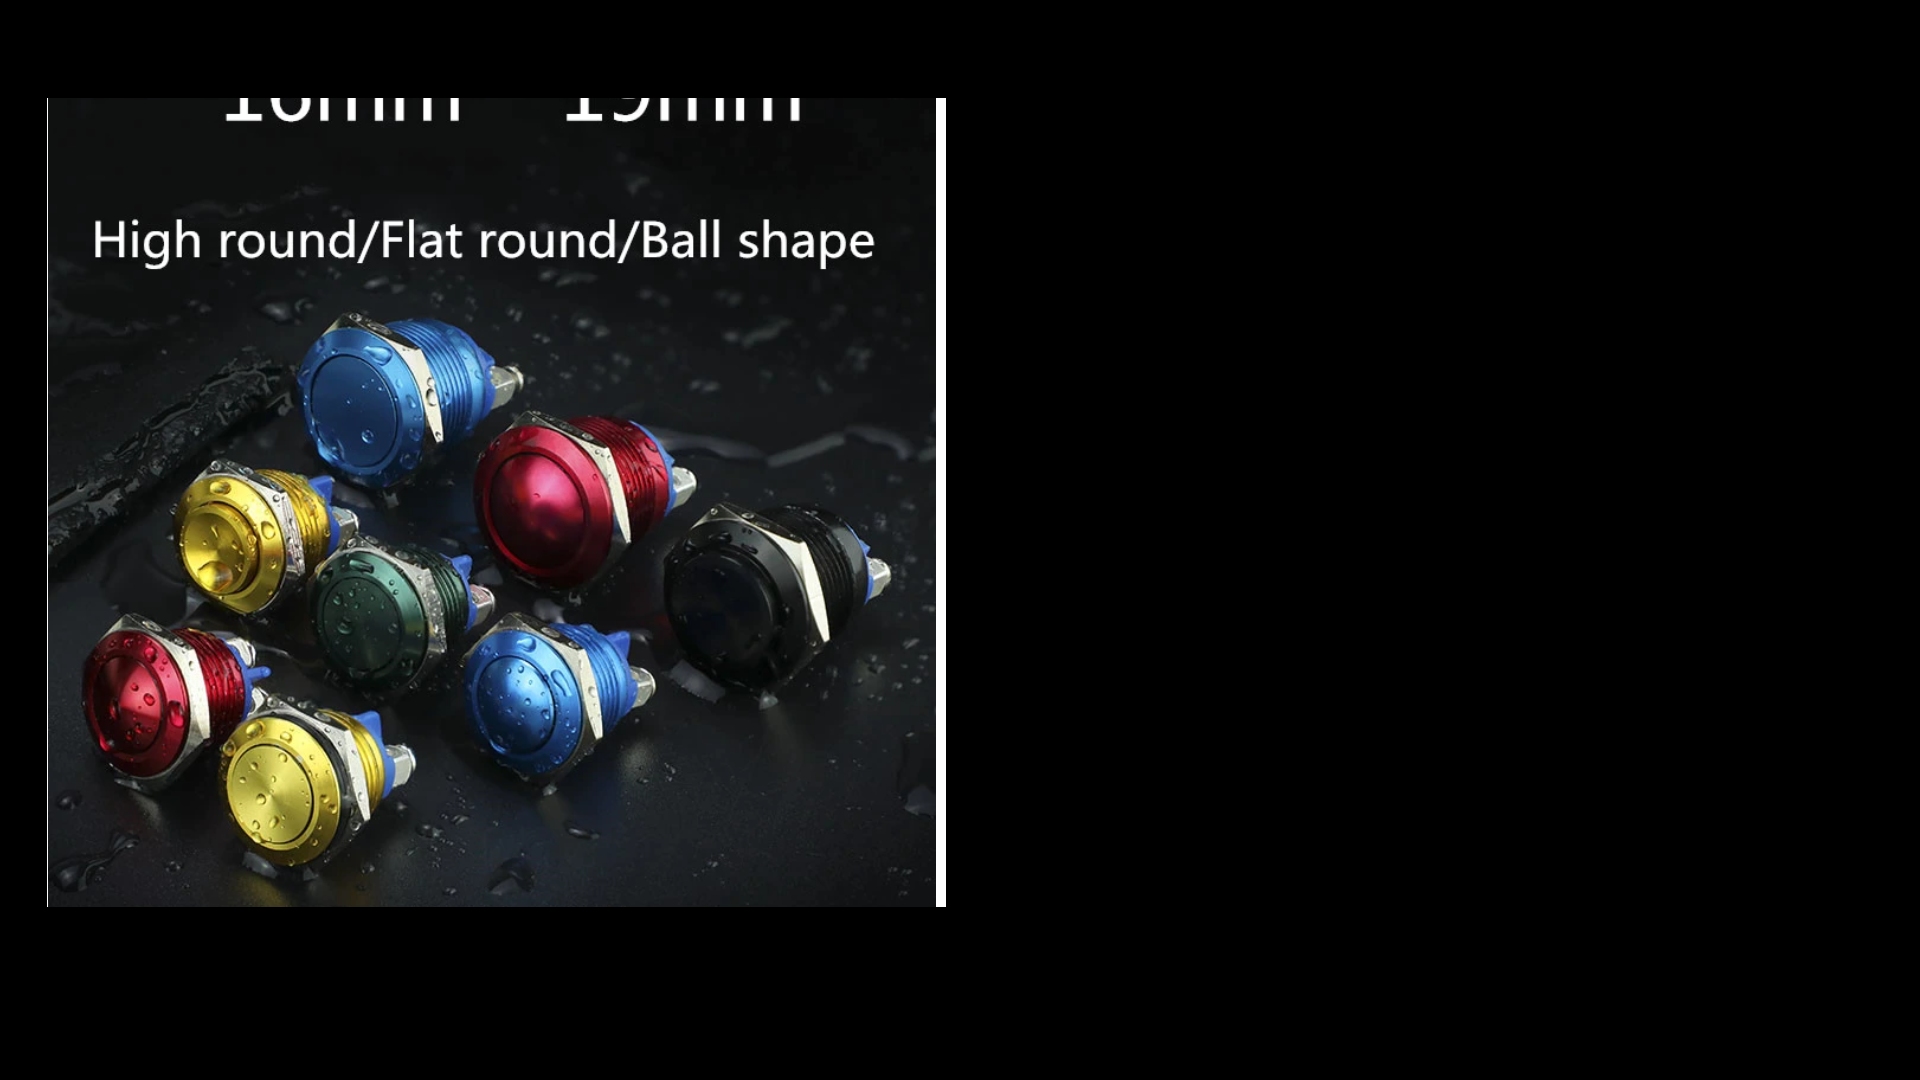
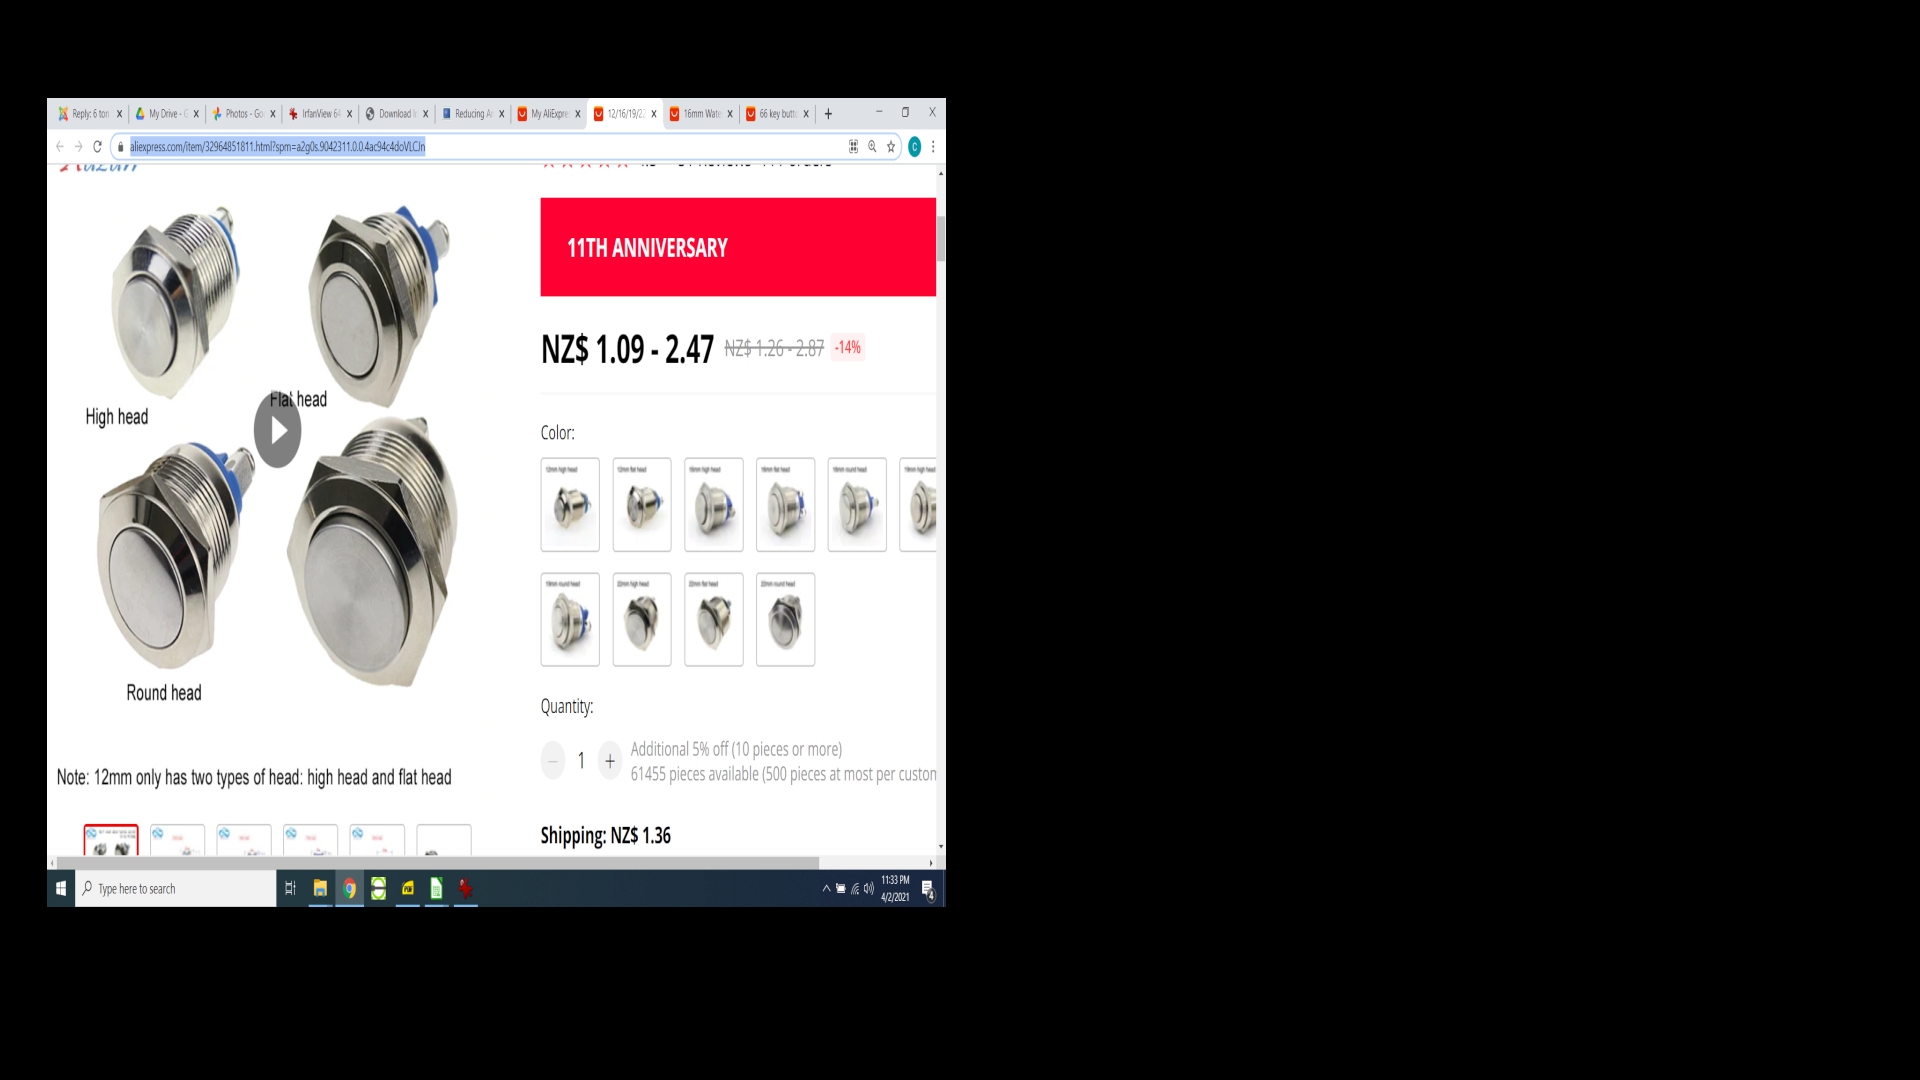
also have 30 nice stainless steel buttons coming from aliexpress that will hopefully do a good job here
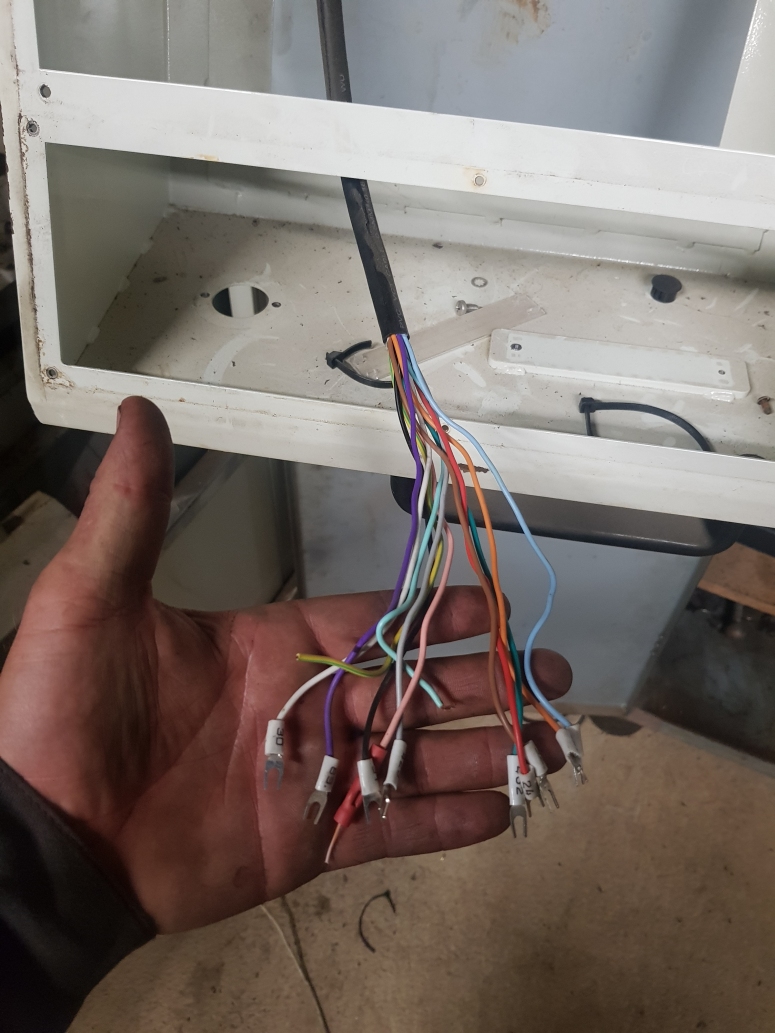
one thing that you can see if how there is only one cable coming over. I still need to bring the vga, the usb cables and the 7i84 ethernet cable. but the mesa hardware is so nice for reducing how many cables are needed. big shout out to PCW I love your stuff
and this is just a view of the cable I have left in here. I think I will just use this cable for the 24v power that the 7i84 needs and also run my E stop loop through this. (E stop won't go through 7i84 card just for safety. I often get inside machine once I push the e stop and I want to be able to trust my life to this and don't trust a computer for that so the E stop has to be hardwired.
and thats it for now stay tuned for the next update.
things to do next.
install mesa 7i77 card
install computer in bottom of cabinet
weld up extra plate to hold everything
decide where my cable trucking is going and din rail.
and get some system in place that means this time the wiring stays neat!
Attachments:
The following user(s) said Thank You: arvidb, besriworld
Please Log in or Create an account to join the conversation.
- Becksvill
- Offline
- Elite Member
-

Less
More
- Posts: 192
- Thank you received: 88
02 Apr 2021 10:36 #204475
by Becksvill
Replied by Becksvill on topic 6 ton high speed VMC retrofit (in new zealand)
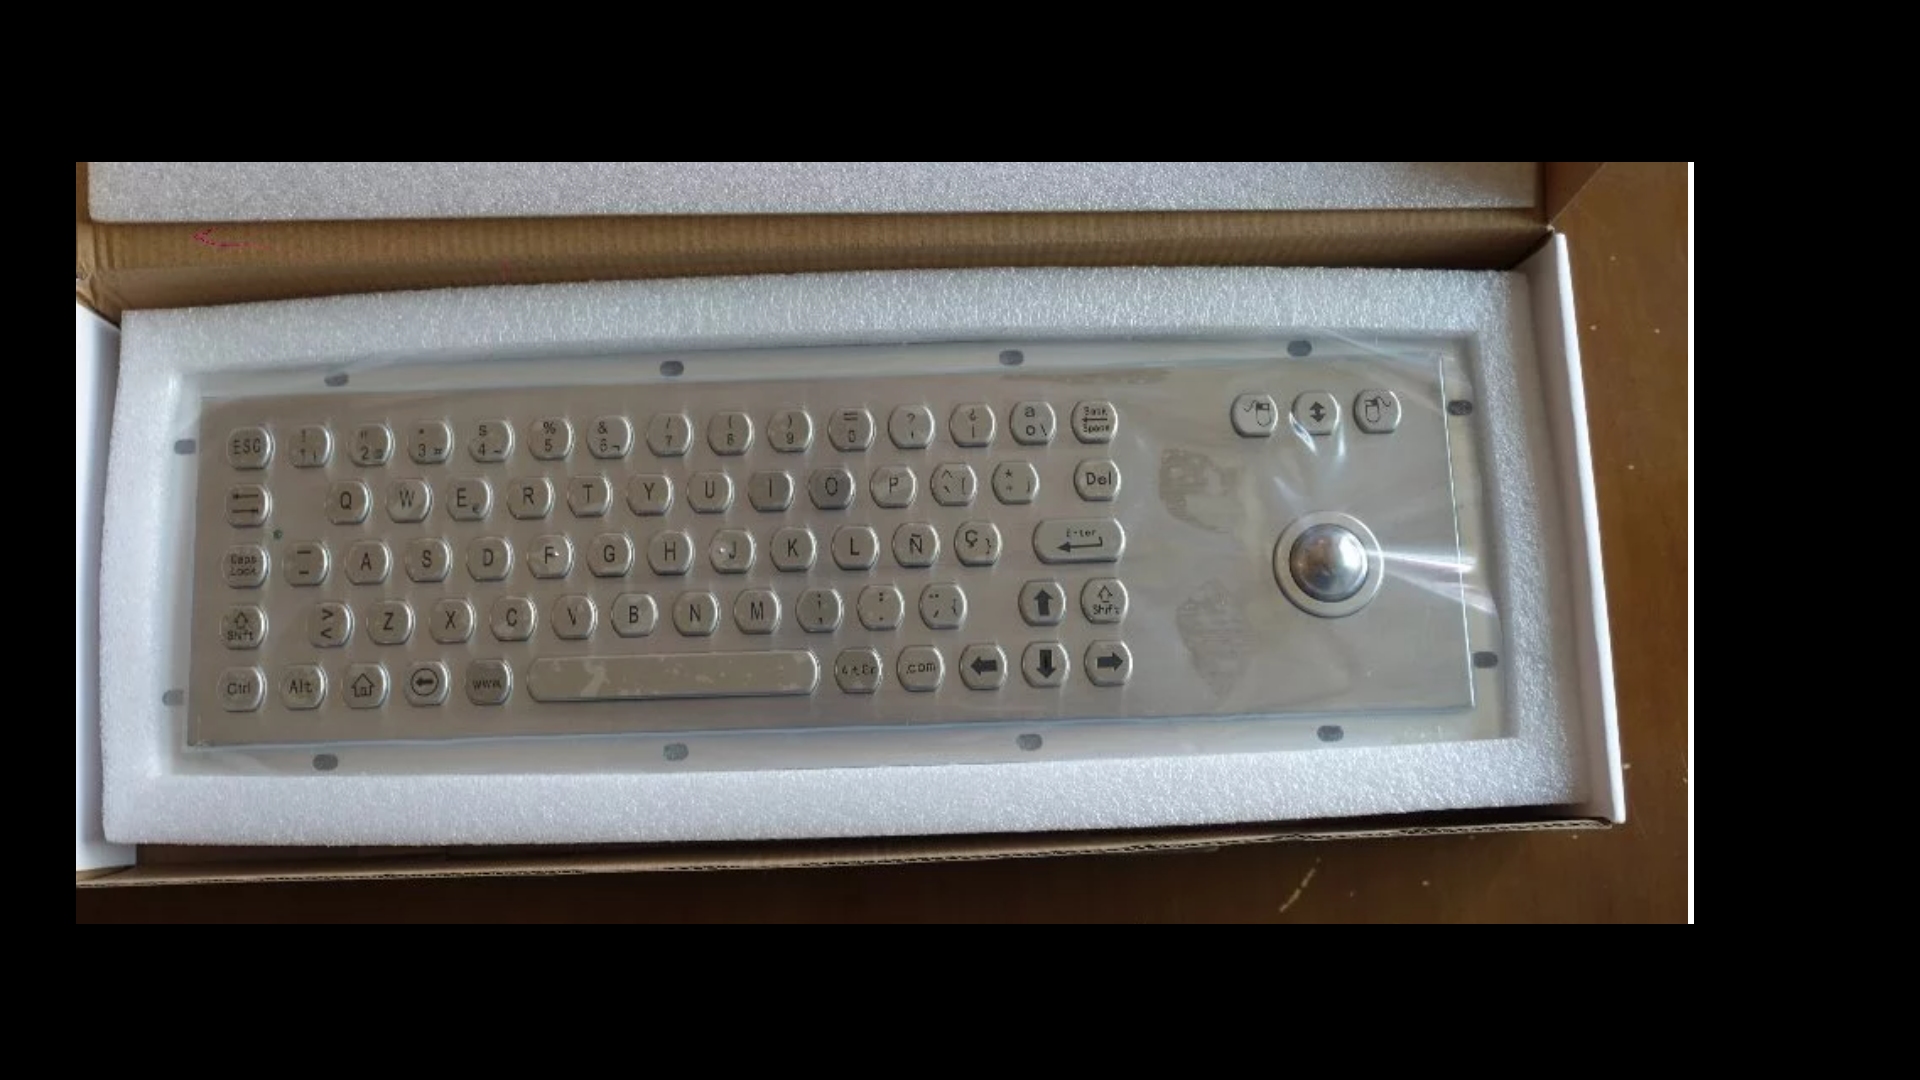
this is the keyboard I want to use I think
they are 90 usd plus shipping but should be quite nice and I am over cheap keyboards that get coolant on them and look so bad
this keyboard link will probably stop working
metal buttons
colored metal buttons
hopefully it turns out ok
they are 90 usd plus shipping but should be quite nice and I am over cheap keyboards that get coolant on them and look so bad
this keyboard link will probably stop working
metal buttons
colored metal buttons
hopefully it turns out ok
Attachments:
The following user(s) said Thank You: tommylight, johnmc1
Please Log in or Create an account to join the conversation.
- Becksvill
- Offline
- Elite Member
-

Less
More
- Posts: 192
- Thank you received: 88
10 Apr 2021 06:30 - 10 Apr 2021 06:38 #205506
by Becksvill
Replied by Becksvill on topic 6 ton high speed VMC retrofit (in new zealand)
quick update here on how to get ethernet mesa cards working
hey guys this is mainly for my own reference so I remember how to do this on the next machine
there is already a good tutorial on how to set up the IP address and some youtube tutorials that help a lot I will link them below
first up is tommylights excellent overview on how to set them up which is a sticky on the forum
forum.linuxcnc.org/27-driver-boards/3559...ethernet-mesa-boards
next is this youtube video which is also awesome
and for general knowledge for a expert Rods video is a must watch
I did all this and had the card pinging fine in the terminal
but then I messed around for like 4 hrs before someone helped me and we realised that the firmware was not right and I needed to reflash the board
so the main issue I had was the 7i92m card was not flashed with the correct firmware. I read in the manual that the come pre loaded with common firmwares but in my case everything didn't work until I flashed it with the correct firmware
so first thing to do is download the zip file on the mesa websight with the firmware files. It is hidden under the specification tab
7i92 firmware
once you have done that unzip it into your download folder.
next you have to find the directory you unzipped the firmware files into in the terminal I am not very good with terminal so this works the treat for me
open the dowloads folder you are trying to find in terminal and just right click and select "open in terminal"
and straight away you are in the right place. easy as
then issue the mesa flash commands. Note pay attention to the letters capital letters will cause a error as I found out the hard way,
sudo mesaflash --device 7i92 --addr 10.10.10.10 --write 7i92_7i77x2.bit
you will have to reload the card here(forgot the command but one option is to just cut the 5v power which reloads the card for you)
and then check that you were sucessful flashing the card with this command
mesaflash --device 7i92 --addr 10.10.10.10 --readhmid
after that I had to comment out two lines in my hal file. they were timer somethings. but I will check later and post it
and after all that here is the first timers checklist
common problems setting up ethernet mesa cards
things to check
5v control power
ethernet cable is connected
and make sure the correct firmware is loaded onto the card for the daughter cards you want to use eg 7i77 (this on is a must!)
thats it folks. hopefully this helps someone
next plan of attack is wire up e stop loop so I have a safe working estop system that will safely kill power to anything I need to stop in a hurray
and then plan is wire up the servo drives to mesa card and then start servo tuning the motors
also need to wire in limit and home switches
and decide what I am going to do in the front of the machine. install a screen etc and set up a budget keyboard and mouse for the short term before my industrial keyboard and trackball arrives
regards
Andrew
Last edit: 10 Apr 2021 06:38 by Becksvill. Reason: adding videos
The following user(s) said Thank You: tommylight, Krishell
Please Log in or Create an account to join the conversation.
- Becksvill
- Offline
- Elite Member
-

Less
More
- Posts: 192
- Thank you received: 88
24 May 2021 23:36 #210142
by Becksvill
Replied by Becksvill on topic 6 ton high speed VMC retrofit (in new zealand)
just another quick update and photo dump
I took a break from my machine and fixed a customers one a few weeks ago. machine is making parts now. not toolchanger so pretty easy machine.
as usual using all mesa cards
original machine had a centroid controller and I was able to reuse all the servo drives etc it worked great
hopefully people are following along and this build thread helps someone.
or for the guy looking at this in a few years hopefully it is helpful
anyway on to photos
Please Log in or Create an account to join the conversation.
- tommylight
-

- Away
- Moderator
-

Less
More
- Posts: 20933
- Thank you received: 7132
24 May 2021 23:37 #210145
by tommylight
Replied by tommylight on topic 6 ton high speed VMC retrofit (in new zealand)
Who said photos ?
Please Log in or Create an account to join the conversation.
Time to create page: 0.520 seconds

