
- Posts: 255
- Thank you received: 13

Originally I was using a E-stop with 1NO (24V - Mesa) and 1NC (120V) . I was told to run the NC in series and the NO in parallel. I guess I forgot to change it so that they are both NC in Series. BTW, I am using the Automation Direct E-stop buttons with the two NC contact blocks.One thing I noticed is that your two estop buttons look...odd. I don't understand why you've got the 24vdc wires split and going to both button contact sets. Since I can't see the actual switch contacts I can't tell which wire pairs are connected via NC, but I think if you push either button the other one will still pass 24vdc to the Mesa input.
Estops should be a chain - wired in series.
The program I am using is a circuit diagram software. It has all the symbols but most of them are confusing and make no sense to me. I just created mine this way so I could use it as a visual guide. I have already spent a solid month and a half (8+ hours a day and weekends) just to figure out all the components I need and how they are connected. I don't want to have to learn all the symbols too. Especially since this is just for my own use.You put a ton of work in to that diagram, I get it. But can I suggest you have a go with one of the free circuit diagram software packages? I use TinyCAD, but others here like a couple other (probably better) packages.
Now you know why I hid all the other conductors in my previous post. LOL. If you download the image you can zoom in much further and see where everything connects. Also the References section shows the terminals for the relays/contactors that may not be very easy to see when zoomed in.That diagram is really hard to follow... where you've used dashed/dotted lines, it's hard (or impossible) to see where they connect to other wires or terminals/components.
Please Log in or Create an account to join the conversation.
Please Log in or Create an account to join the conversation.
I have already spent a solid month and a half (8+ hours a day and weekends) just to figure out all the components I need and how they are connected.
Please Log in or Create an account to join the conversation.
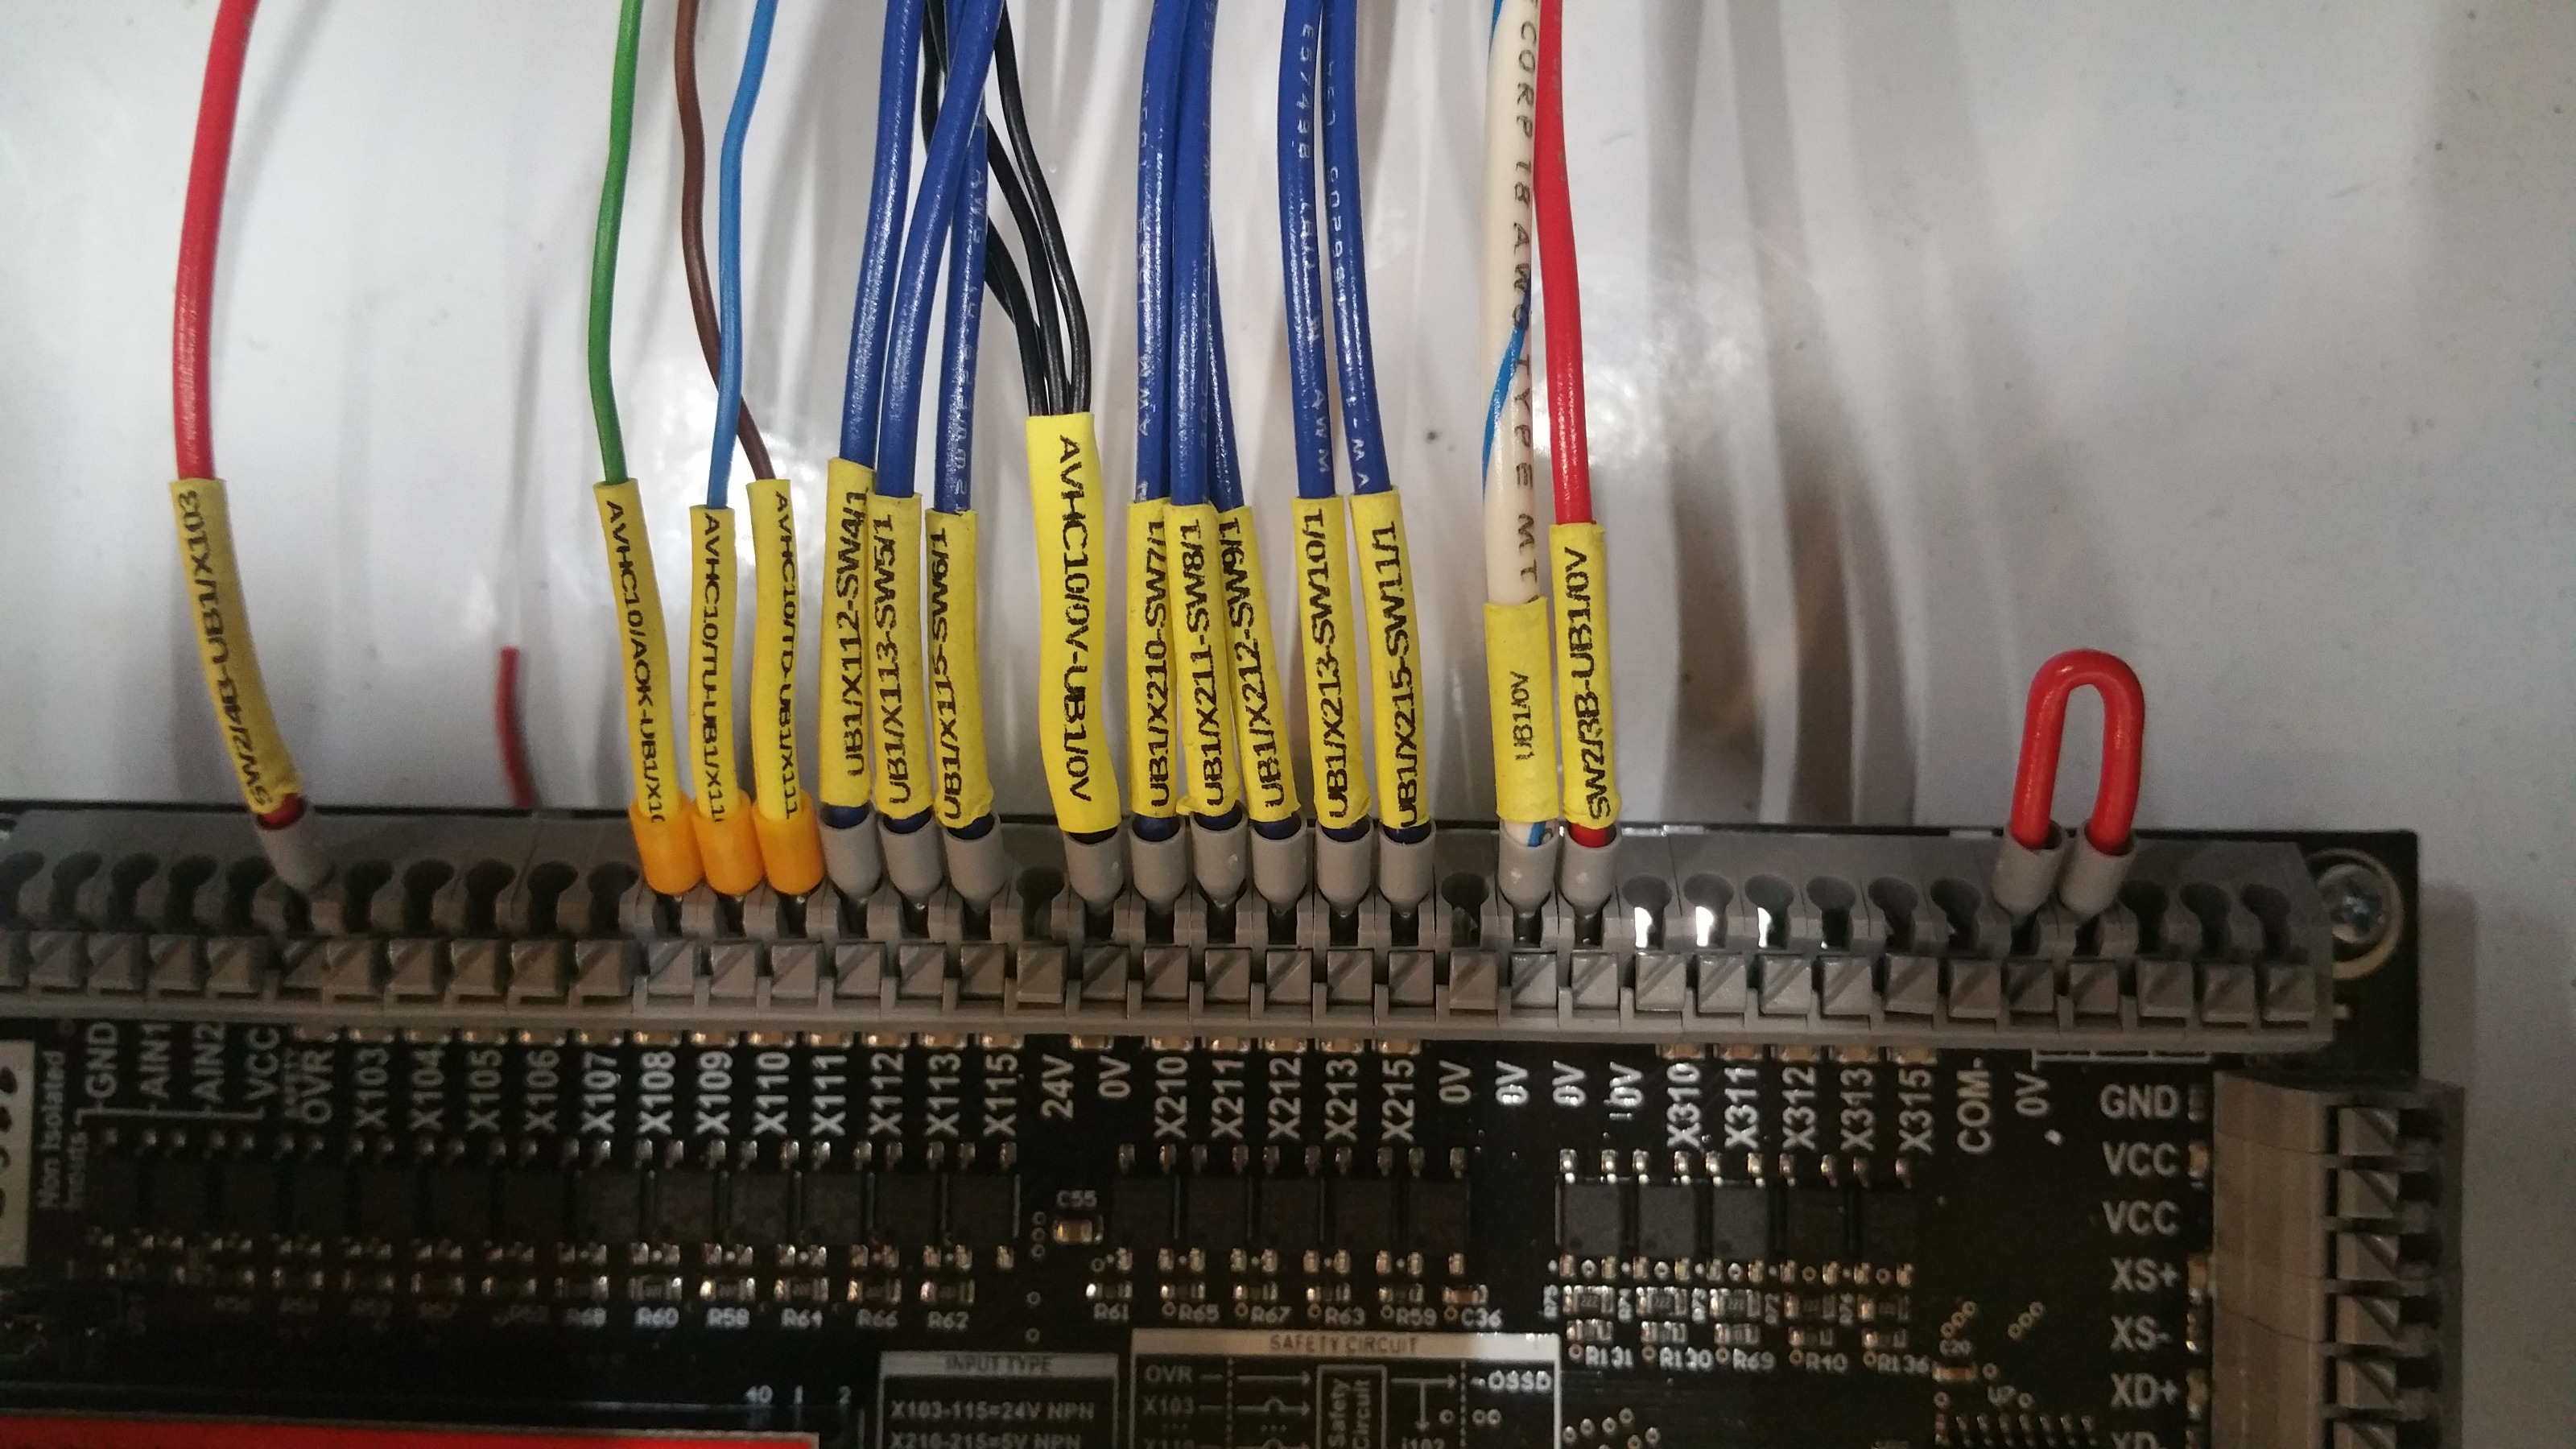
Good points. I hadn't thought of numbering the wires on the diagram but do have a label maker on my list to research/purchase.Seriously, if you can stomach the additional work, numbering the wires on the diagram and adding labels to the wires as you install them will help in the future.
Please Log in or Create an account to join the conversation.
Wow!
I have already spent a solid month and a half (8+ hours a day and weekends) just to figure out all the components I need and how they are connected.
Is that all?
Please Log in or Create an account to join the conversation.
Please Log in or Create an account to join the conversation.
