Retrofitting 5 axis Willemin W400 with LinuxCNC
- MrK
- Offline
- Junior Member
-

- Posts: 27
- Thank you received: 8
My first post here...
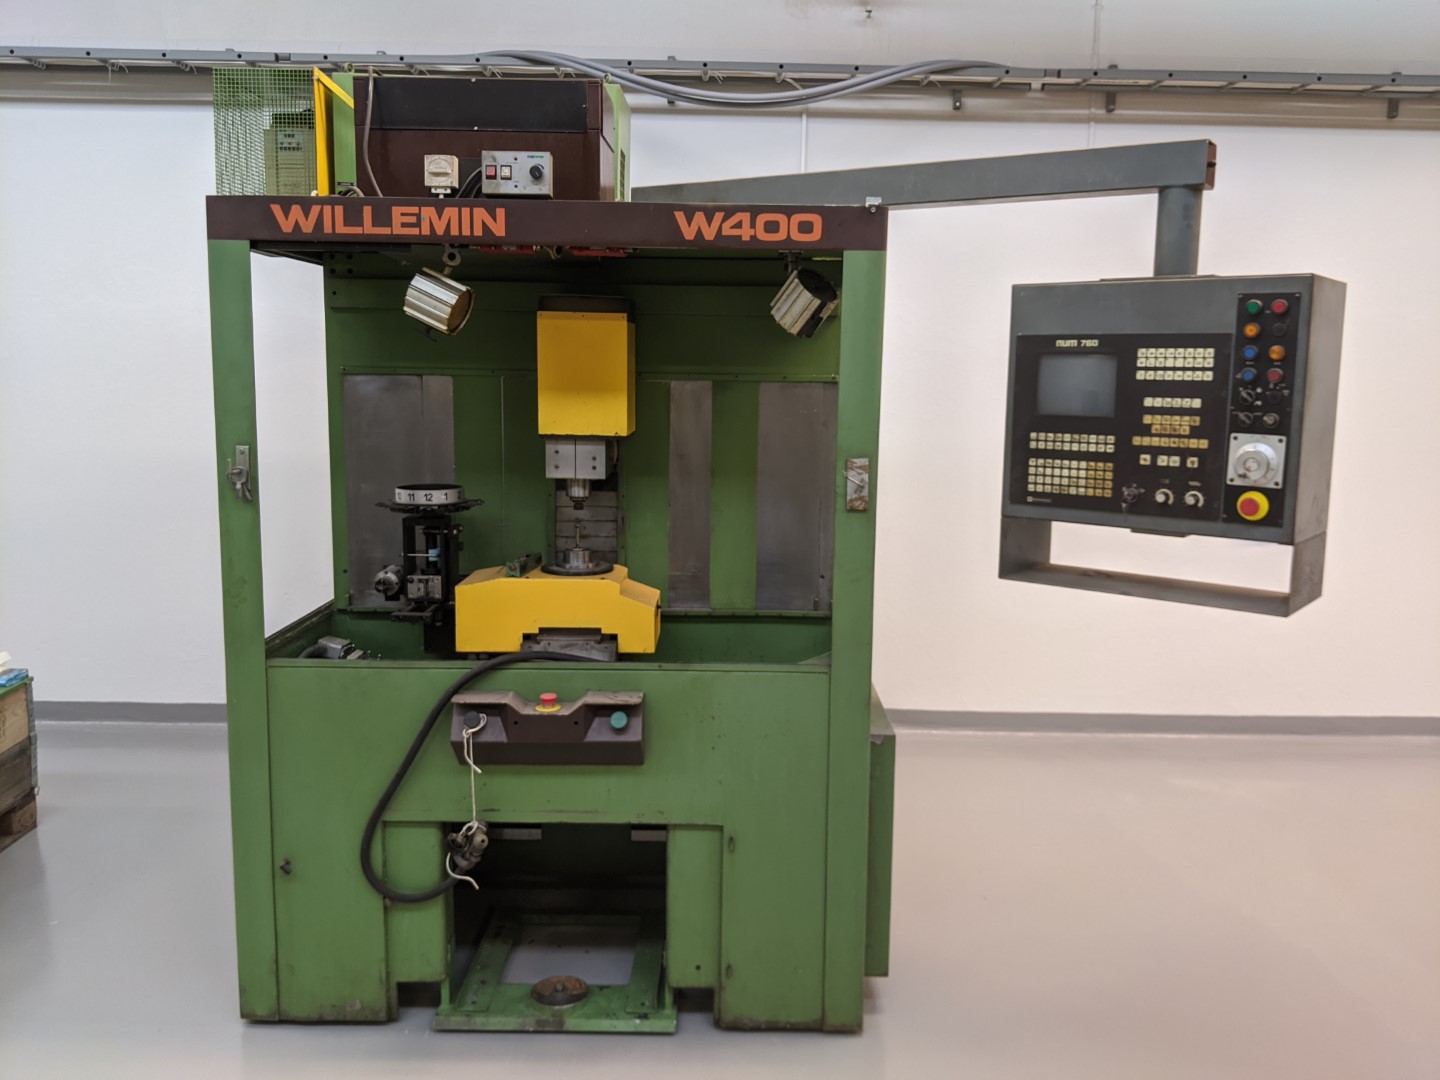
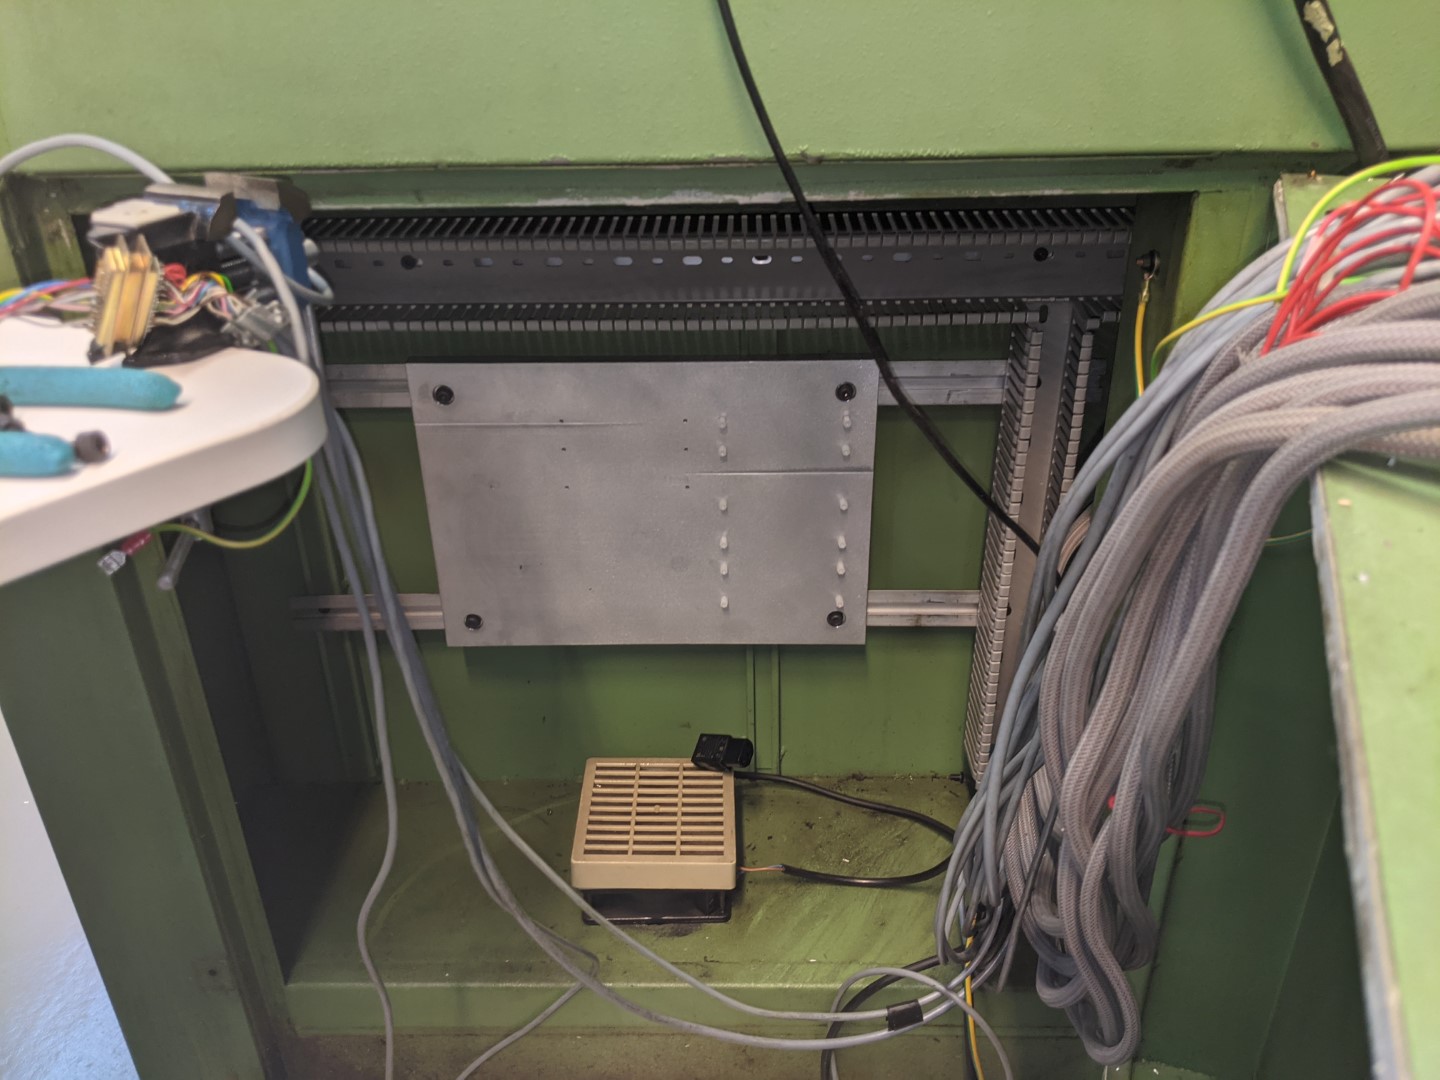
So quite some time ago I bought this:
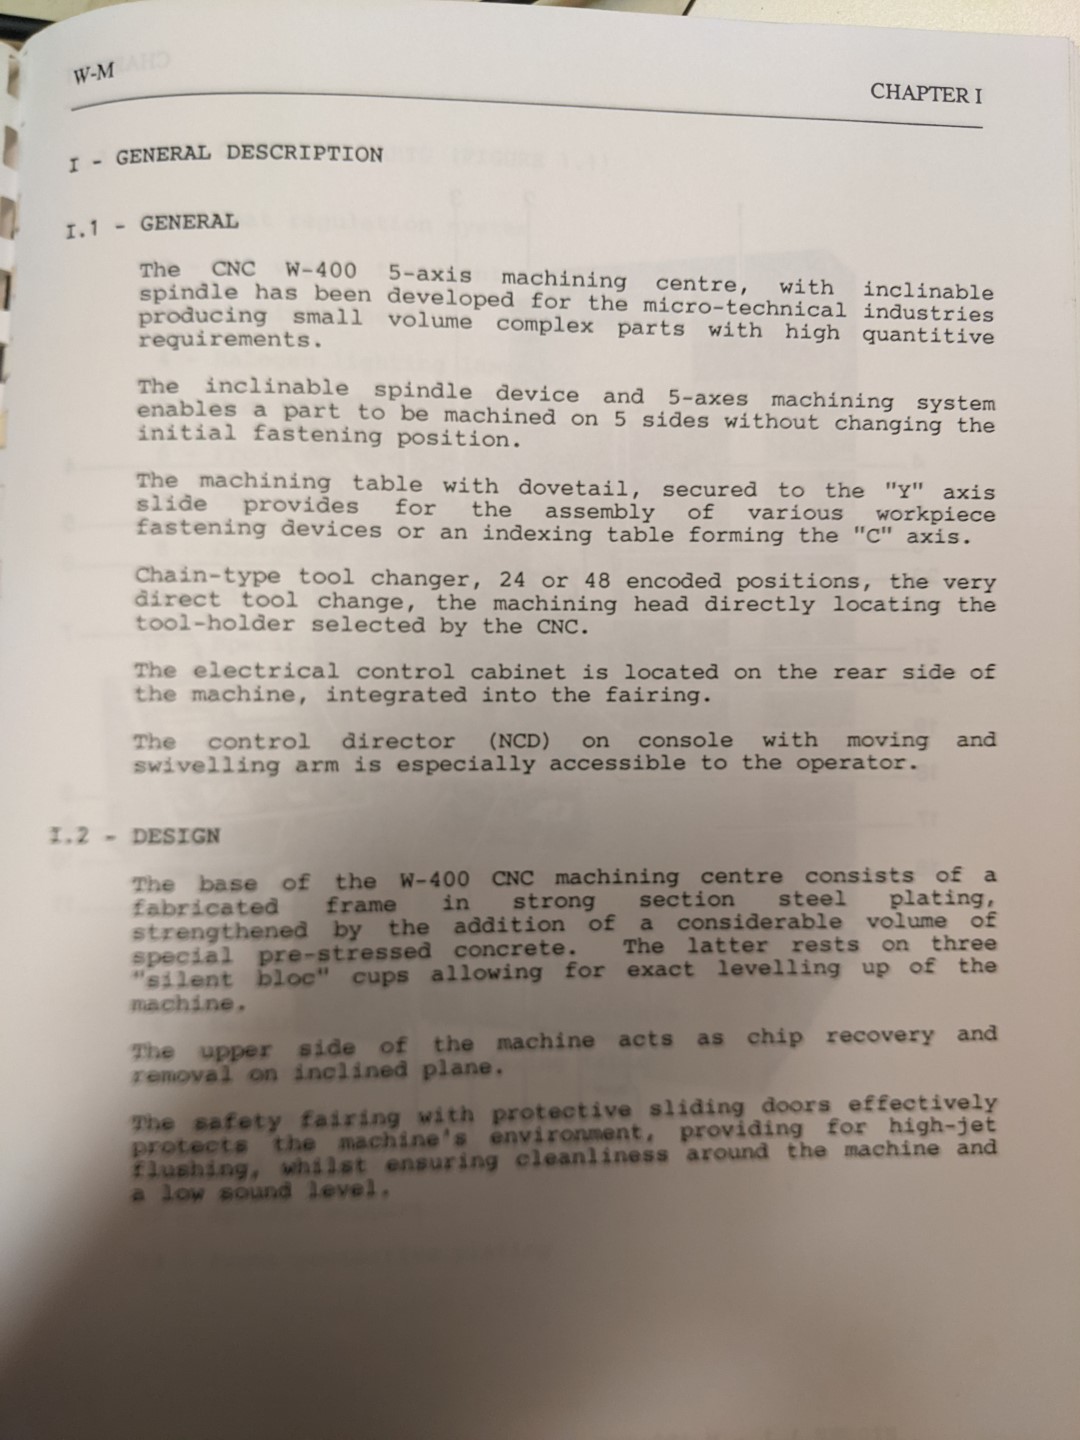
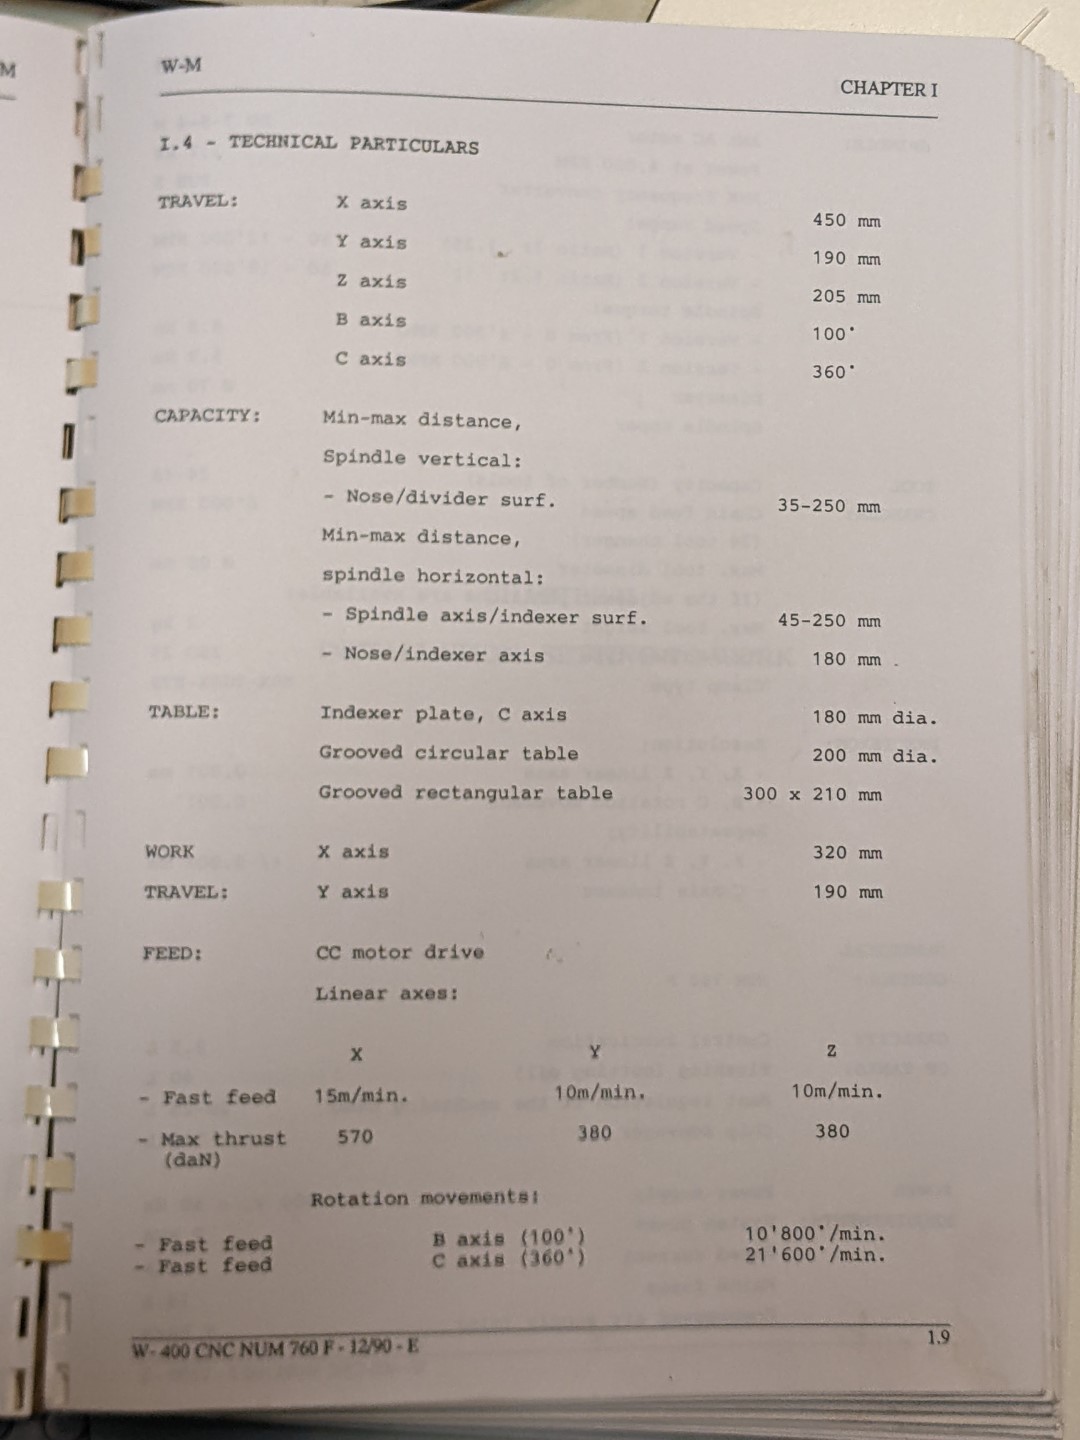
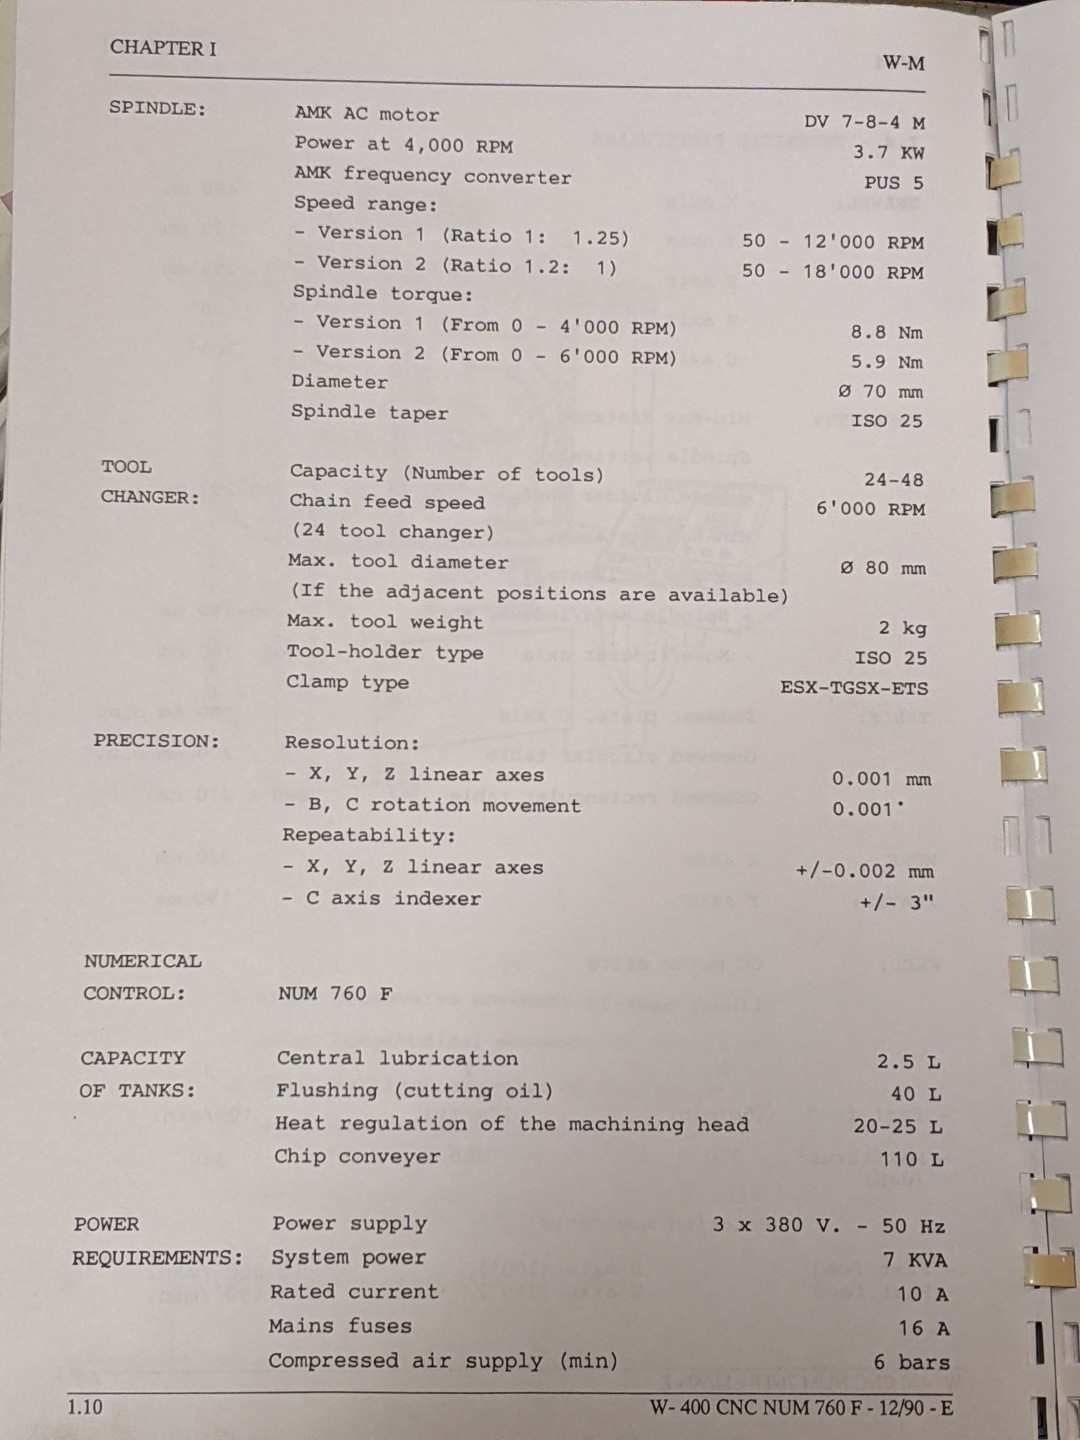
It came with full documentation. This machine was renovated by Willemin to like new condition (ground ways etc) then used again for many years. In my opinion it looks like it is still in pretty good mechanical condition (although many things needed/needs repair).
It is a quite sturdy piece it has an iso25 taper and weights ~2800kg
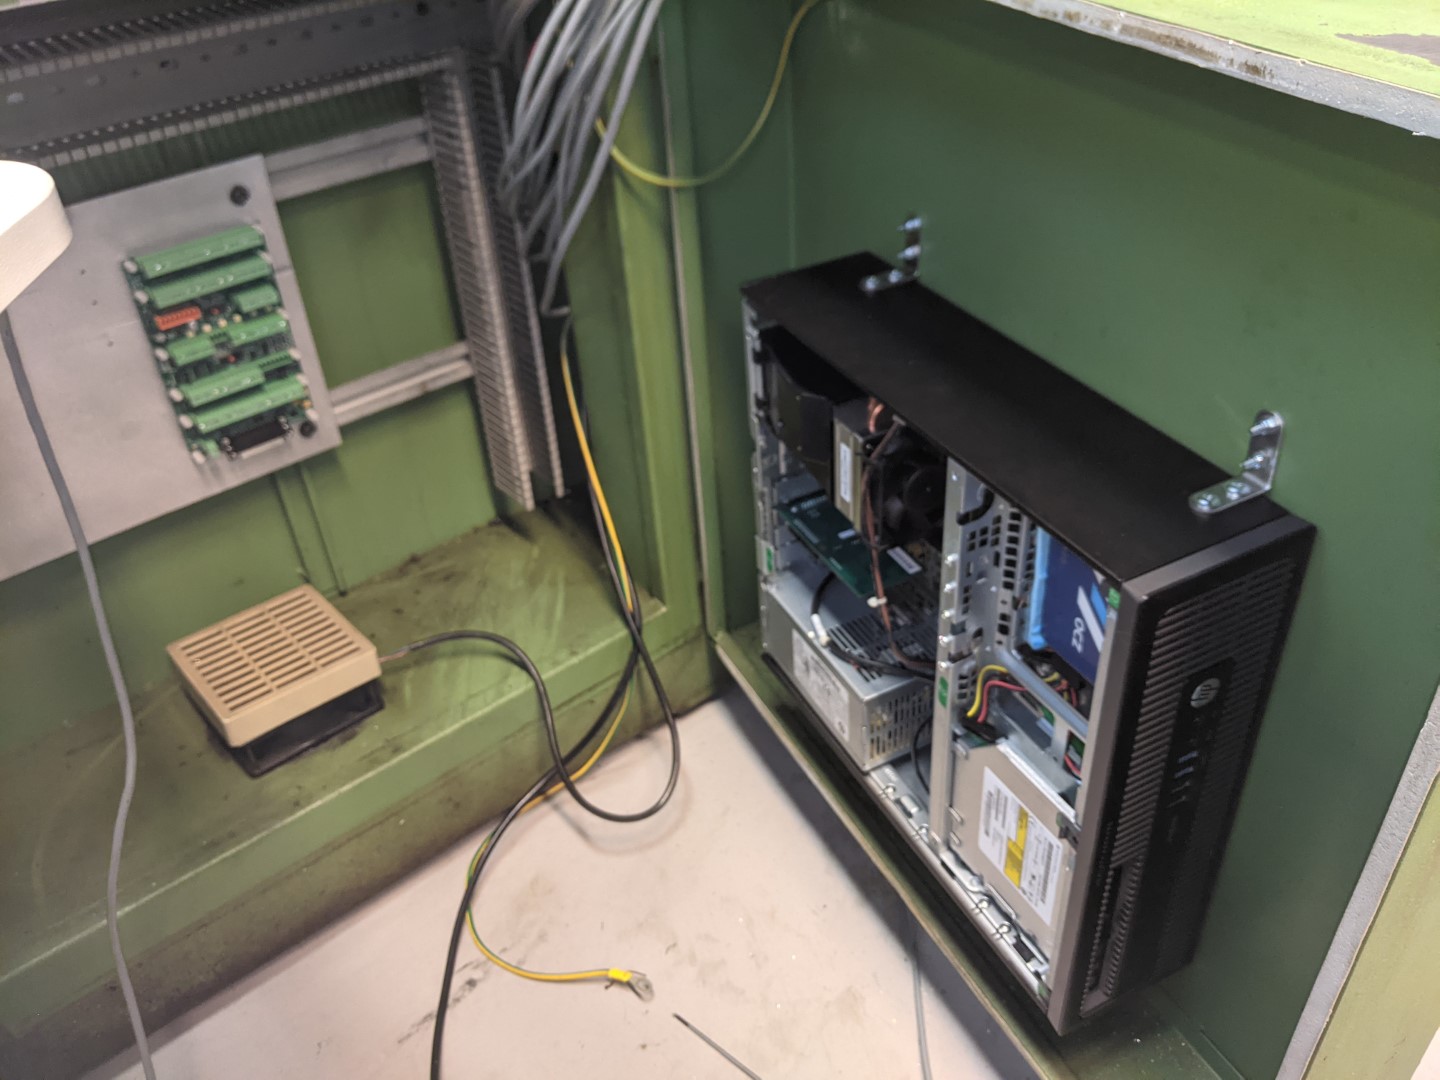
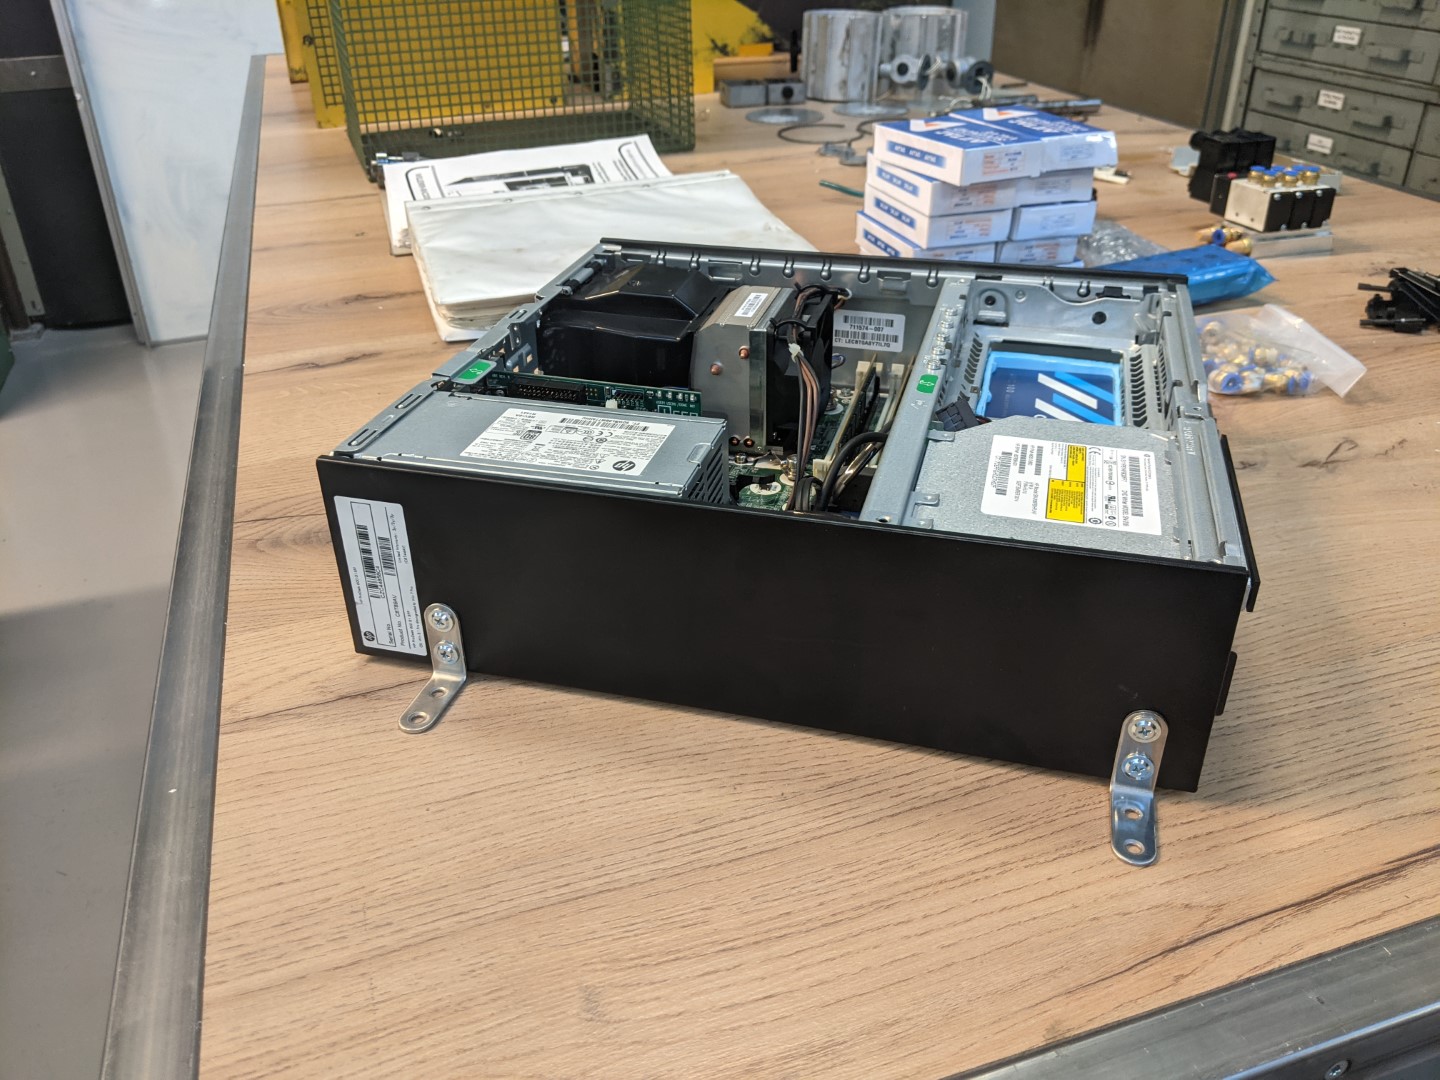
So, my intention is to get this thing to work with LinuxCNC. I thought I could share my progress here and maybe get some input along the way...
/MrK
Attachments:
Please Log in or Create an account to join the conversation.
- MrK
- Offline
- Junior Member
-

- Posts: 27
- Thank you received: 8
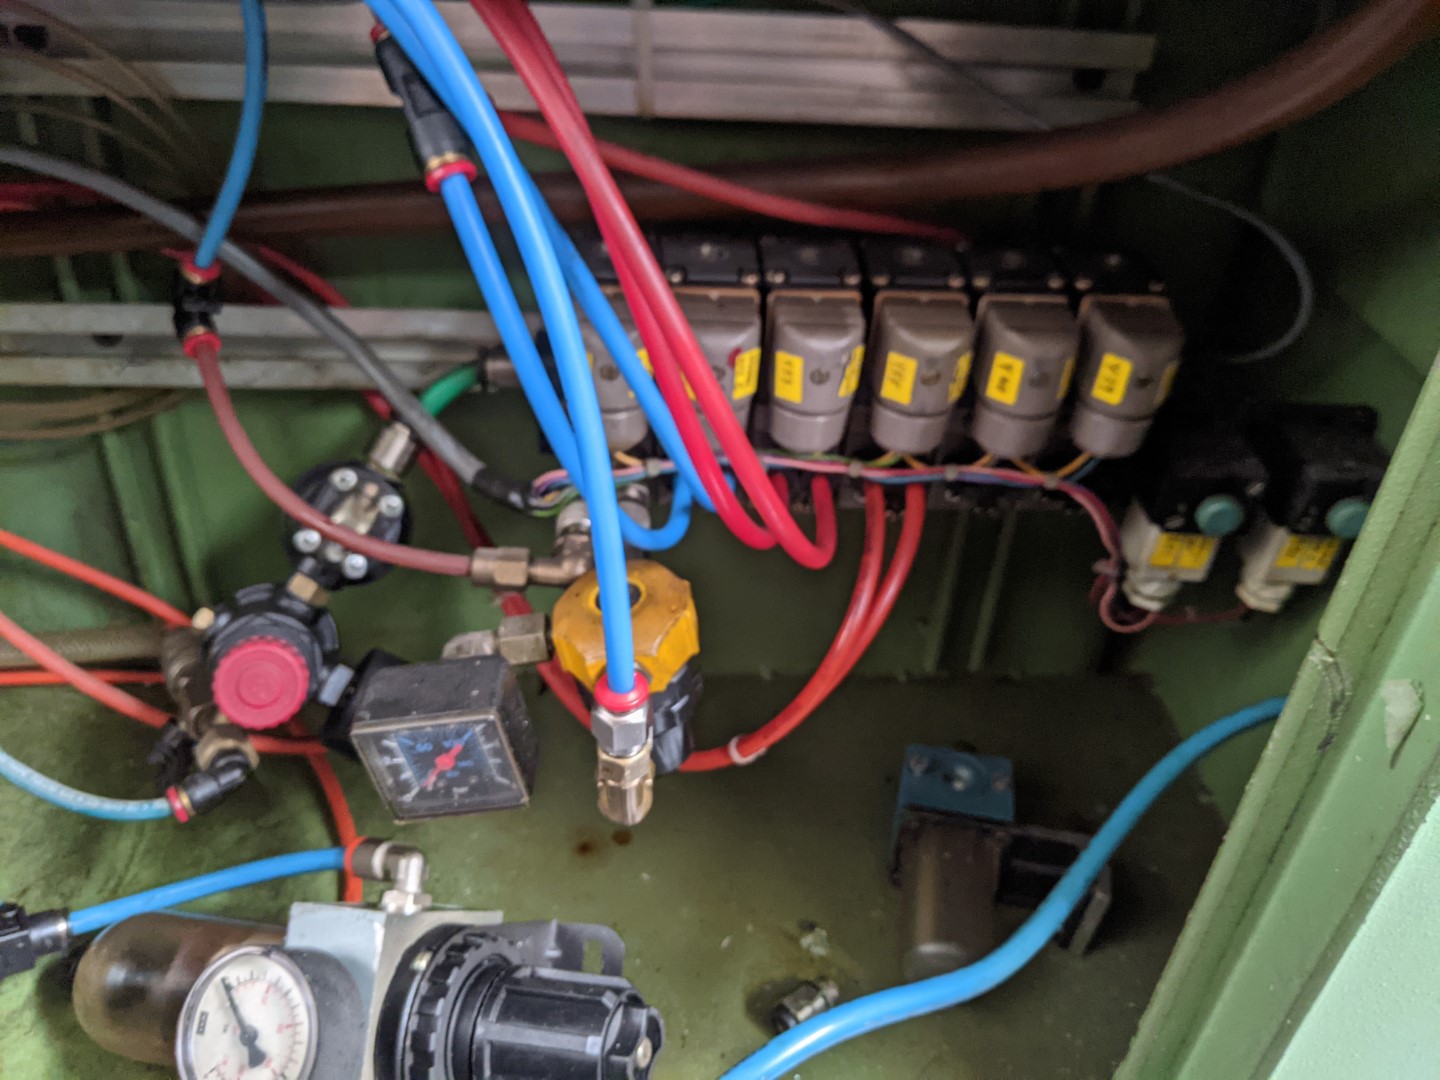
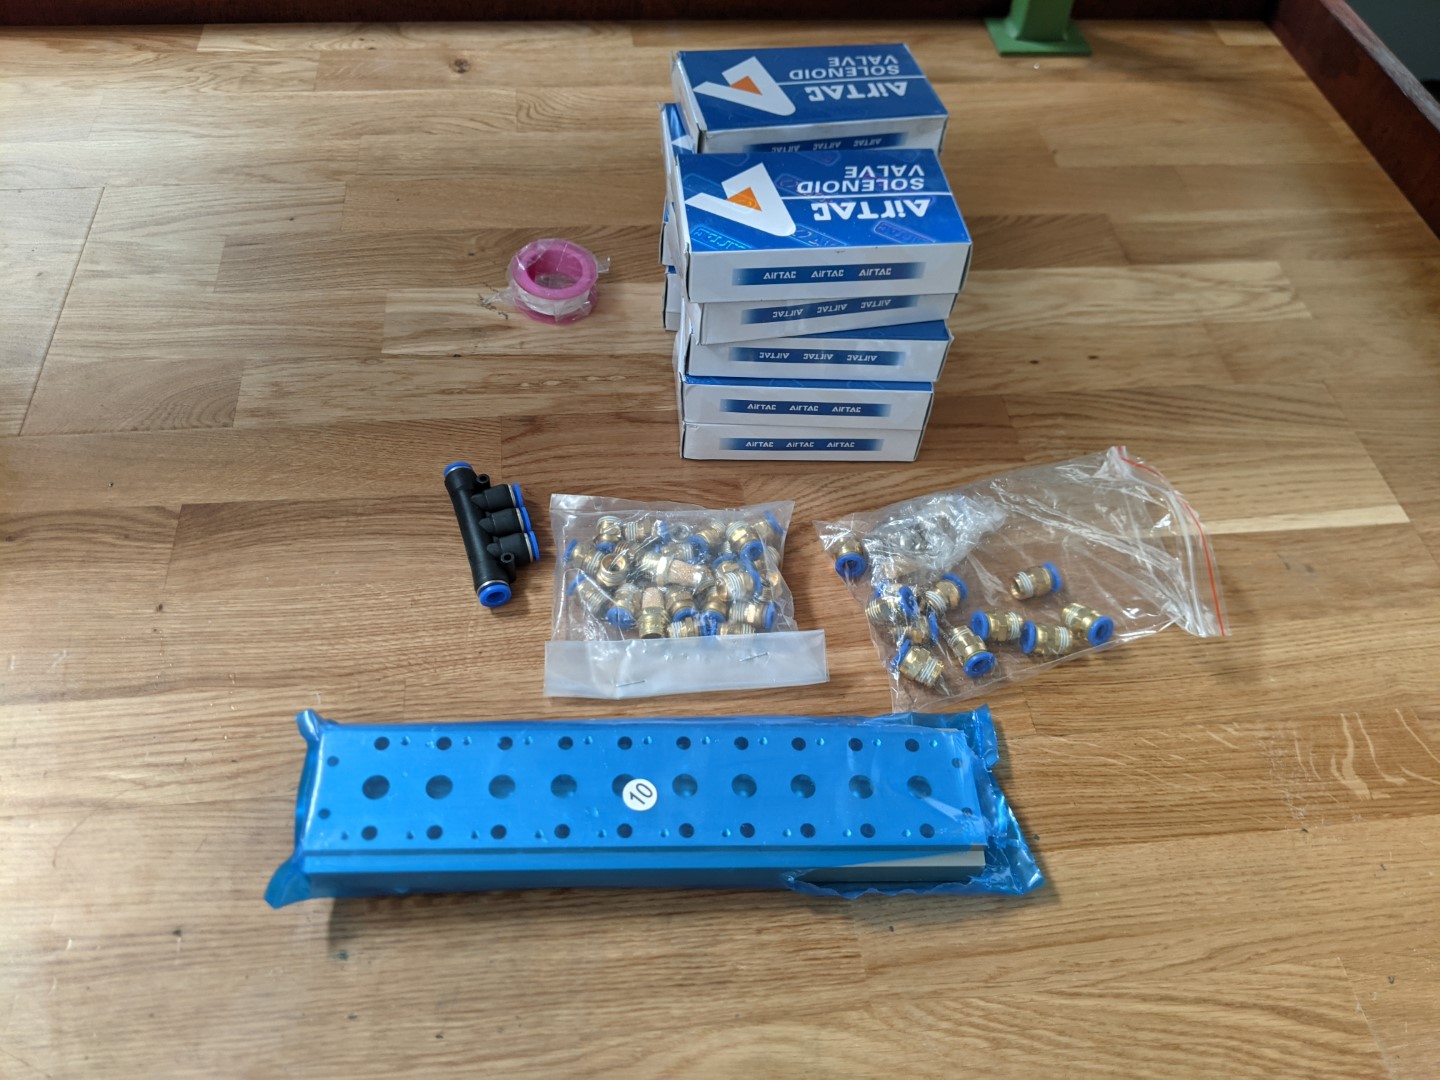
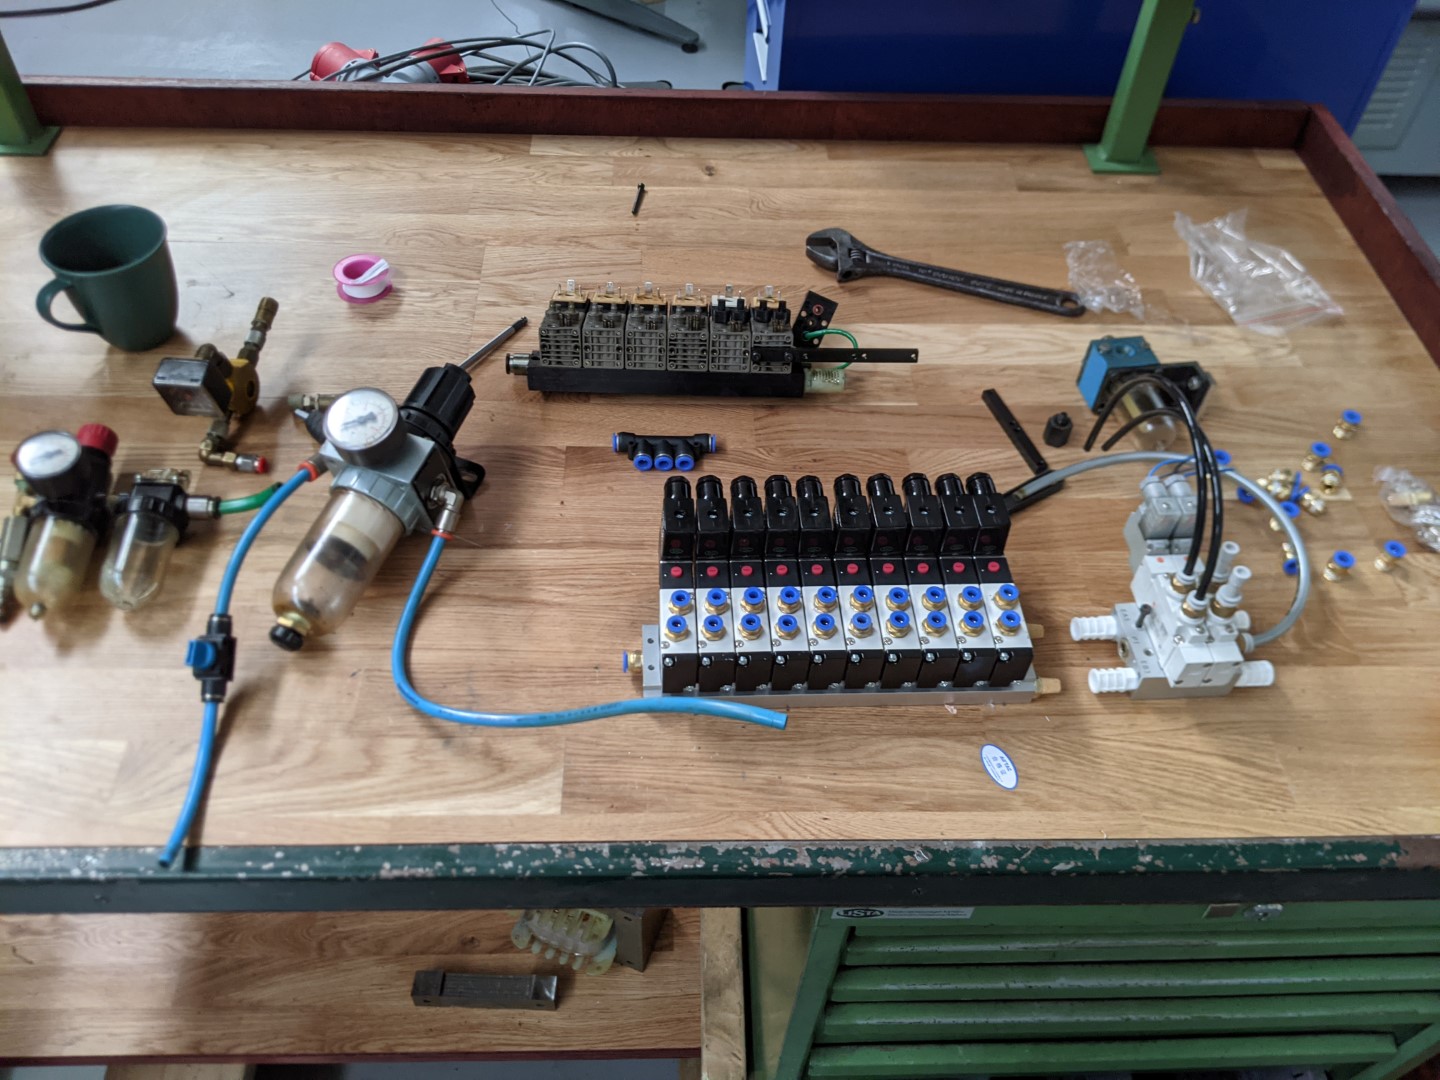
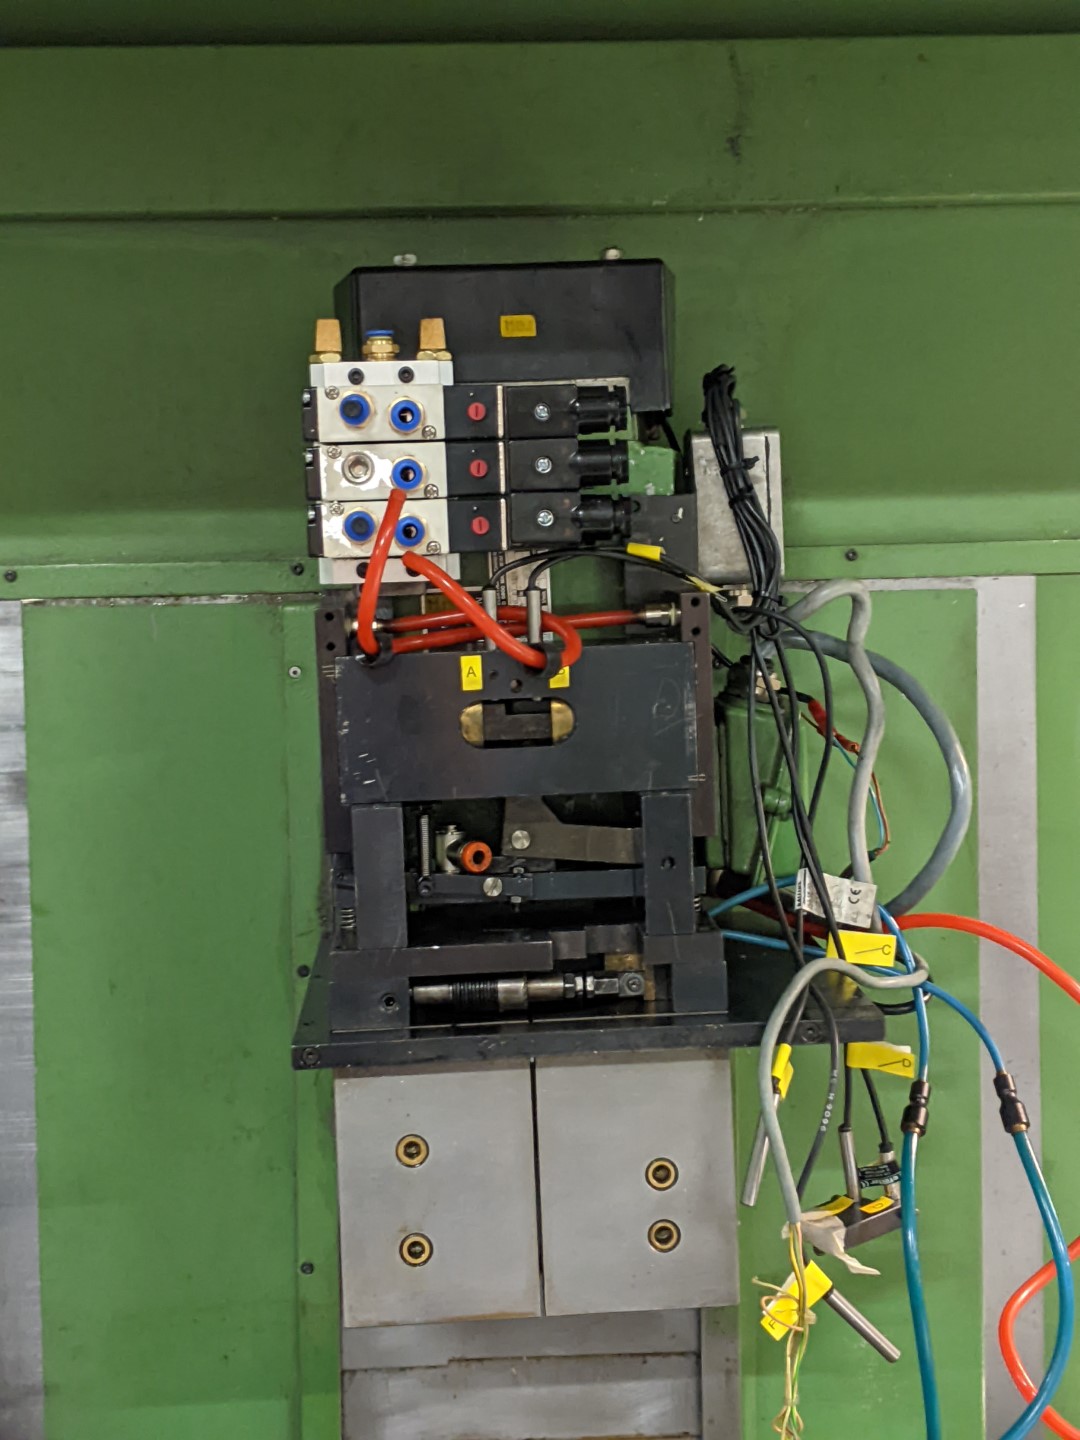
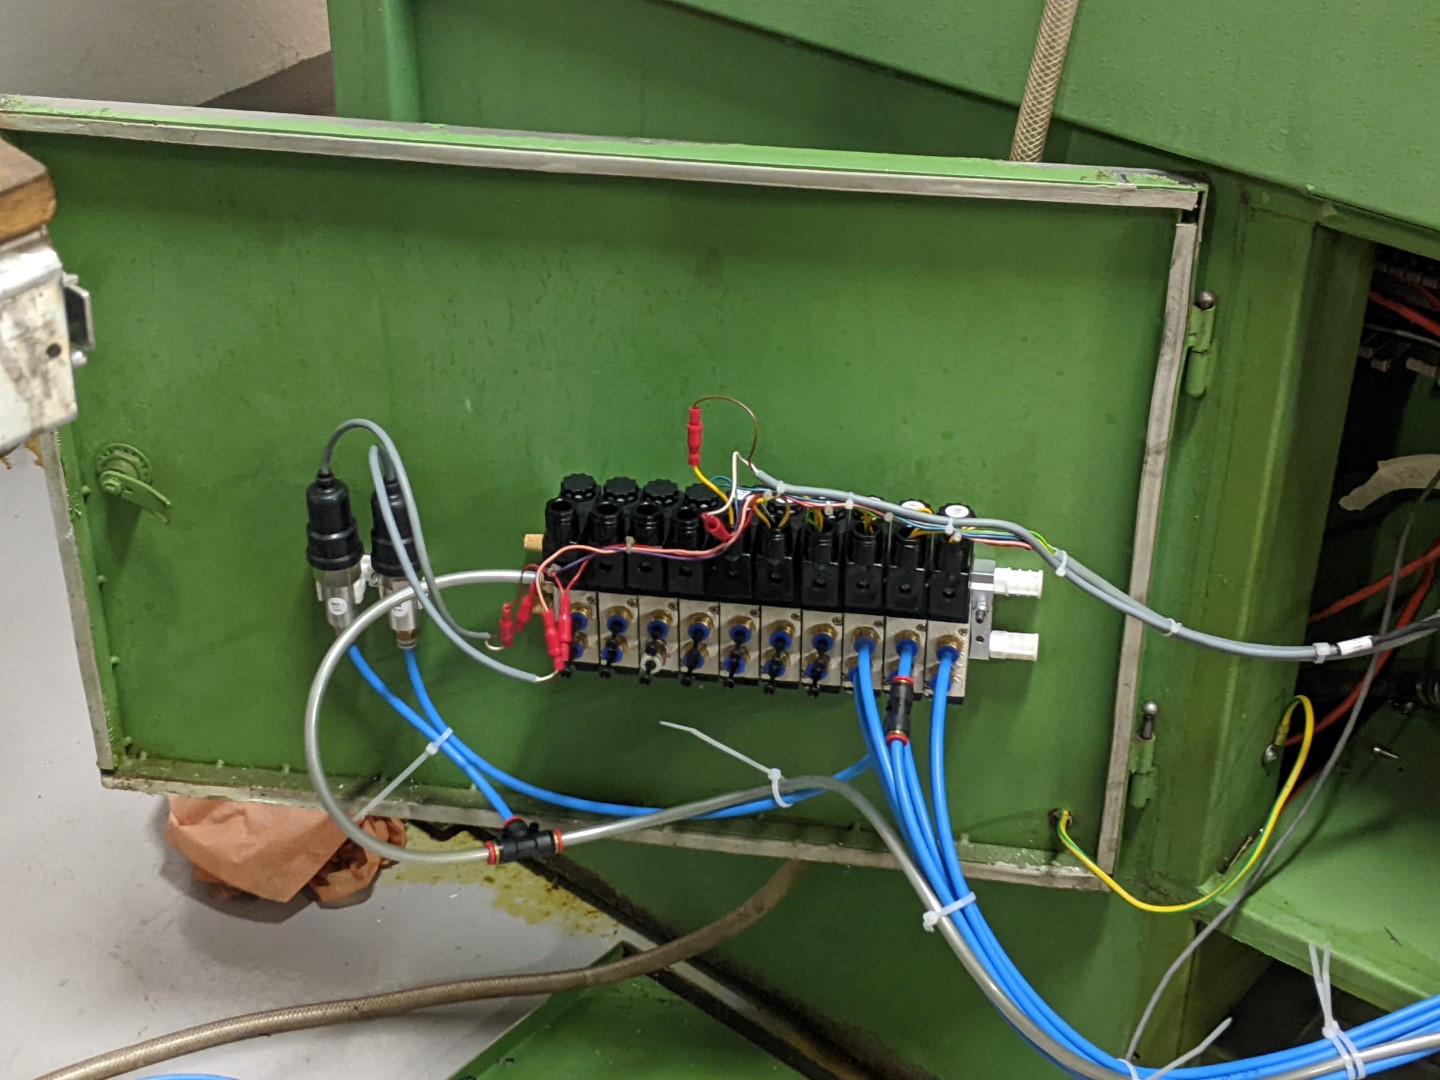
I also quickly got to know that the pneumatic valves was out of order. It turned out that the rubber membrane in them was totally dried out. I have now replaced most of the pneumatics.
I can now run 4 out of 5 axis with LinuxCNC.
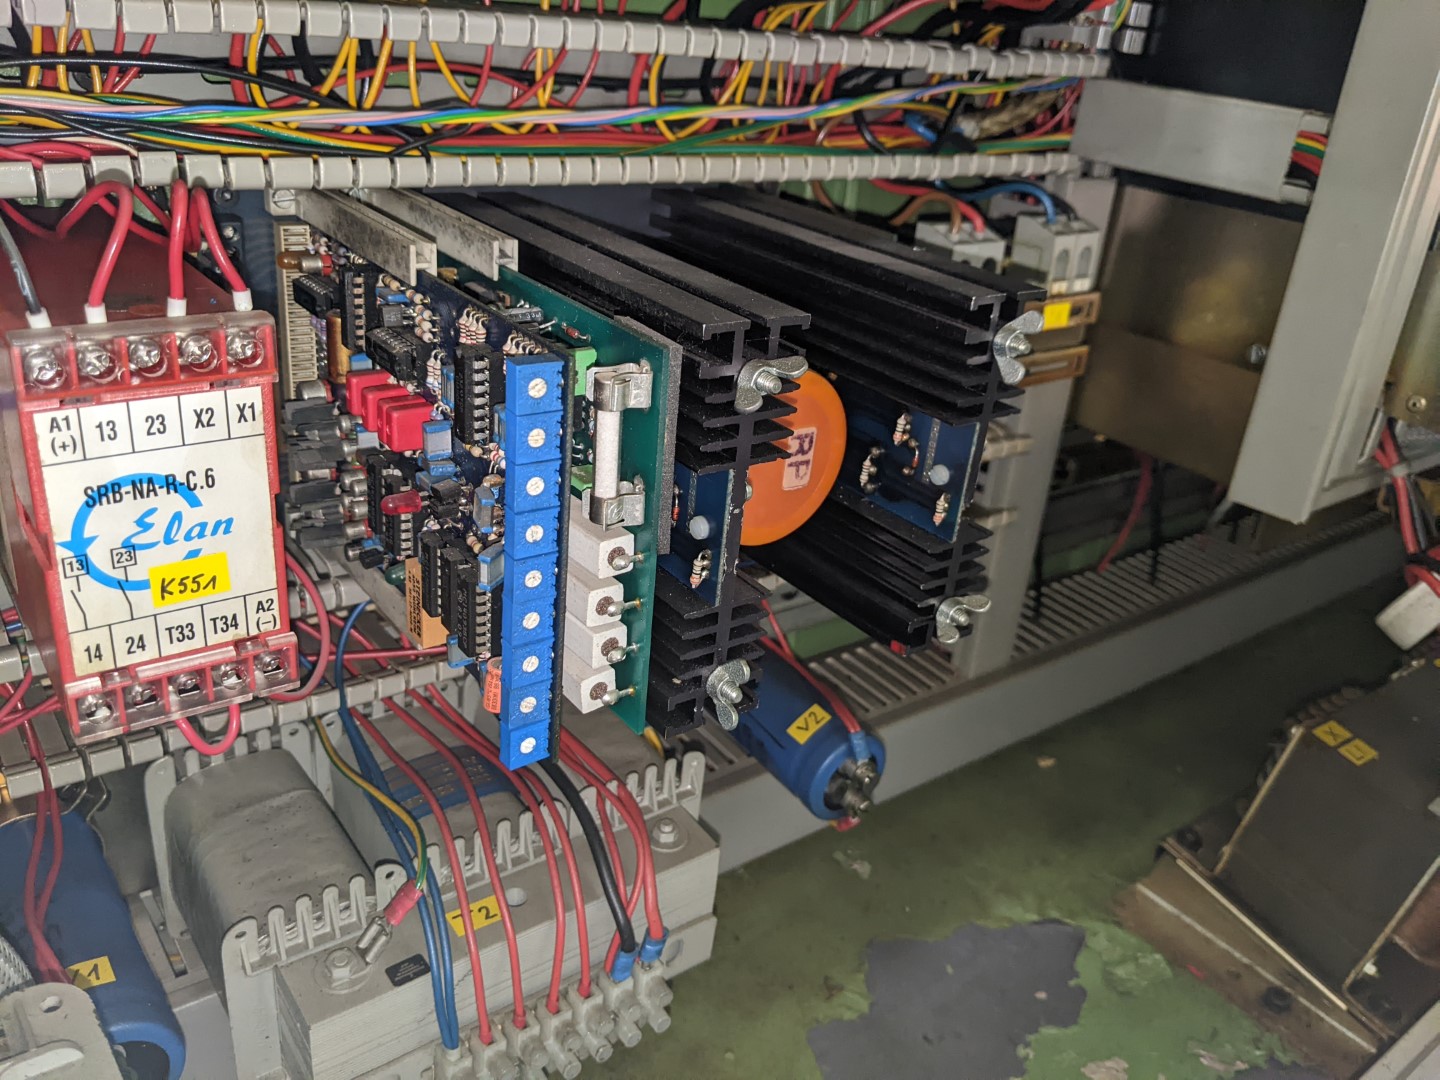
The fith axis (B-axis) can only be moved in one direction. I suspect the driver is damaged. Have not taken out the driver yet.
Attachments:
Please Log in or Create an account to join the conversation.
- MrK
- Offline
- Junior Member
-

- Posts: 27
- Thank you received: 8
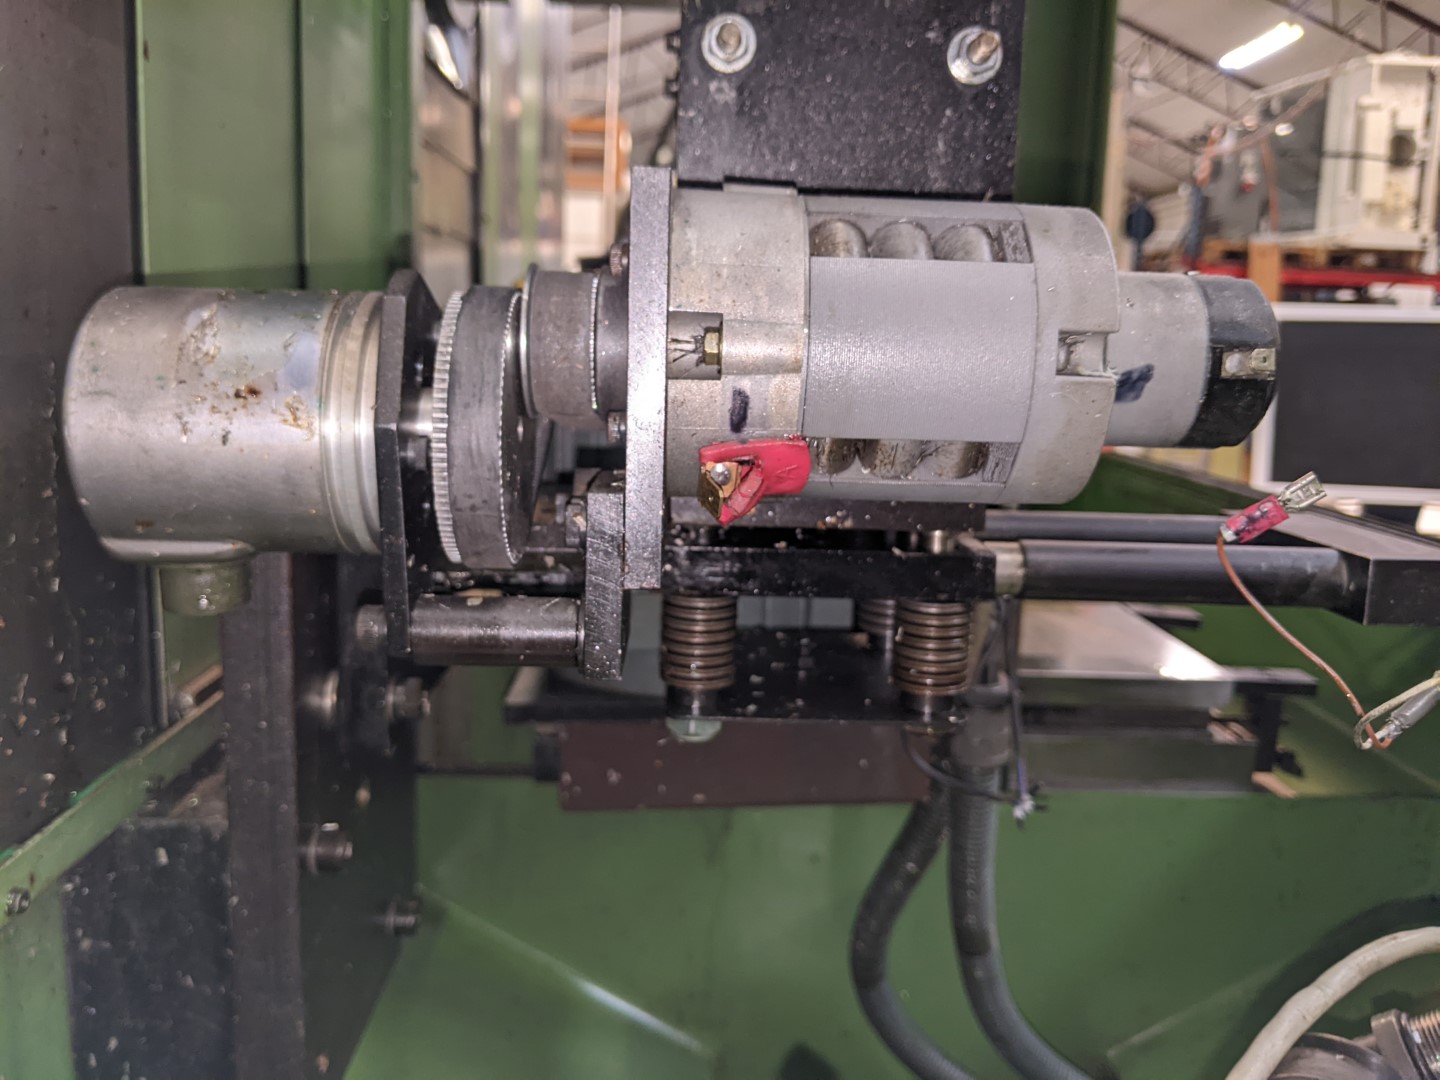
The turret rotates by a DC-motor. The DC-motor has a separat servo amplifier and an encoder connected that was directly connected to the NUM/control.
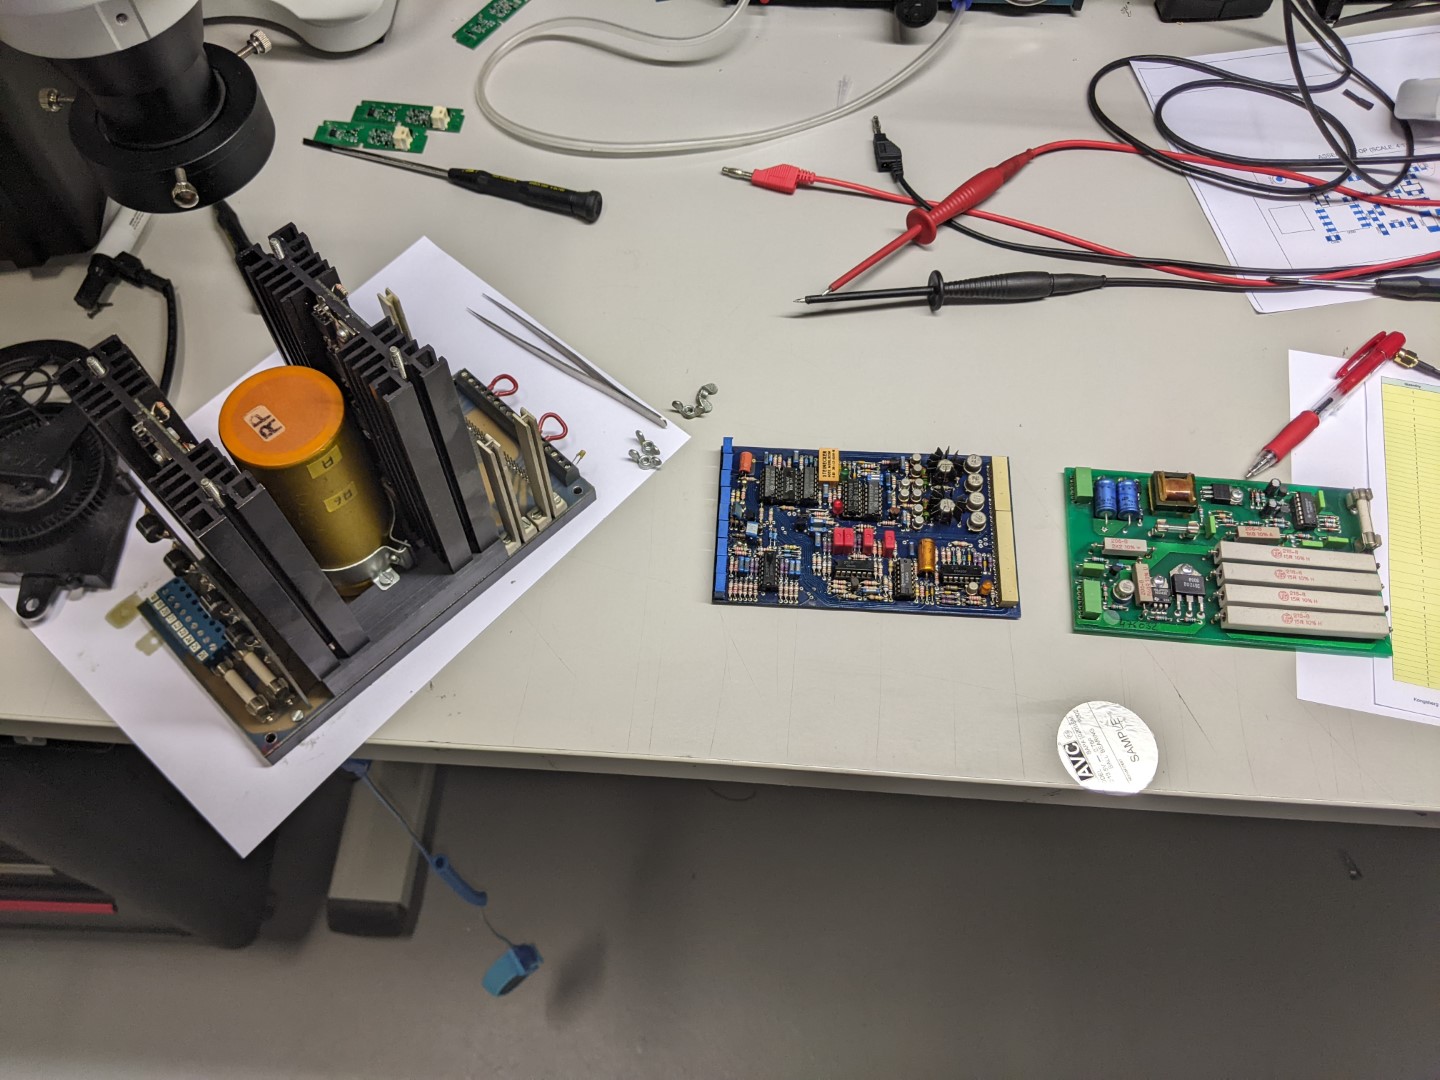
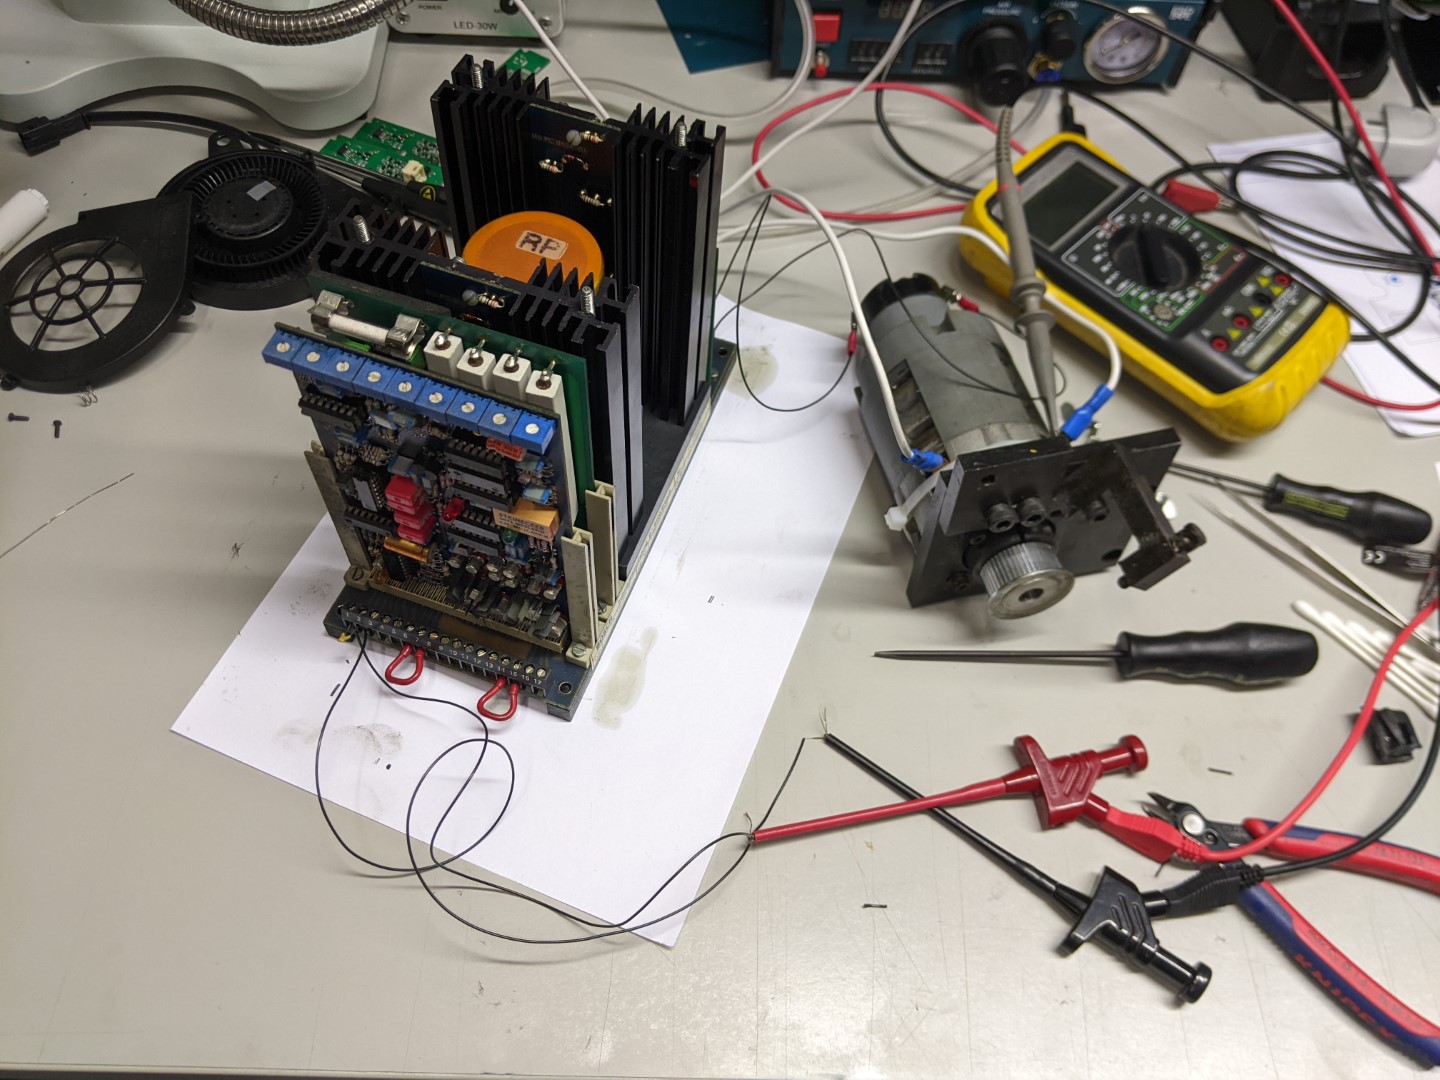
I took out the amplifier and motor. I found that one connector pin on the PCB back plane connectors was bent and did not go into the mating connector. Also the motor brushes didn't work that well due to that the rubber that held them in place was falling apart.
I still need a better way to secure the brushes (usint a plastic strap now...) but I can now control the turret from LinuxCNC.
Still the home sensor needs to be replaced.
Attachments:
Please Log in or Create an account to join the conversation.
- MrK
- Offline
- Junior Member
-

- Posts: 27
- Thank you received: 8
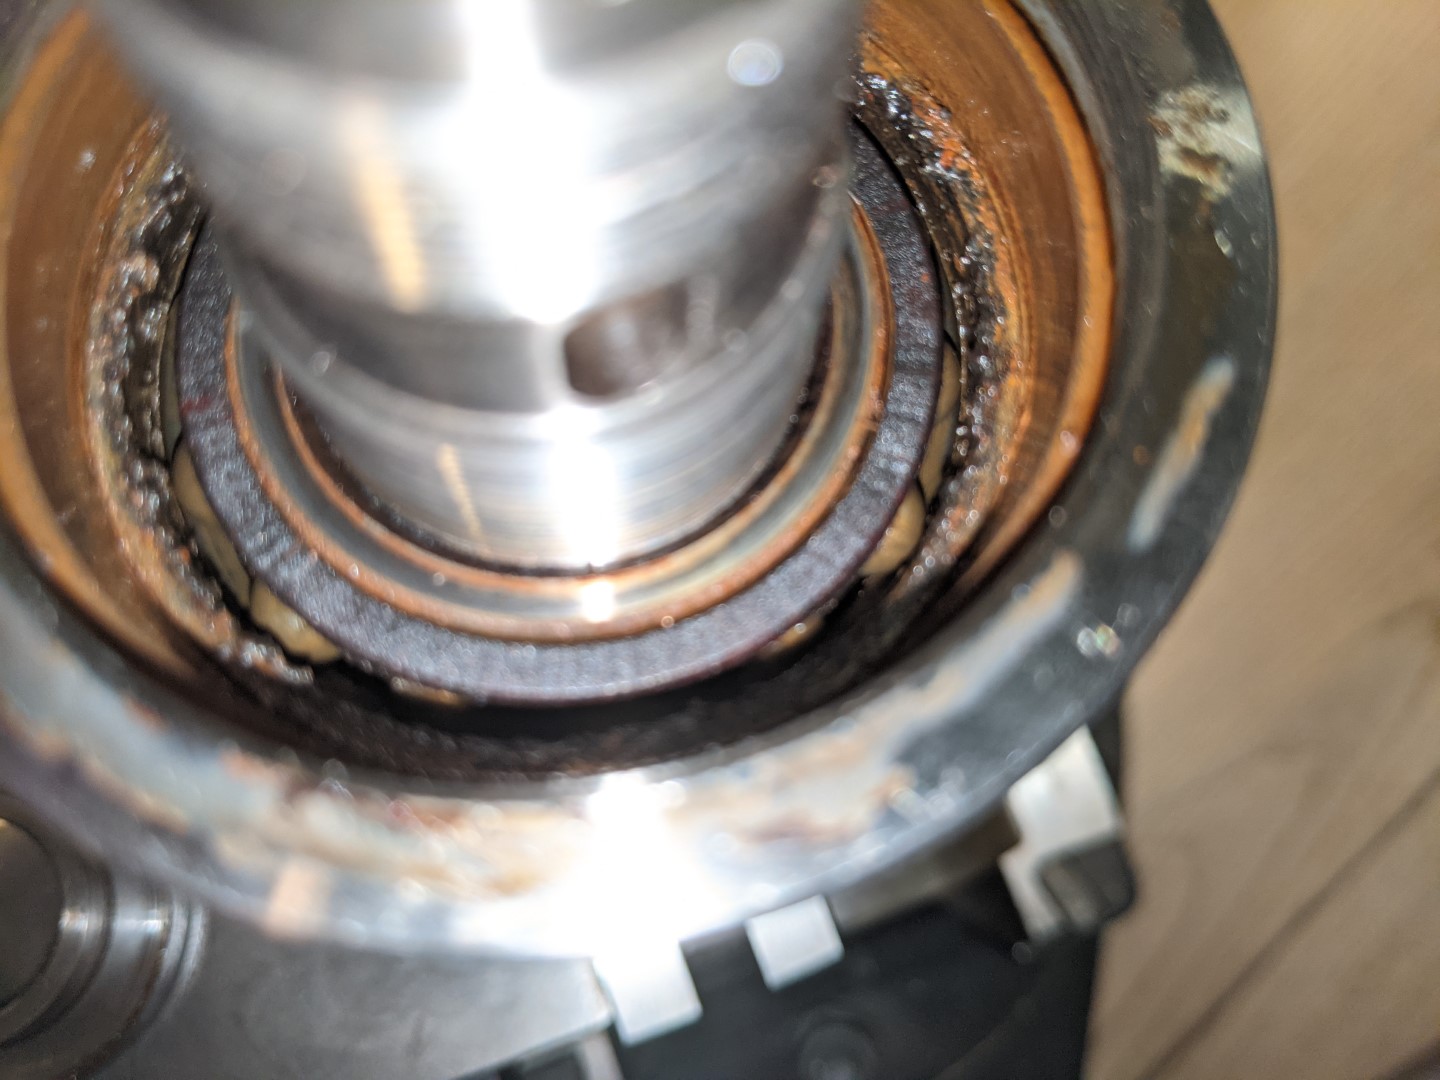
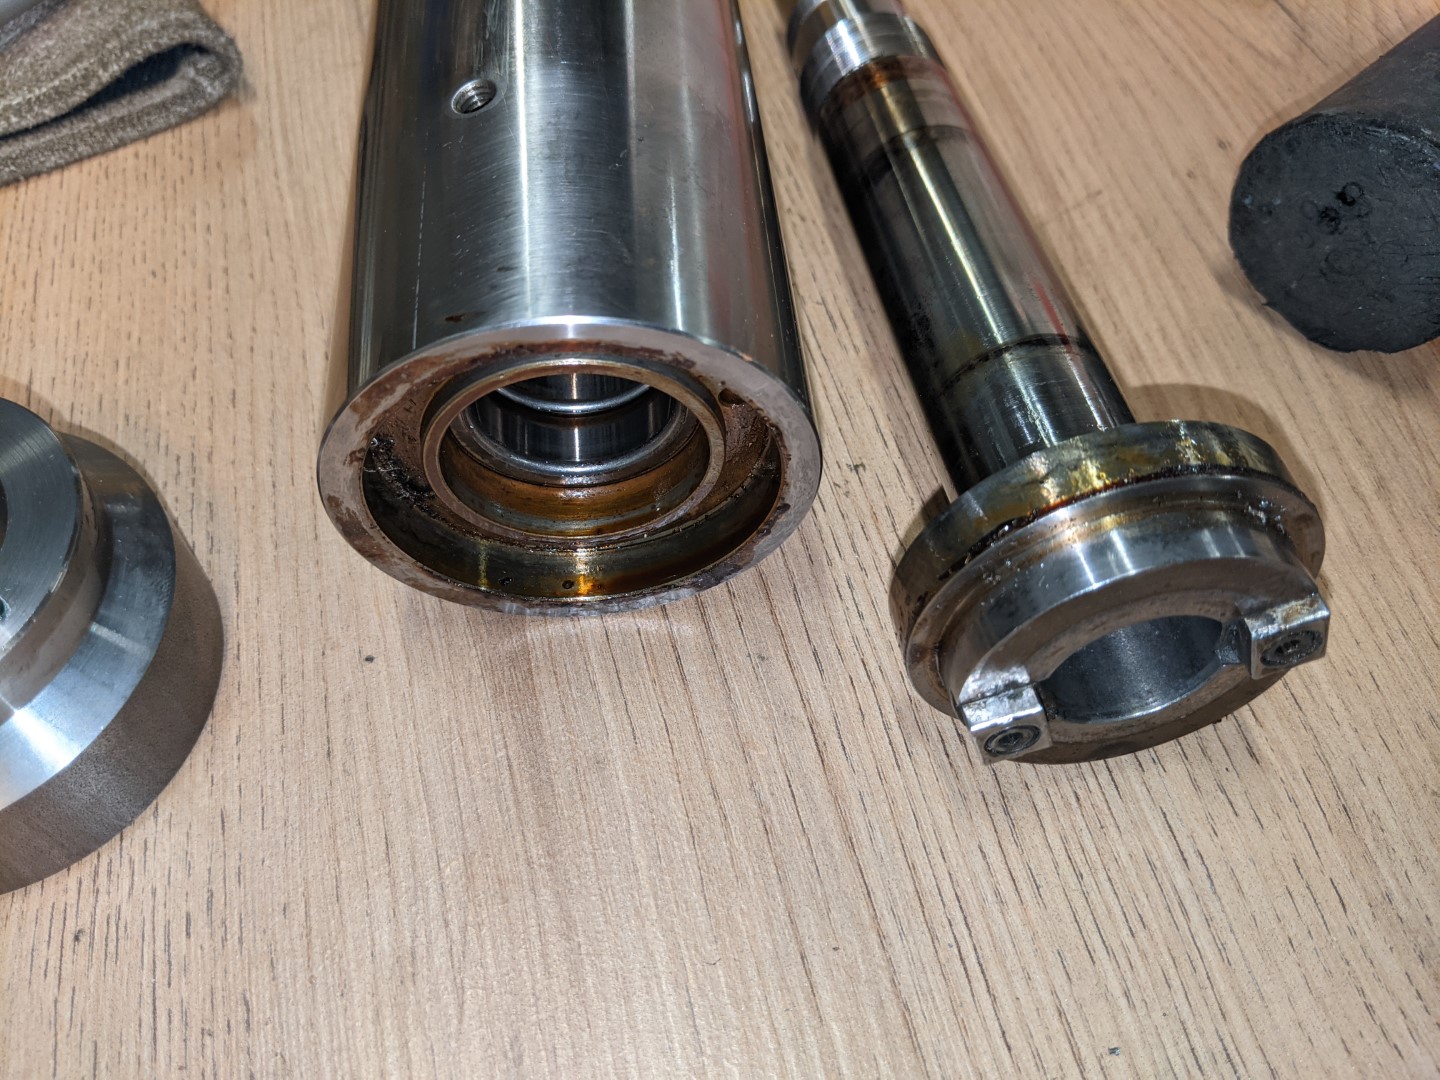
I got the spindle motor running and the screaming sound made it clear that the bearings needed to be replaced.
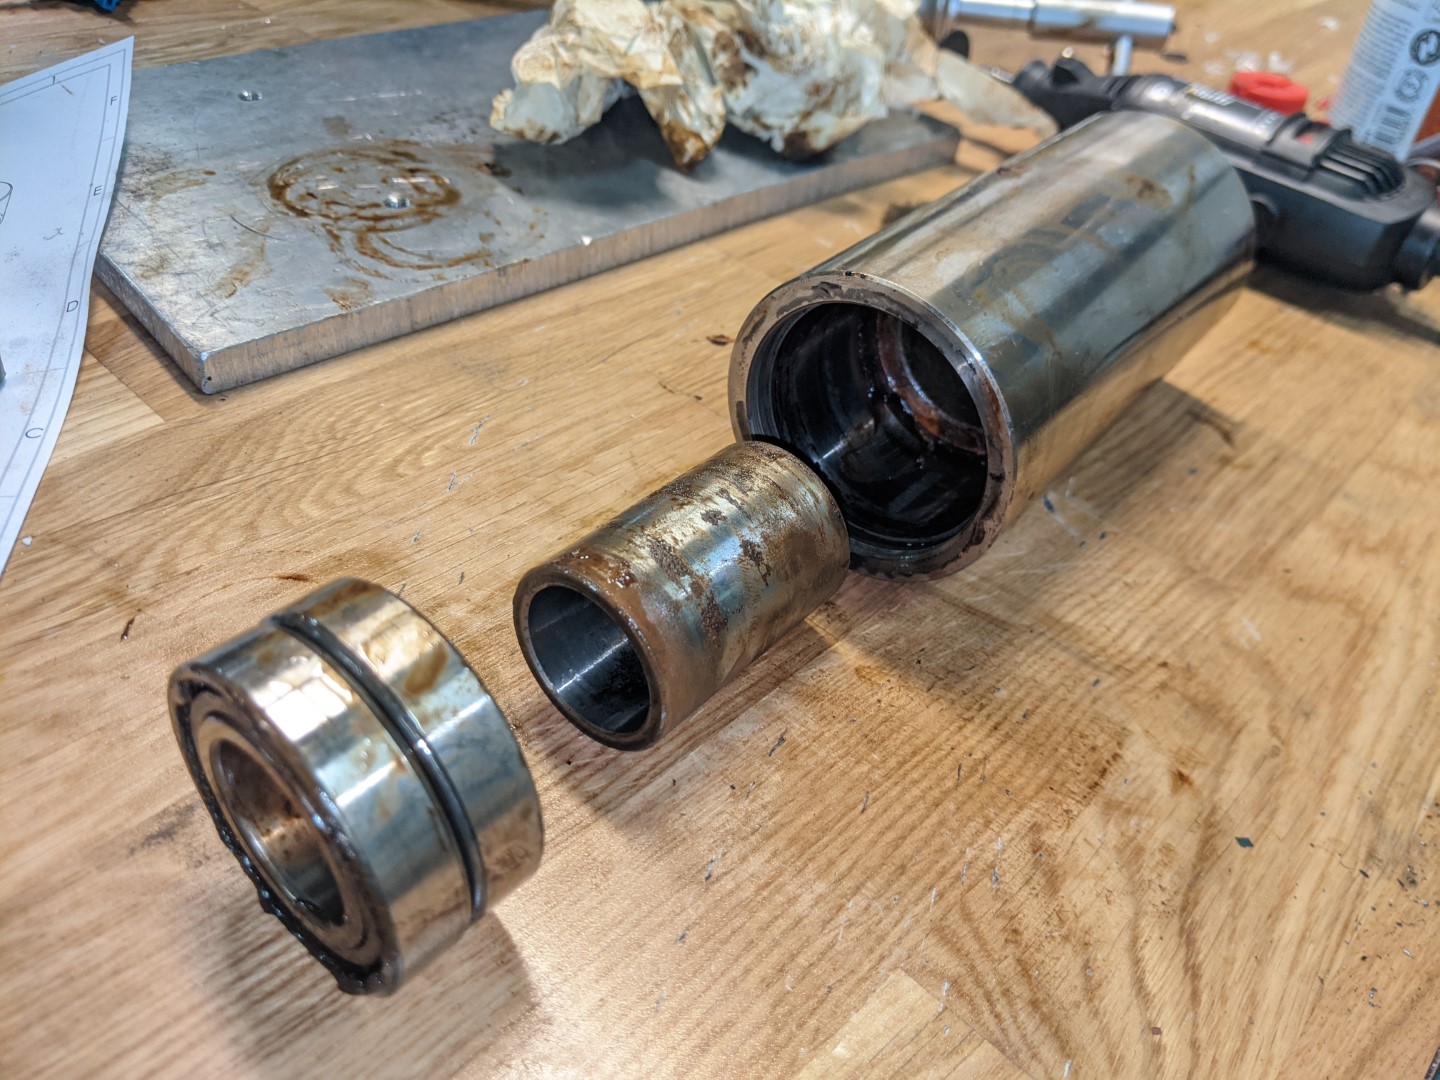
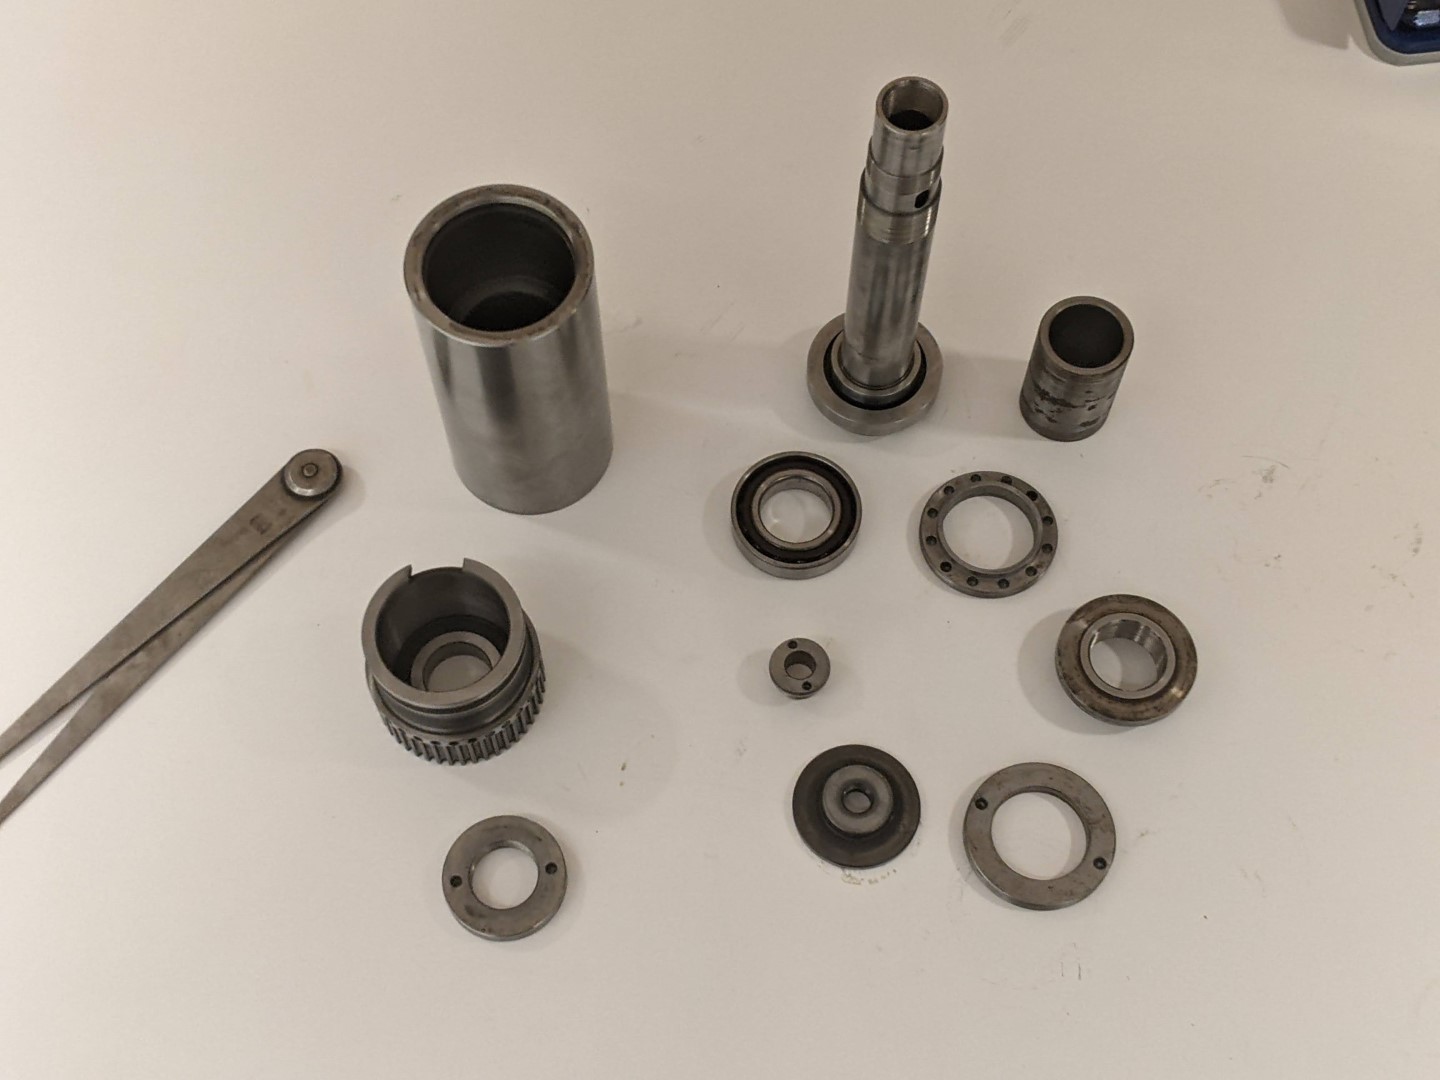
I took the spindle apart.
The bearings costs a fortune new... On e-bay one can buy "new original NSK bearings" very cheap.... My guess is that these are lower performing copies. I fortunately found new old stock bearings that I believe are original ones.
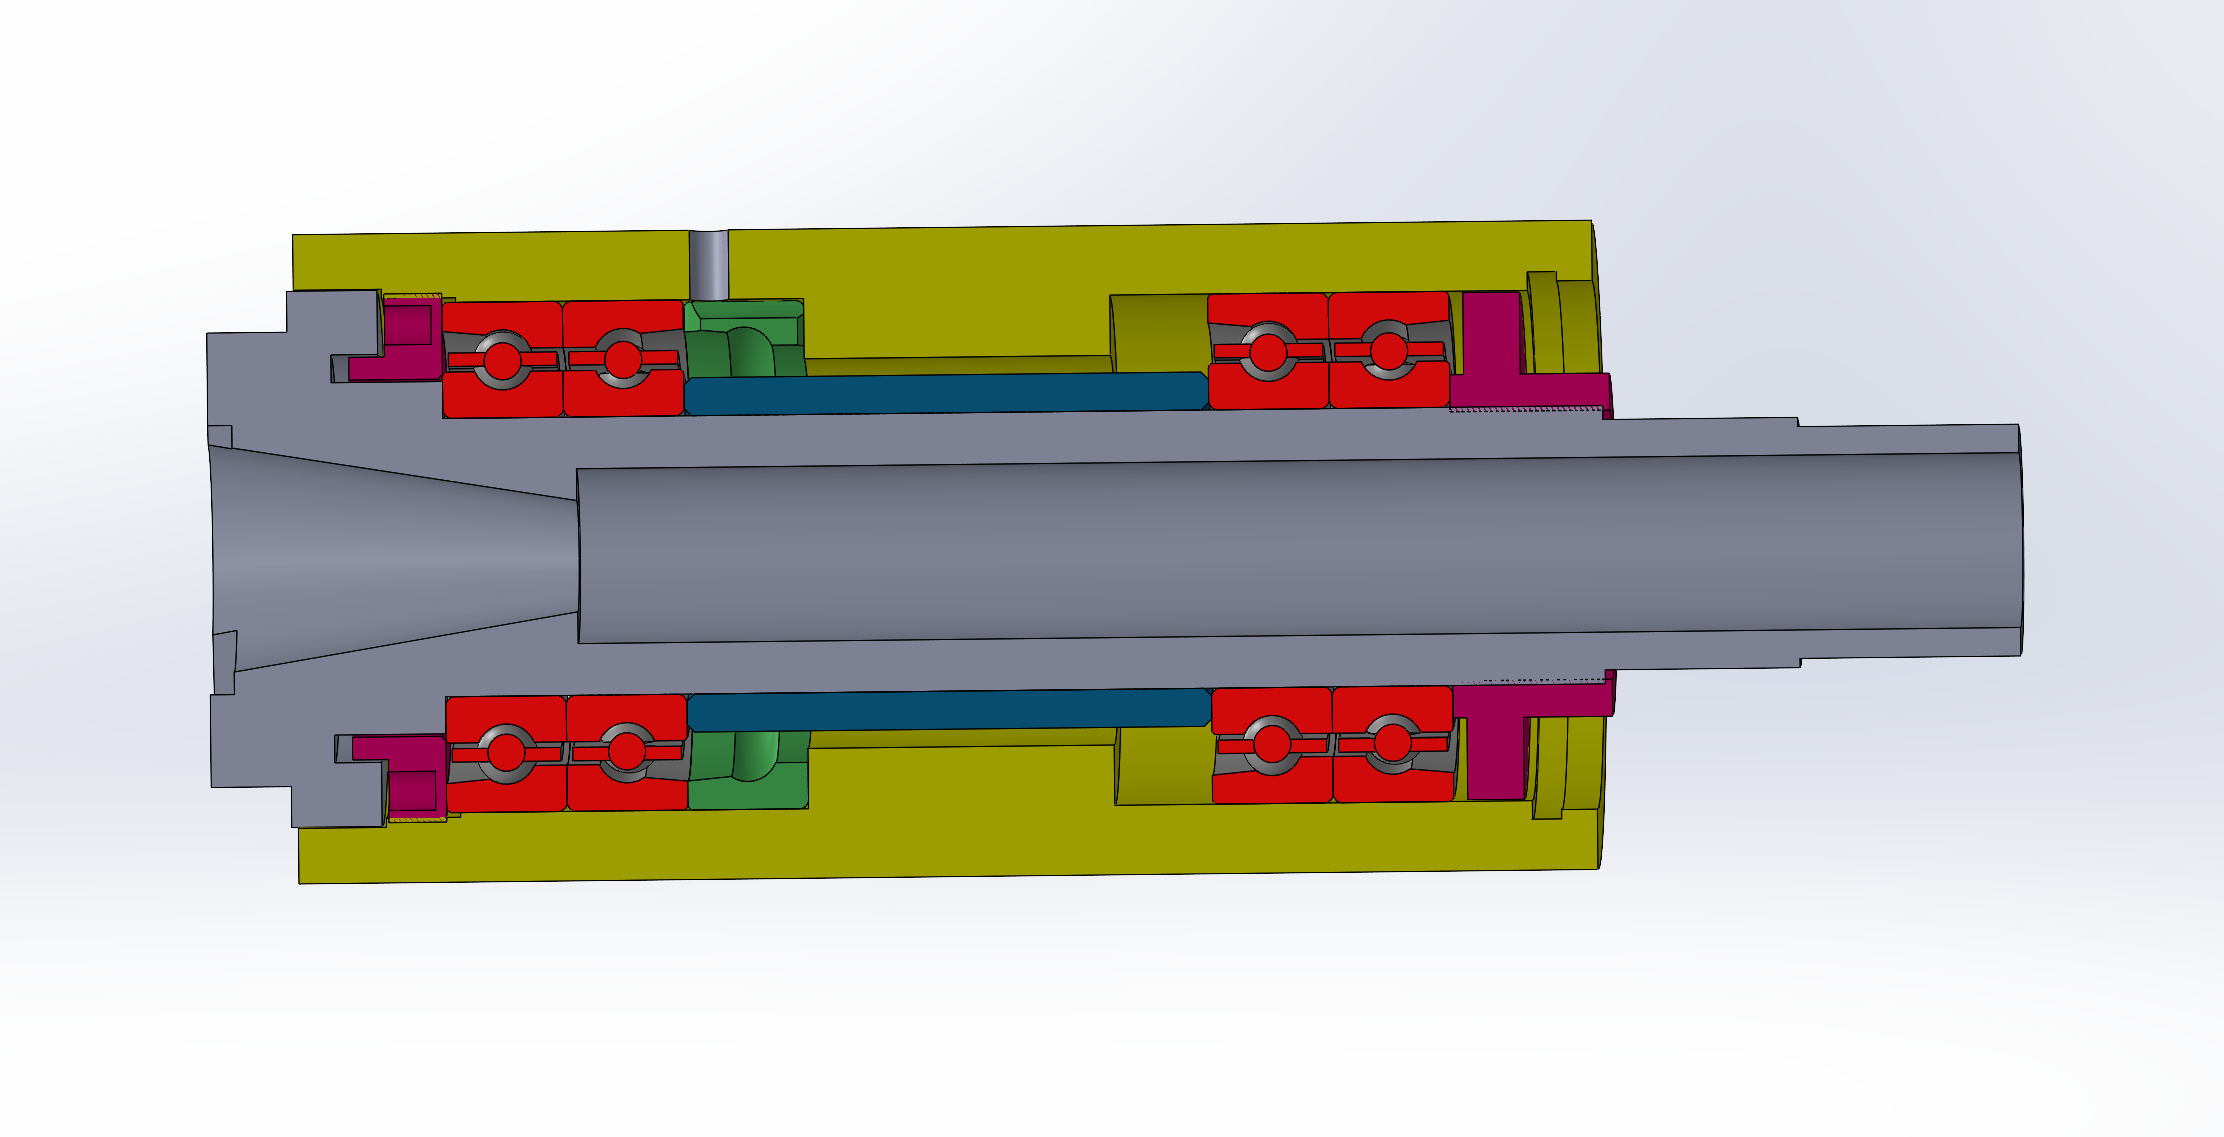
One problem is that I forgot to note the orientation of the spindle bearings. I have a vauge memory of that at least one pair wasn't stacked in a back to back configuration....
To figure out if that could be the case I made a 3D-model of the spinlde. Now I really think the bearings should be oriented "back to back" as in the picture. Or is there any other possible configuration...?
Anyone who knows where to get a small qty of good quality spindle bearing grease for my 7006C bearings?
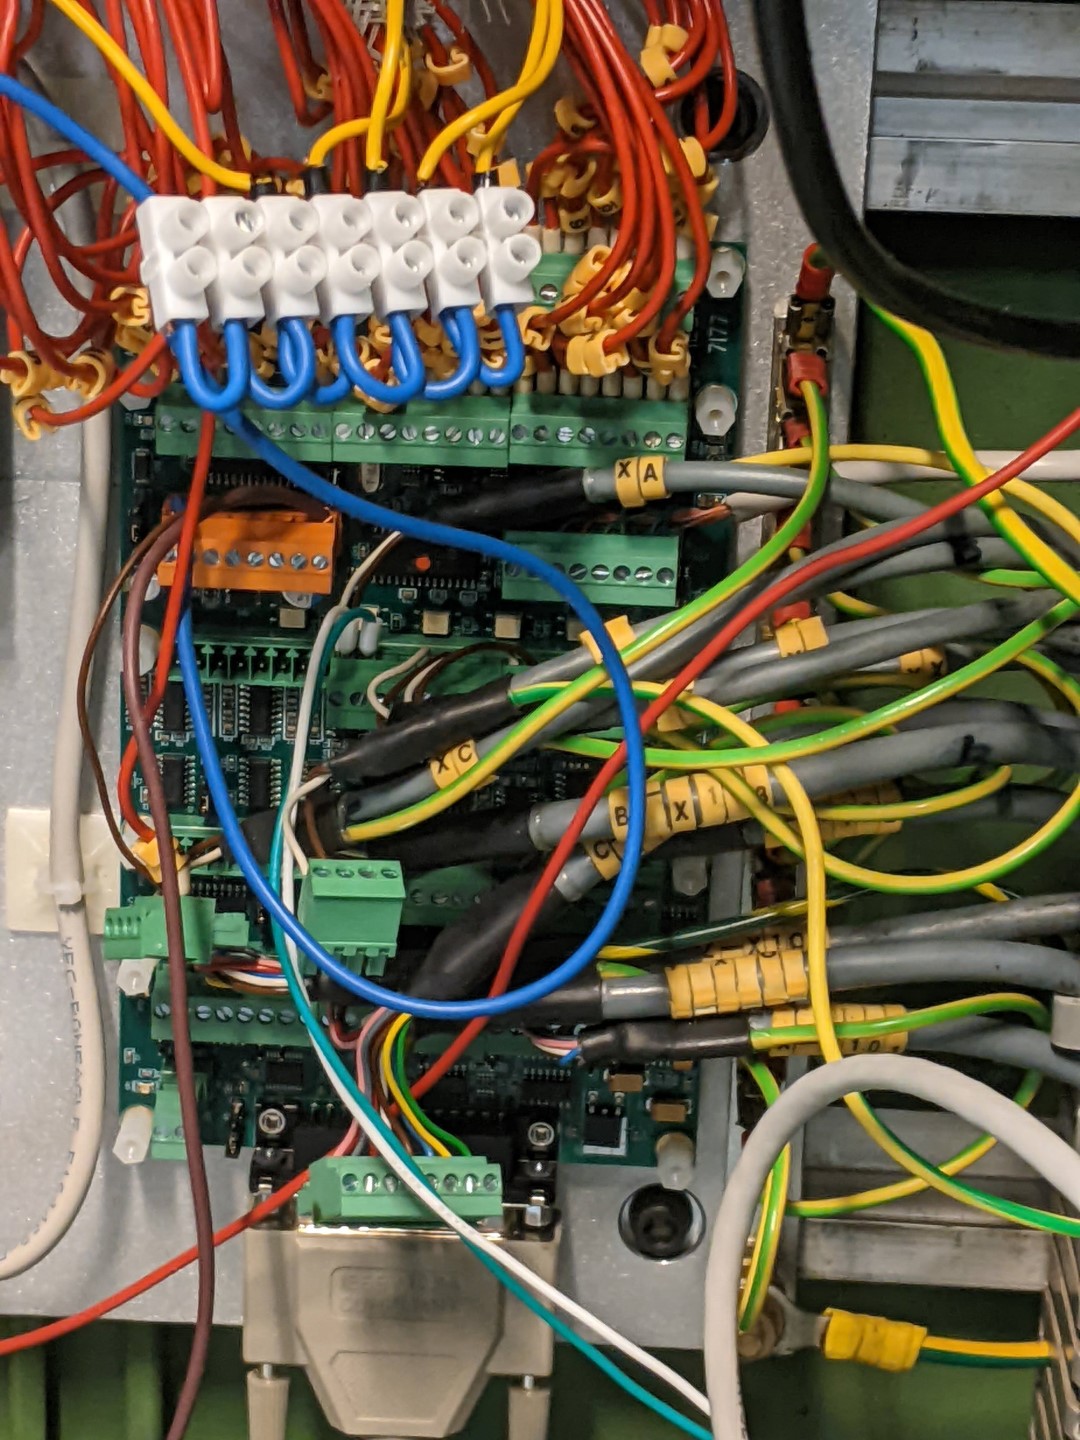
Also a pictrure from my MESA... Such a mess! I will make it more tidy...
/MrK
Attachments:
Please Log in or Create an account to join the conversation.
- Todd Zuercher
-

- Offline
- Platinum Member
-

- Posts: 4696
- Thank you received: 1439
Rebuilding high speed spindles is a tricky business, usually best left to the professionals who know what they are doing.
Please Log in or Create an account to join the conversation.
- OT-CNC
- Offline
- Platinum Member
-

- Posts: 617
- Thank you received: 75
My guess, and I'm not a spindle expert, is the lower set (at the tool) is back to back and the upper may be floating to allow for thermal expansion. It may be possible that the upper bearings are radial? Did you notice any markings on the ones you took out? Sometimes there is a dot or marking indicating the high spot for runout and v for orientation on ac bearings. When you tighten the assembly nothing should bind up but spin freely. Make sure you have the ac bearings stacked correctly so it can't blow apart under load. See how it runs. Run it in slowly, check temperature and runout/endplay.
I have used a kluber spindle grease but I don't know what's currently recommended for the high rpm spindle you are using.
Please Log in or Create an account to join the conversation.
- MrK
- Offline
- Junior Member
-

- Posts: 27
- Thank you received: 8
Hopefully I am not ruining anything else than the bearings if I mess up...
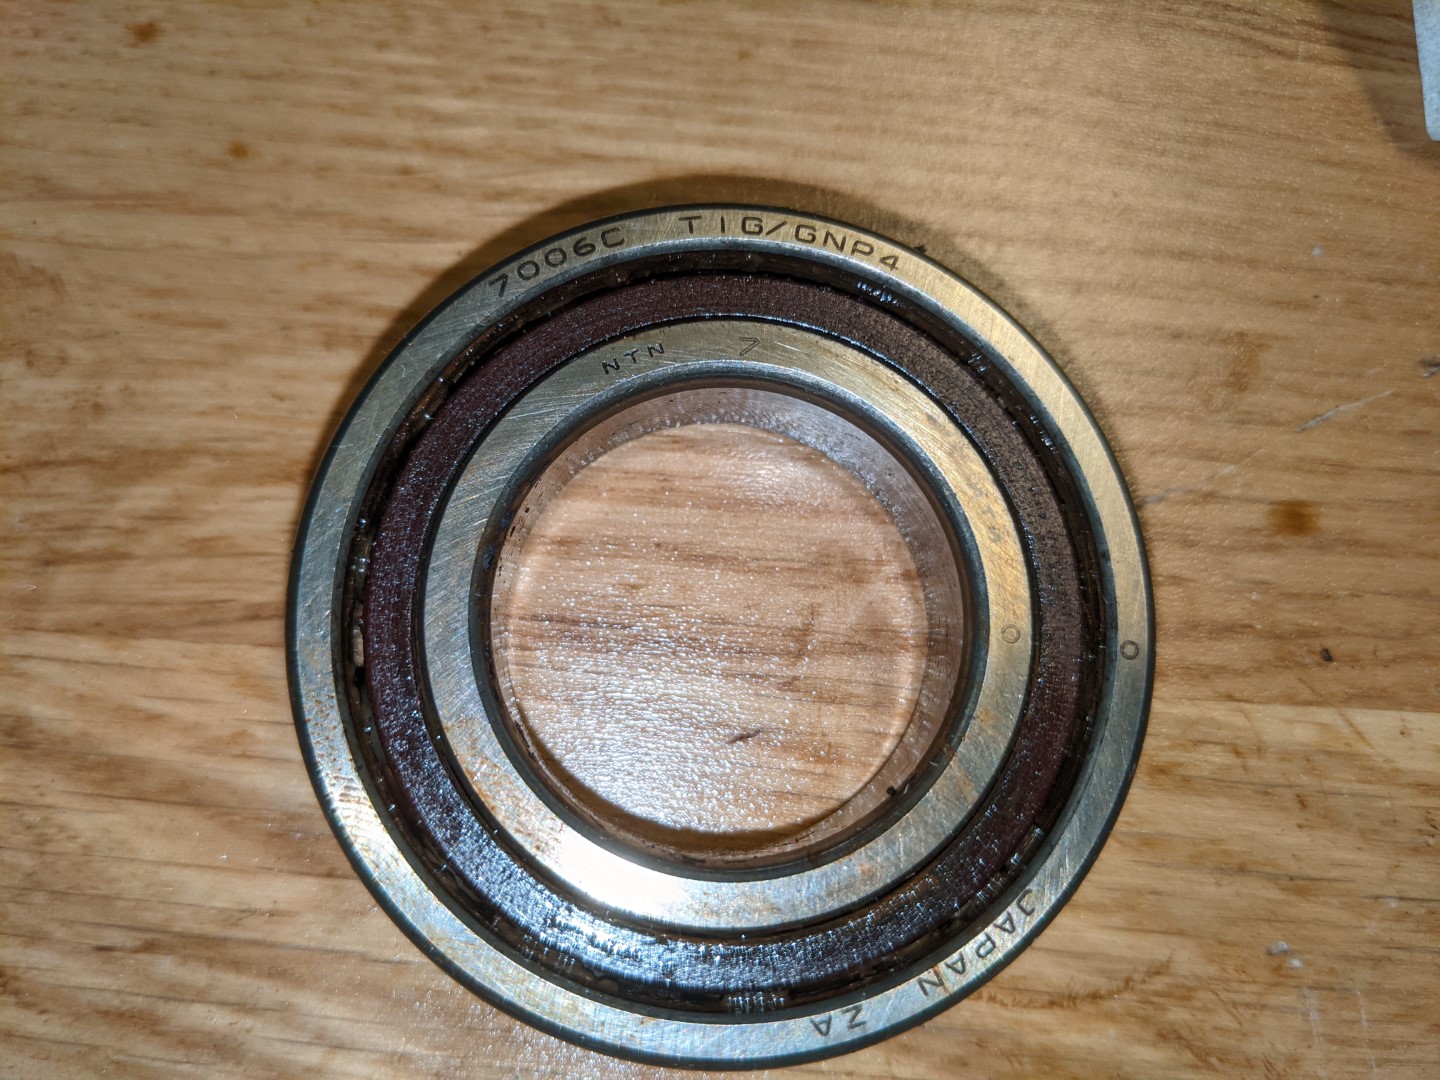
All 4 bearings were the same NTN 7006C T1G/GNP4 (see picture below).
I am a bit unsure but I think:
C = angular contact bearing 15 deg
T1 = phenolic cage
G = Single Bearings, Flush Ground Universal Mounting
GN = flush mount normal preload universal mounting
The witnessmarks are clearly visible in the picture. No V on the side.
The bearings I bought came in pairs but I am not 100% sure it is a matched pair. Also both pairs are not the same. Actually one pair I think is quite similar to what I need... (?) The other pair I do not know if it really is what I should use...
All came with inspection reports.
First pair is this one: NTN 7006 CG/GNP4
I think that the the difference between these and the one that was sitting in the spindle is the material of the cage. (C instead of T1)
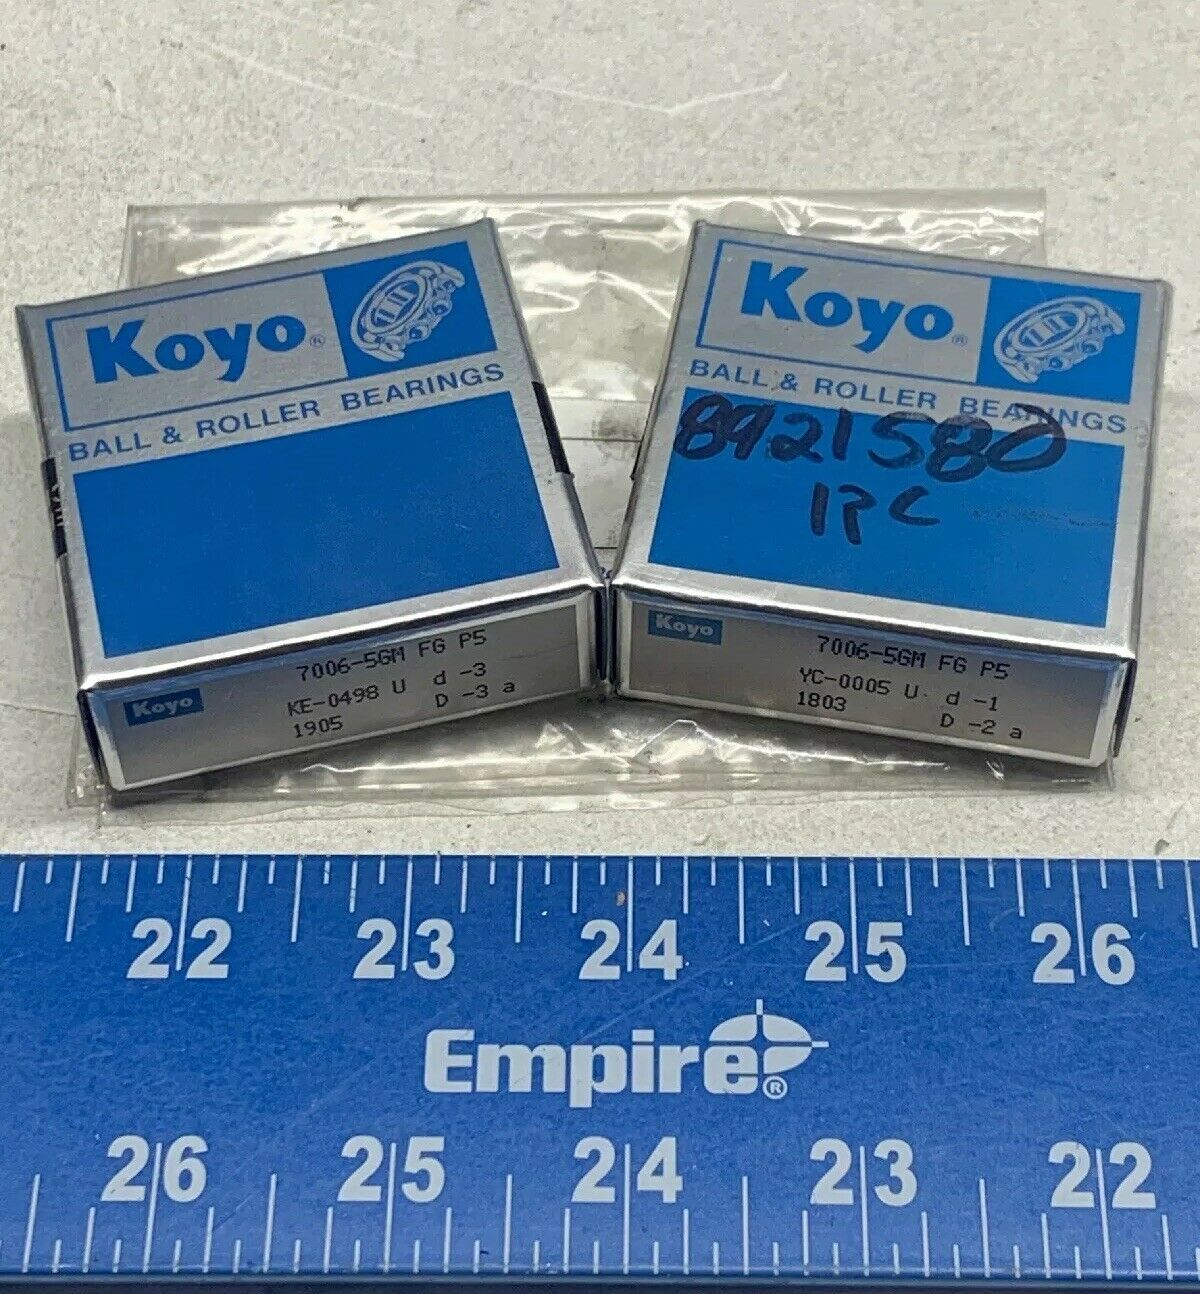
Next pair I have is this one: KOYO 7006C-5GM FG P5 “SUPER PRECISION”
I have not sorted out the numbers... a bit of a guess. I may buy another pair but I am right now thinking about putting it in the top...
It is not P4 it is P5. I have read that that may not be a showstopper...
Regarding the grease I found an SKF grease that could be bought in 200g tubes and that was not very expensive. So I have ordered a tube of: SKF LGLT 2 Low temperature, extremely high speed grease
A normal application is supposed to be machine tool spindles. It works up to 100C. I do not know if that is normal.
The 18000rpm speed should be ok for this grease accordingt o the data.
/MrK
Attachments:
Please Log in or Create an account to join the conversation.
- OT-CNC
- Offline
- Platinum Member
-

- Posts: 617
- Thank you received: 75
Yes. My guess is the C still refers to the 15 deg contact angle and G meaning single bearing, flush ground universal mount. No symbol for cage is standard cage based on NTN numbering system quick reference guide pdf online.First pair is this one: NTN 7006 CG/GNP4
I think that the the difference between these and the one that was sitting in the spindle is the material of the cage. (C instead of T1)
As in 7006C G/GNP4
I didn't look at the koyos, when in doubt, I would reach out to the manufacturer for clarification on the numbering.
I would install them and give it a try and report back...
Just make sure everything is super clean before putting things together. Including your press tools. You can't leave any lint/contaminants in the assembly. I would inspect mating surfaces for irregularities and stone/ dress any high spots accordingly. Plan out the assembly first , make press rings that push on the inner or outer race depending where the forces need to be applied. And/or preheat. How hard was it to push the bearings out?
Please Log in or Create an account to join the conversation.
- MrK
- Offline
- Junior Member
-

- Posts: 27
- Thank you received: 8
Yes, you are right about the C.
It was not so hard to get them out, some gentle tapping with a rod turned to correct diameter got them slowly moving a bit for every tap.
Well, in fact it took me more than 6 months to get them out... but that was because I could not for my life get the nut in the nose to get lose. So onece a month or so I gave it a new goo.... I made special tooling but eventually the hardened pins in the tool broke when I tried to get the nut lose. The nose nut now has 12 tooling holes... it originally only had two. It was my last attempt to get the nut lose. I made a special tool with 12 hardened pins. Still I could not get the nut lose.... Then I tapped the tool in the other direction and the nut came lose immediately.... it was a left hand thread...
However, I have been as gentle as I can to the parts so I do not think I have caused any distortion...
I will contact koyo and see if I can get hold of the spec. for the other bearing pair.
/MrK
Please Log in or Create an account to join the conversation.
- jpg
- Offline
- Premium Member
-

- Posts: 105
- Thank you received: 13
Please Log in or Create an account to join the conversation.

