what to do with a free scrap dumpster find ?
- andypugh
-

- Offline
- Moderator
-

Less
More
- Posts: 19861
- Thank you received: 4636
10 Nov 2021 08:51 #225939
by andypugh
Replied by andypugh on topic what to do with a free scrap dumpster find ?
I made several bits of tooling at the wrong angle.
Because (atan(7/24)) / 2 != atan((7/24)/2)
atan(7/24) / 2 = 8.1301 = 8° 7' 48.36"
atan((7/24)/2) = 8.2971 = 8° 17' 49.56"
The second angle is the correct one.
Because (atan(7/24)) / 2 != atan((7/24)/2)
atan(7/24) / 2 = 8.1301 = 8° 7' 48.36"
atan((7/24)/2) = 8.2971 = 8° 17' 49.56"
The second angle is the correct one.
Please Log in or Create an account to join the conversation.
- rodw
-

- Offline
- Platinum Member
-

Less
More
- Posts: 11950
- Thank you received: 4068
10 Nov 2021 09:21 #225942
by rodw
Replied by rodw on topic what to do with a free scrap dumpster find ?
One mathless way to cut a taper if you have a conventional tailstock is to set up a sine bar parallel to the tailstock quill and adjust the compound so the sine bar is touching the compound. I machined a little jig to rest the sine bar on that hooked over the edge of the compound for alignment and put the sine bar at the right height.. The result was a perfect taper!..... if your quill is concentric with the spindle which it should be by definition.
So all you have to do is select the correct sine block!
So all you have to do is select the correct sine block!
Please Log in or Create an account to join the conversation.
- machinedude
-
 Topic Author
- Offline
- Platinum Member
-
Less
More
- Posts: 715
- Thank you received: 312
10 Nov 2021 09:28 #225944
by machinedude
Replied by machinedude on topic what to do with a free scrap dumpster find ?
yeah something in the math for the theory is a common mistake many make including myself ") . i looked at it from a simple right triangle but that was wrong. that was 8.1301 degrees and the right one would be 8.2972 degrees. i was right in the middle of both of them
. i looked at it from a simple right triangle but that was wrong. that was 8.1301 degrees and the right one would be 8.2972 degrees. i was right in the middle of both of them
i matched mine to to holders i have which is not ideal but i figured it was the best way to make it work with next to nothing
most angular dimensions are +/- 30 minutes so being off 5 minutes is pretty darn close.
. i looked at it from a simple right triangle but that was wrong. that was 8.1301 degrees and the right one would be 8.2972 degrees. i was right in the middle of both of them i matched mine to to holders i have which is not ideal but i figured it was the best way to make it work with next to nothing
most angular dimensions are +/- 30 minutes so being off 5 minutes is pretty darn close.
Please Log in or Create an account to join the conversation.
- machinedude
-
Topic Author
- Offline
- Platinum Member
-
Less
More
- Posts: 715
- Thank you received: 312
10 Nov 2021 09:43 #225945
by machinedude
Replied by machinedude on topic what to do with a free scrap dumpster find ?
Rod when i turned the outside i took the tapper out of the turns on the shaft with my tailstock. i never tried doing a tapper that way my little lath is converted to CNC so no need. when i worked at the industrial pump plant we would program the straight turns at a slight tapper to remove any tapper in the shaft. pretty common with a 14 foot long shaft so it was an easy fix.
i was always under the impression the tailstock method was used for slight tappers but i never did much that way on a manual and just kicked the compound for all the stuff i did. depends on the type of work your doing i guess
i was always under the impression the tailstock method was used for slight tappers but i never did much that way on a manual and just kicked the compound for all the stuff i did. depends on the type of work your doing i guess
Please Log in or Create an account to join the conversation.
- machinedude
-
Topic Author
- Offline
- Platinum Member
-
Less
More
- Posts: 715
- Thank you received: 312
10 Nov 2021 10:12 #225950
by machinedude
Replied by machinedude on topic what to do with a free scrap dumpster find ?
best way to tell is to mark a holder up with some high spot blue or something like it and see how it makes contact. it's cheap and effective. if it hits in the front the angle is too steep and if it hits in the back your to shallow on the angle. after 31 years doing machining in general perfect to a micron or two is not done with general machining. center height of the tool and deflection of a boring bar can throw you off. heck i had to finish by cutting dust to keep the shaft from moving while cutting. depends on the type of steady rest you have? the roller bearing type would work better but i am not lucky and was stuck with light support and grease on the shaft. to much pressure and the shaft gets warm and that's not good when you are trying to work to 1 or 2 tenths
perfection is tough in the real world so doing your best with what you are working with is all you can do in the end.
i was able to stuff a tool holder in the shaft and indicate the tool holder and it appears to be running true to .0001 or .0002 imperial so for just machining i would say that's about as good as you can do. i'm happy with it so far
Please Log in or Create an account to join the conversation.
- machinedude
-
Topic Author
- Offline
- Platinum Member
-
Less
More
- Posts: 715
- Thank you received: 312
11 Nov 2021 14:13 #226111
by machinedude
Replied by machinedude on topic what to do with a free scrap dumpster find ?
got one more thing crossed off my to do list got some threads cased on my overly simple spindle shaft and since i was taking pictures i took one of the tapper while i was at it. still have a ton of work to do on this but progress is always exciting for me no matter how much or little
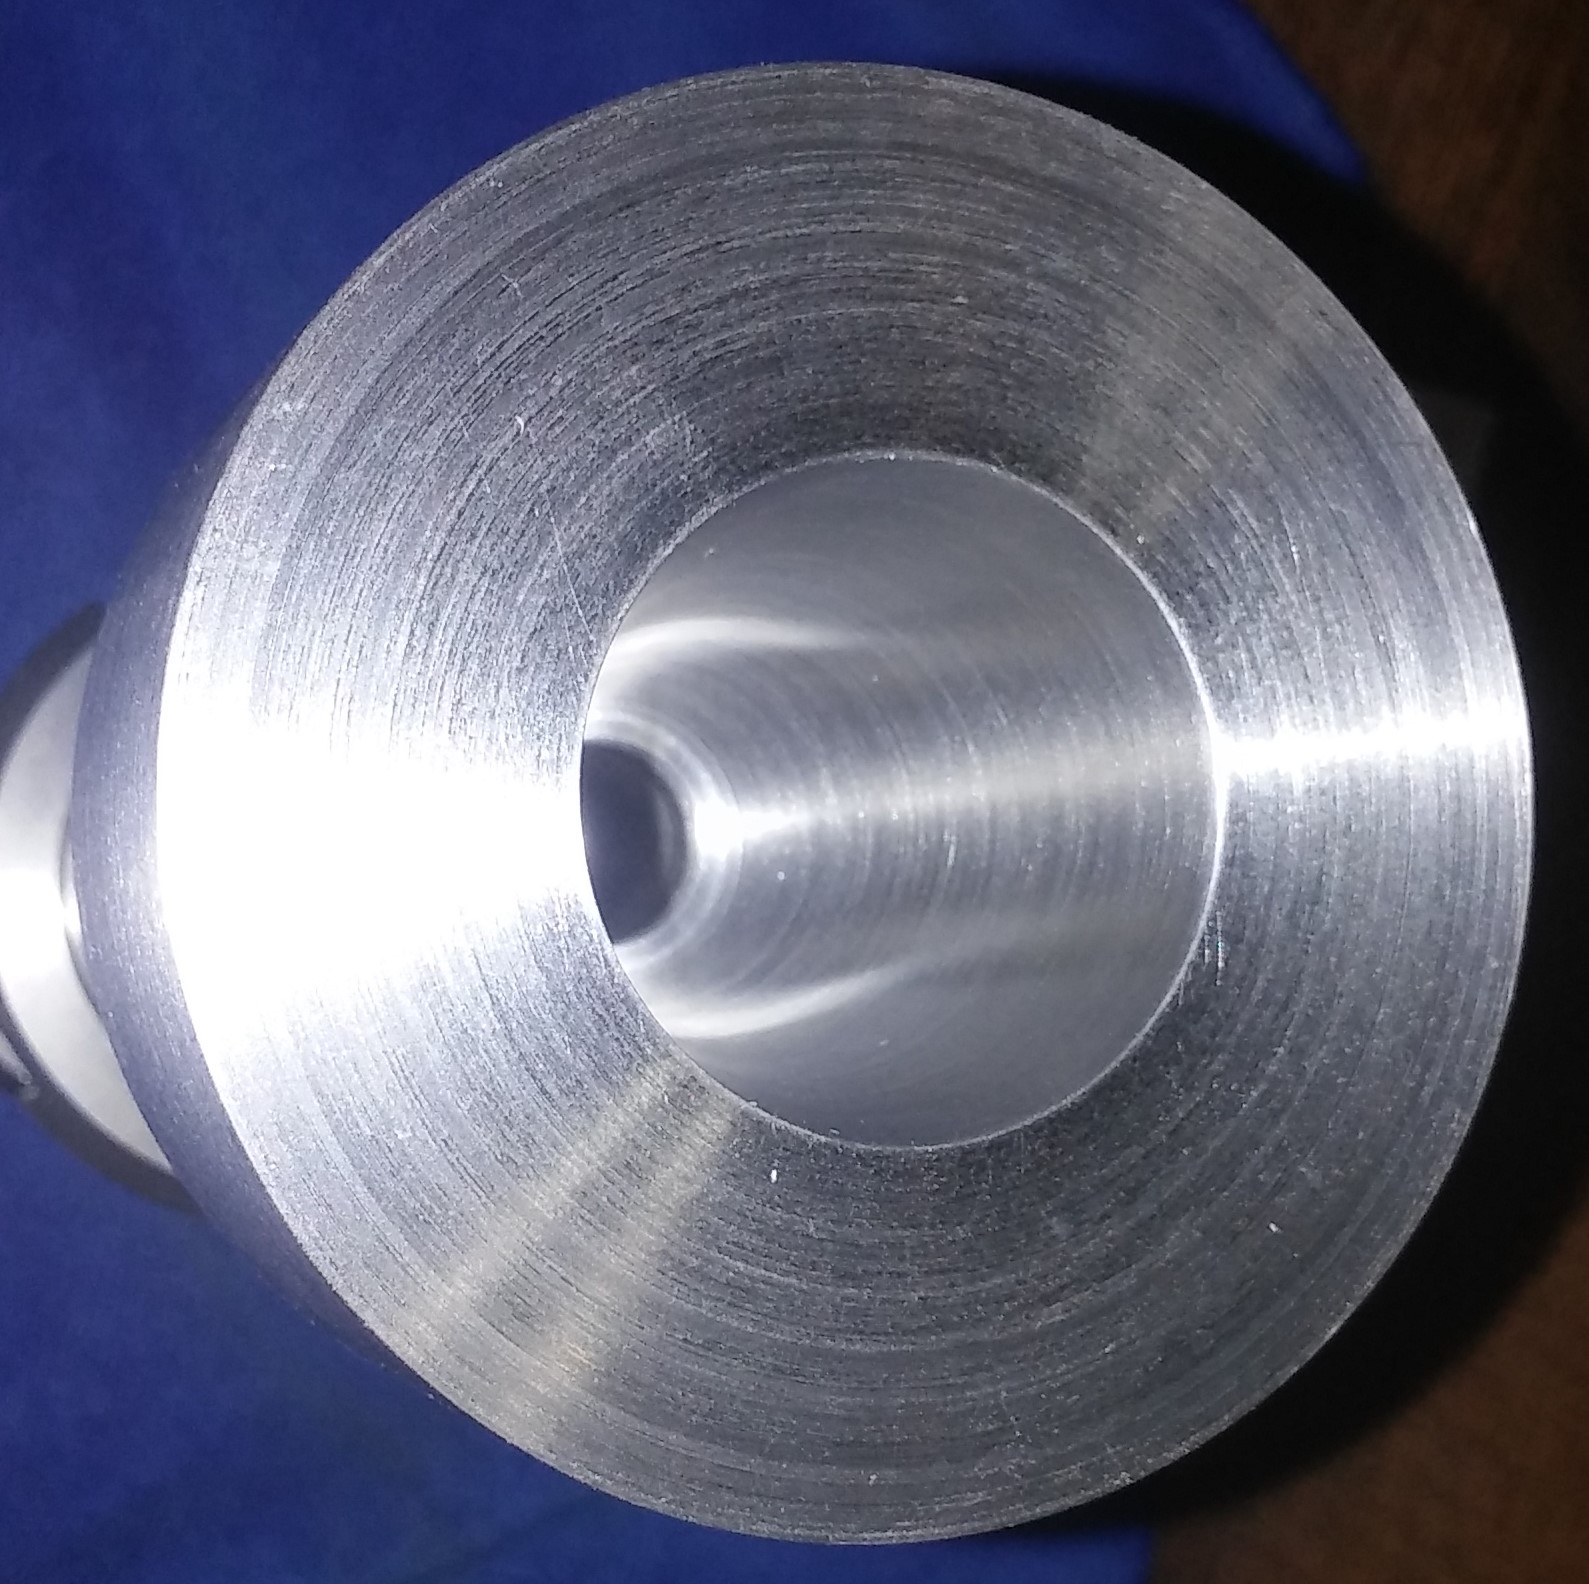
got some threads cased on my overly simple spindle shaft and since i was taking pictures i took one of the tapper while i was at it. still have a ton of work to do on this but progress is always exciting for me no matter how much or little
Attachments:
Please Log in or Create an account to join the conversation.
- machinedude
-
Topic Author
- Offline
- Platinum Member
-
Less
More
- Posts: 715
- Thank you received: 312
15 Nov 2021 09:04 #226558
by machinedude
Replied by machinedude on topic what to do with a free scrap dumpster find ?
just some more pictures. almost done with the shaft but decided to order a long drill to finish the id clearance for the draw bar. i'm tired of fighting with boring bars sticking out a mile
took some length off the casting for the spindle just a starting point until i decide where the final length is going to fall. should make for a stiffer spindle so that's an added bonus.
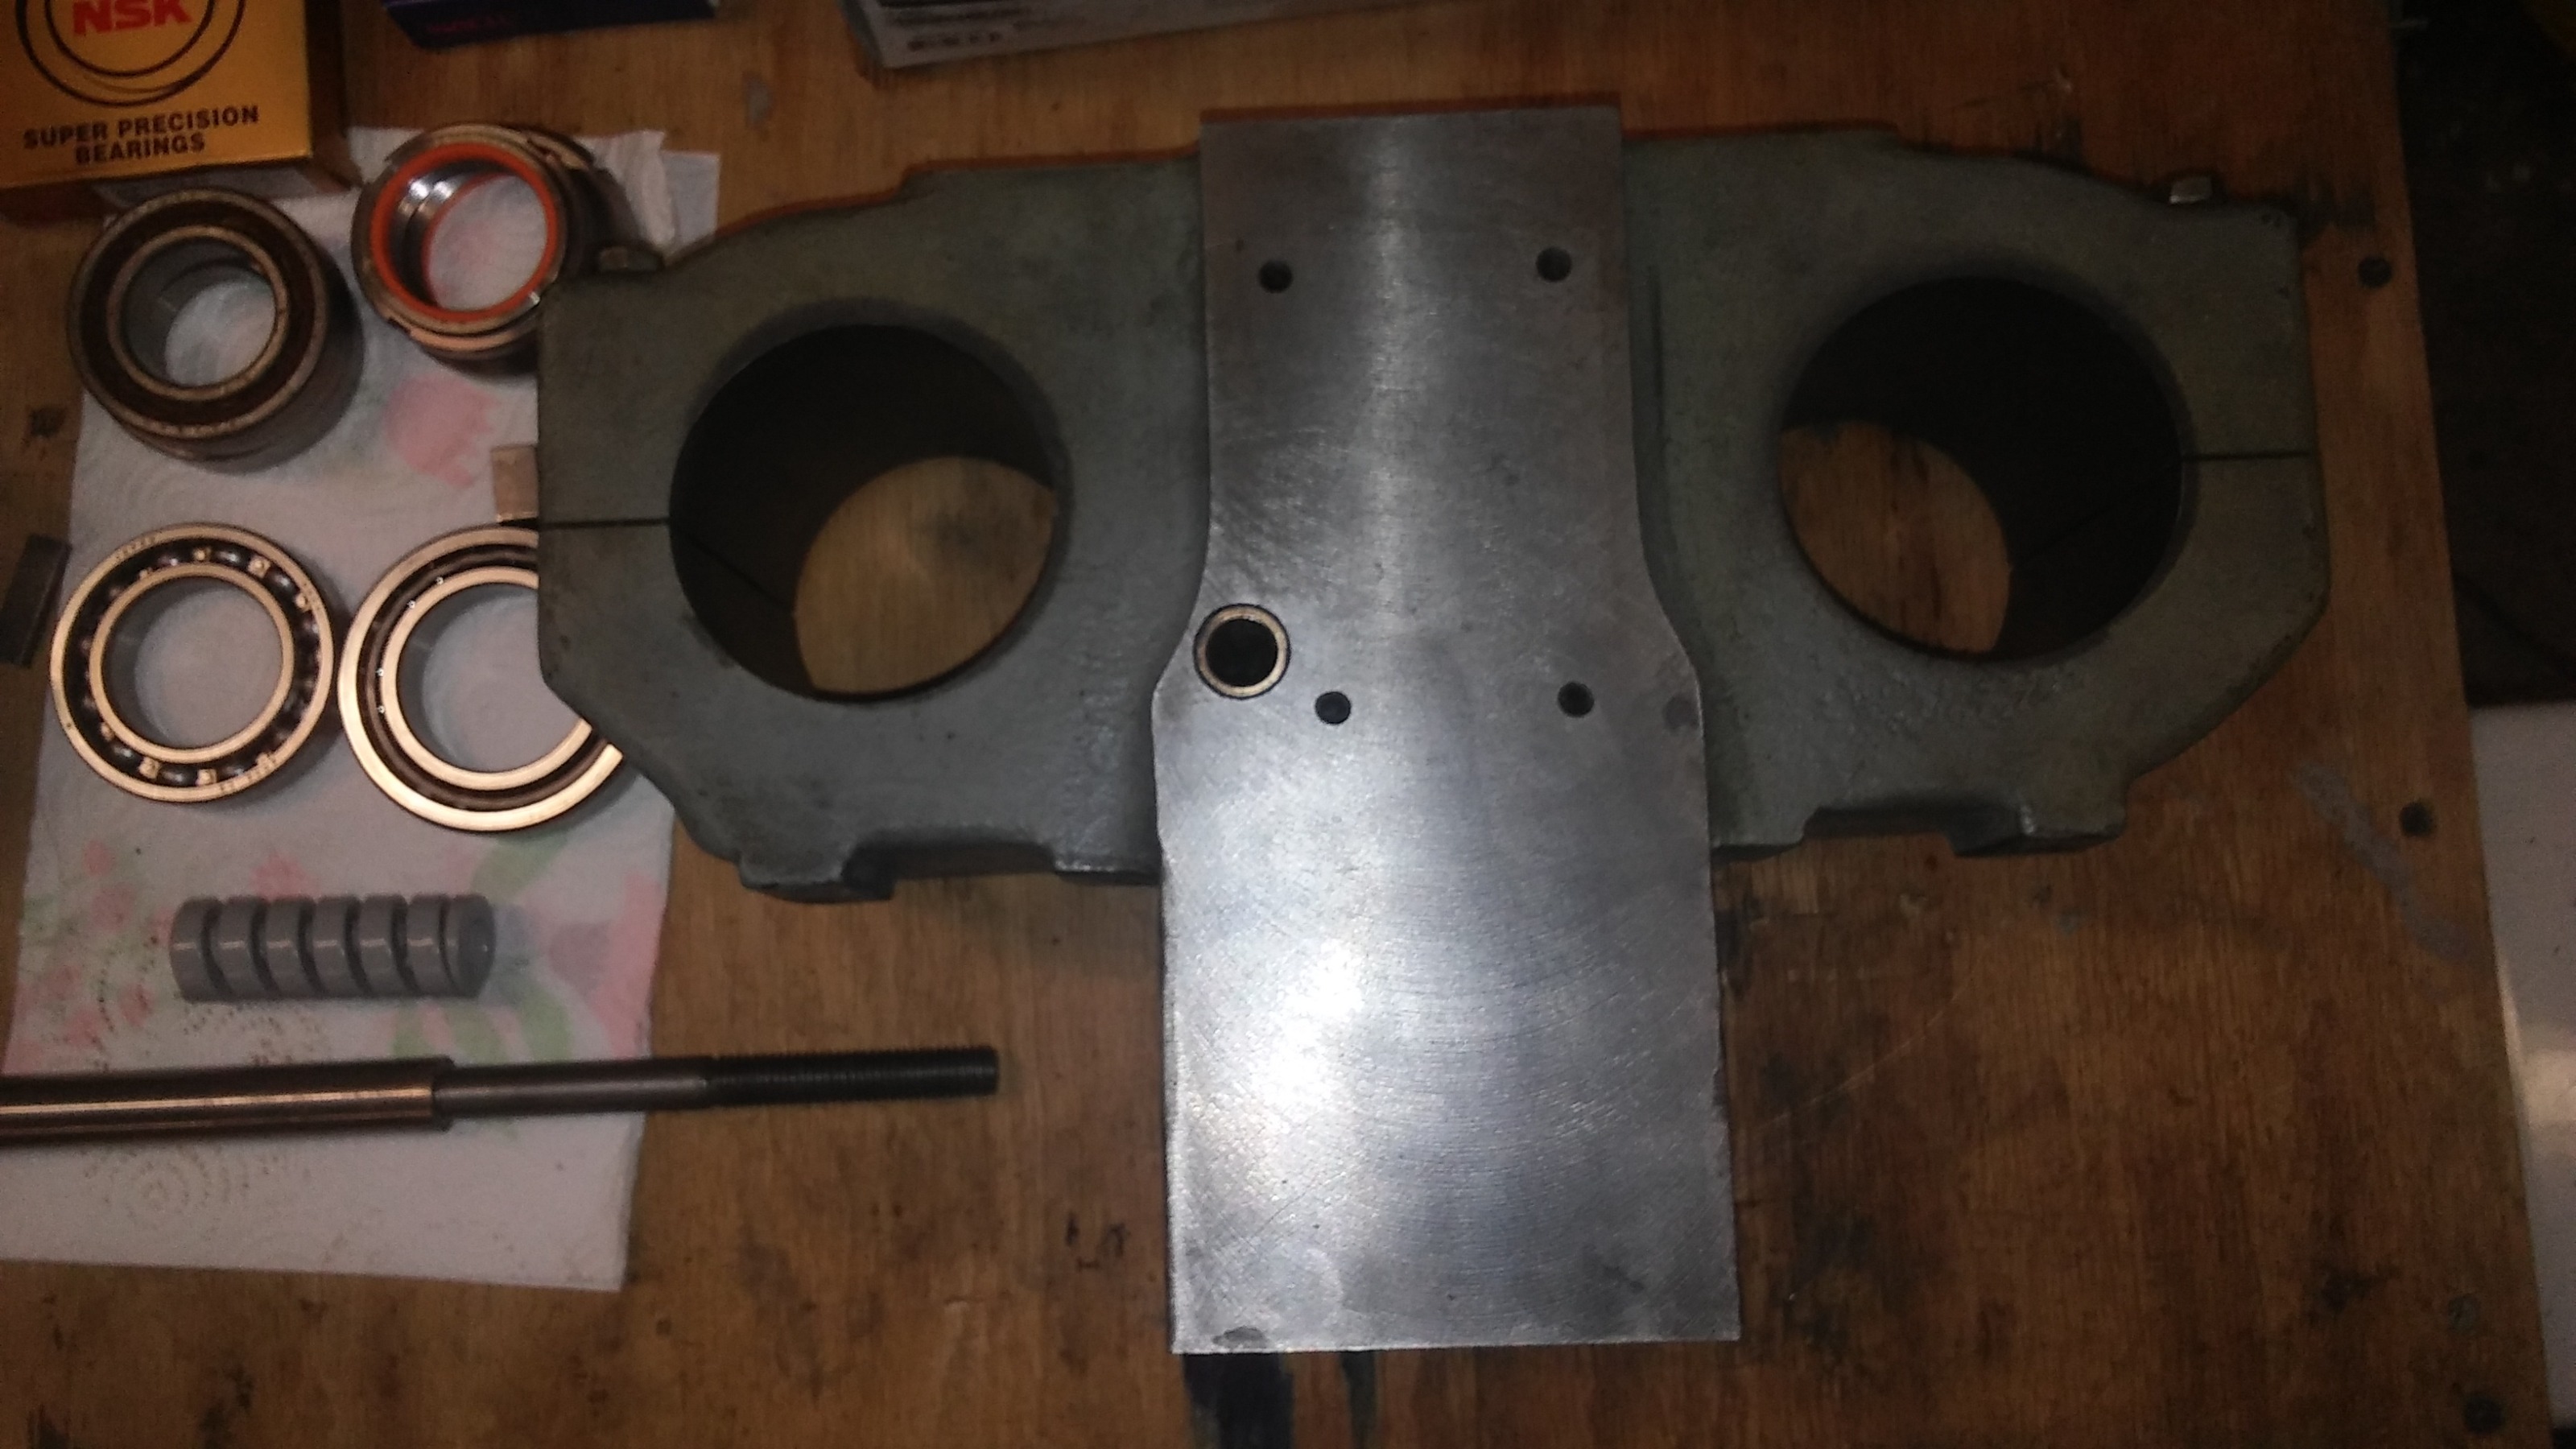
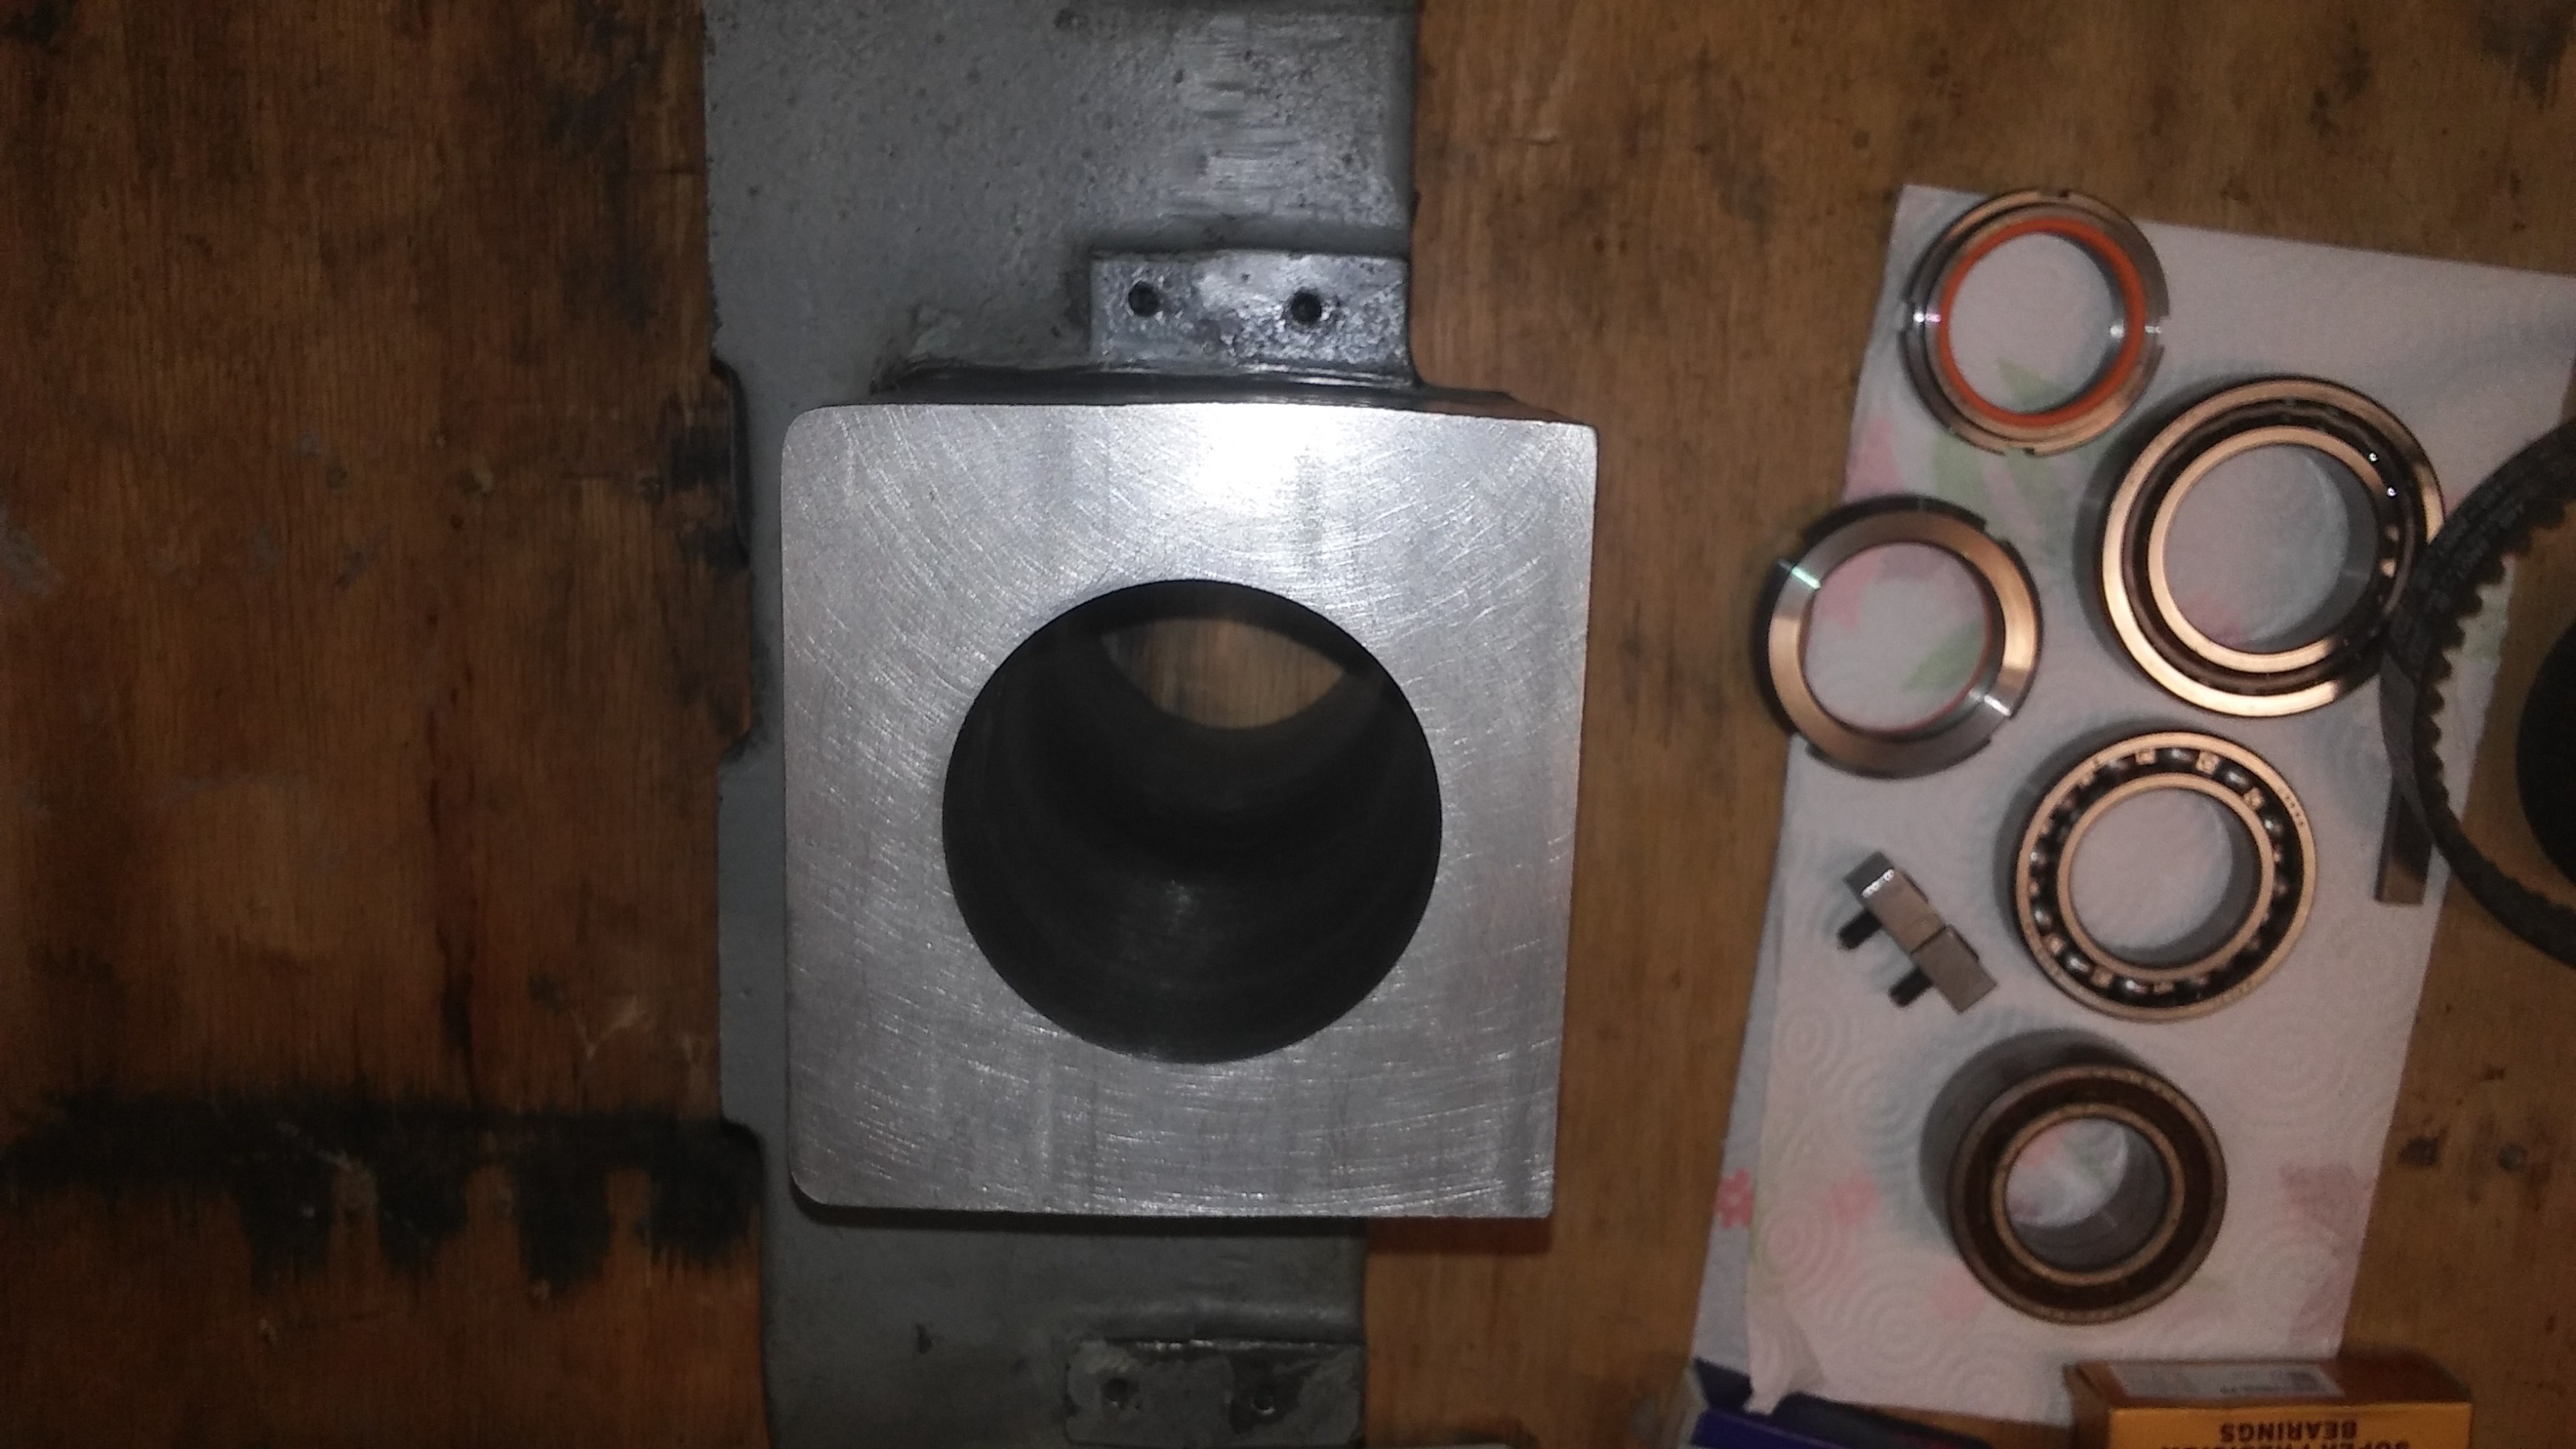
took some length off the casting for the spindle just a starting point until i decide where the final length is going to fall. should make for a stiffer spindle so that's an added bonus.
Attachments:
Please Log in or Create an account to join the conversation.
- machinedude
-
Topic Author
- Offline
- Platinum Member
-
Less
More
- Posts: 715
- Thank you received: 312
21 Nov 2021 11:30 #227186
by machinedude
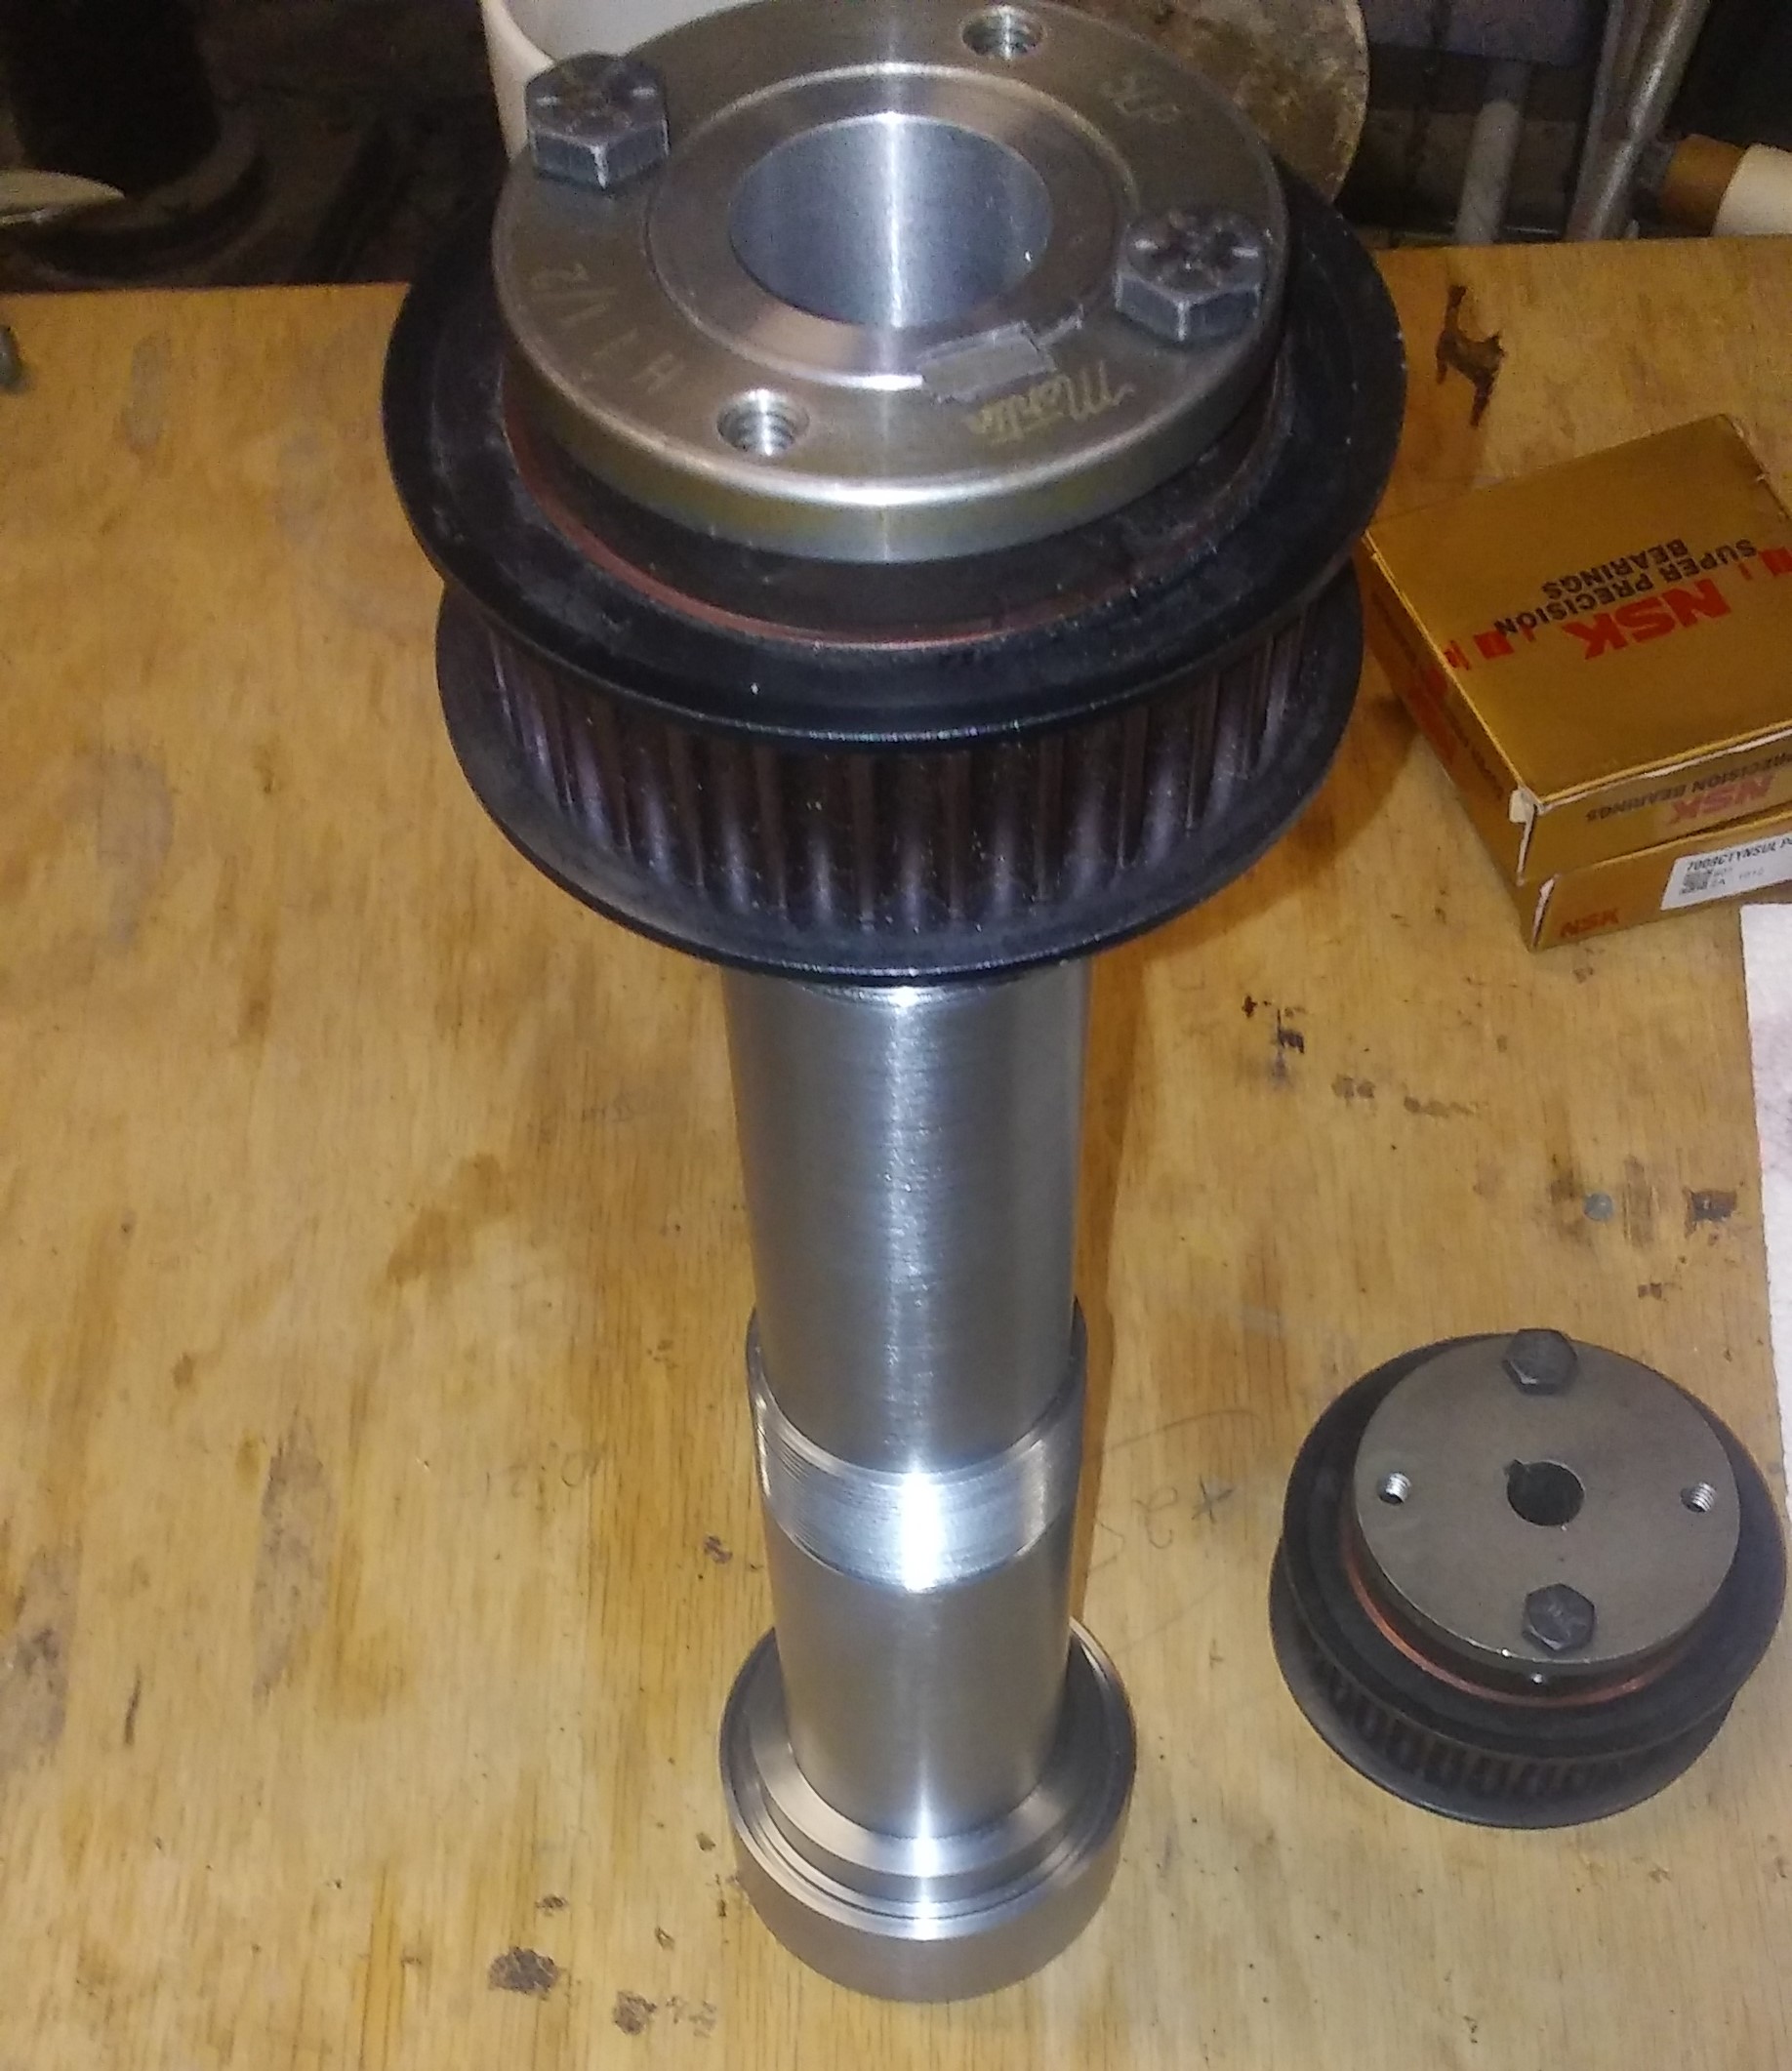
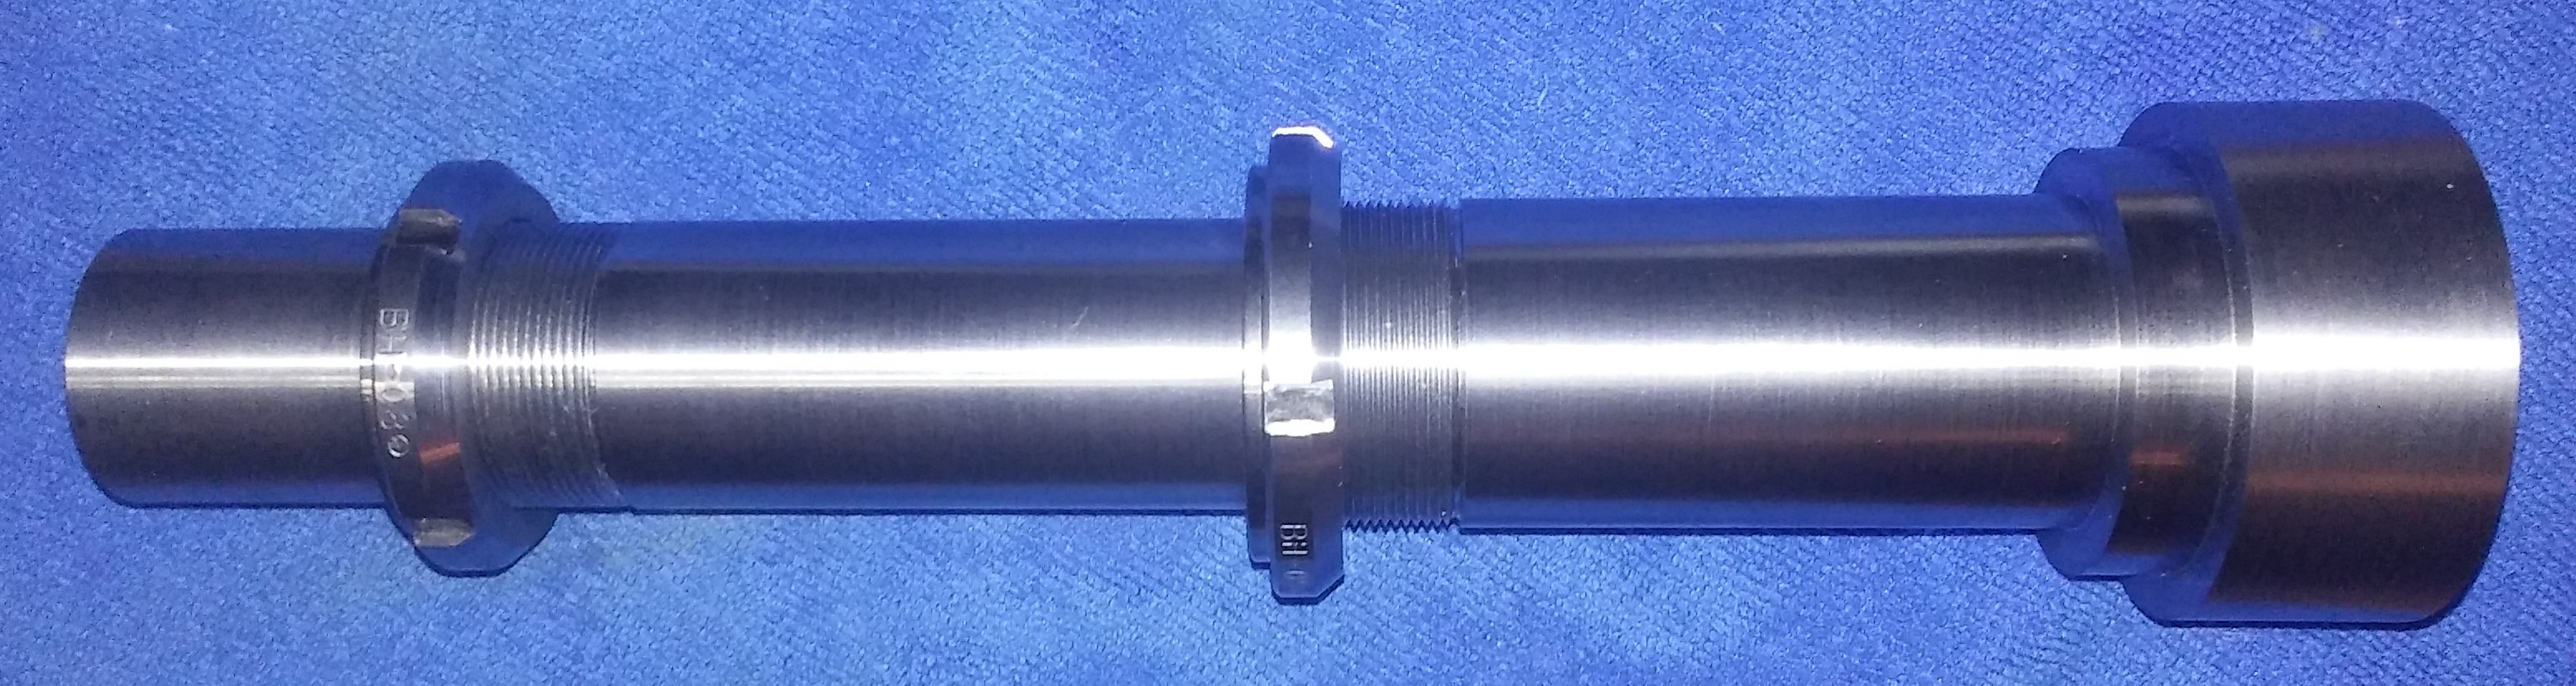
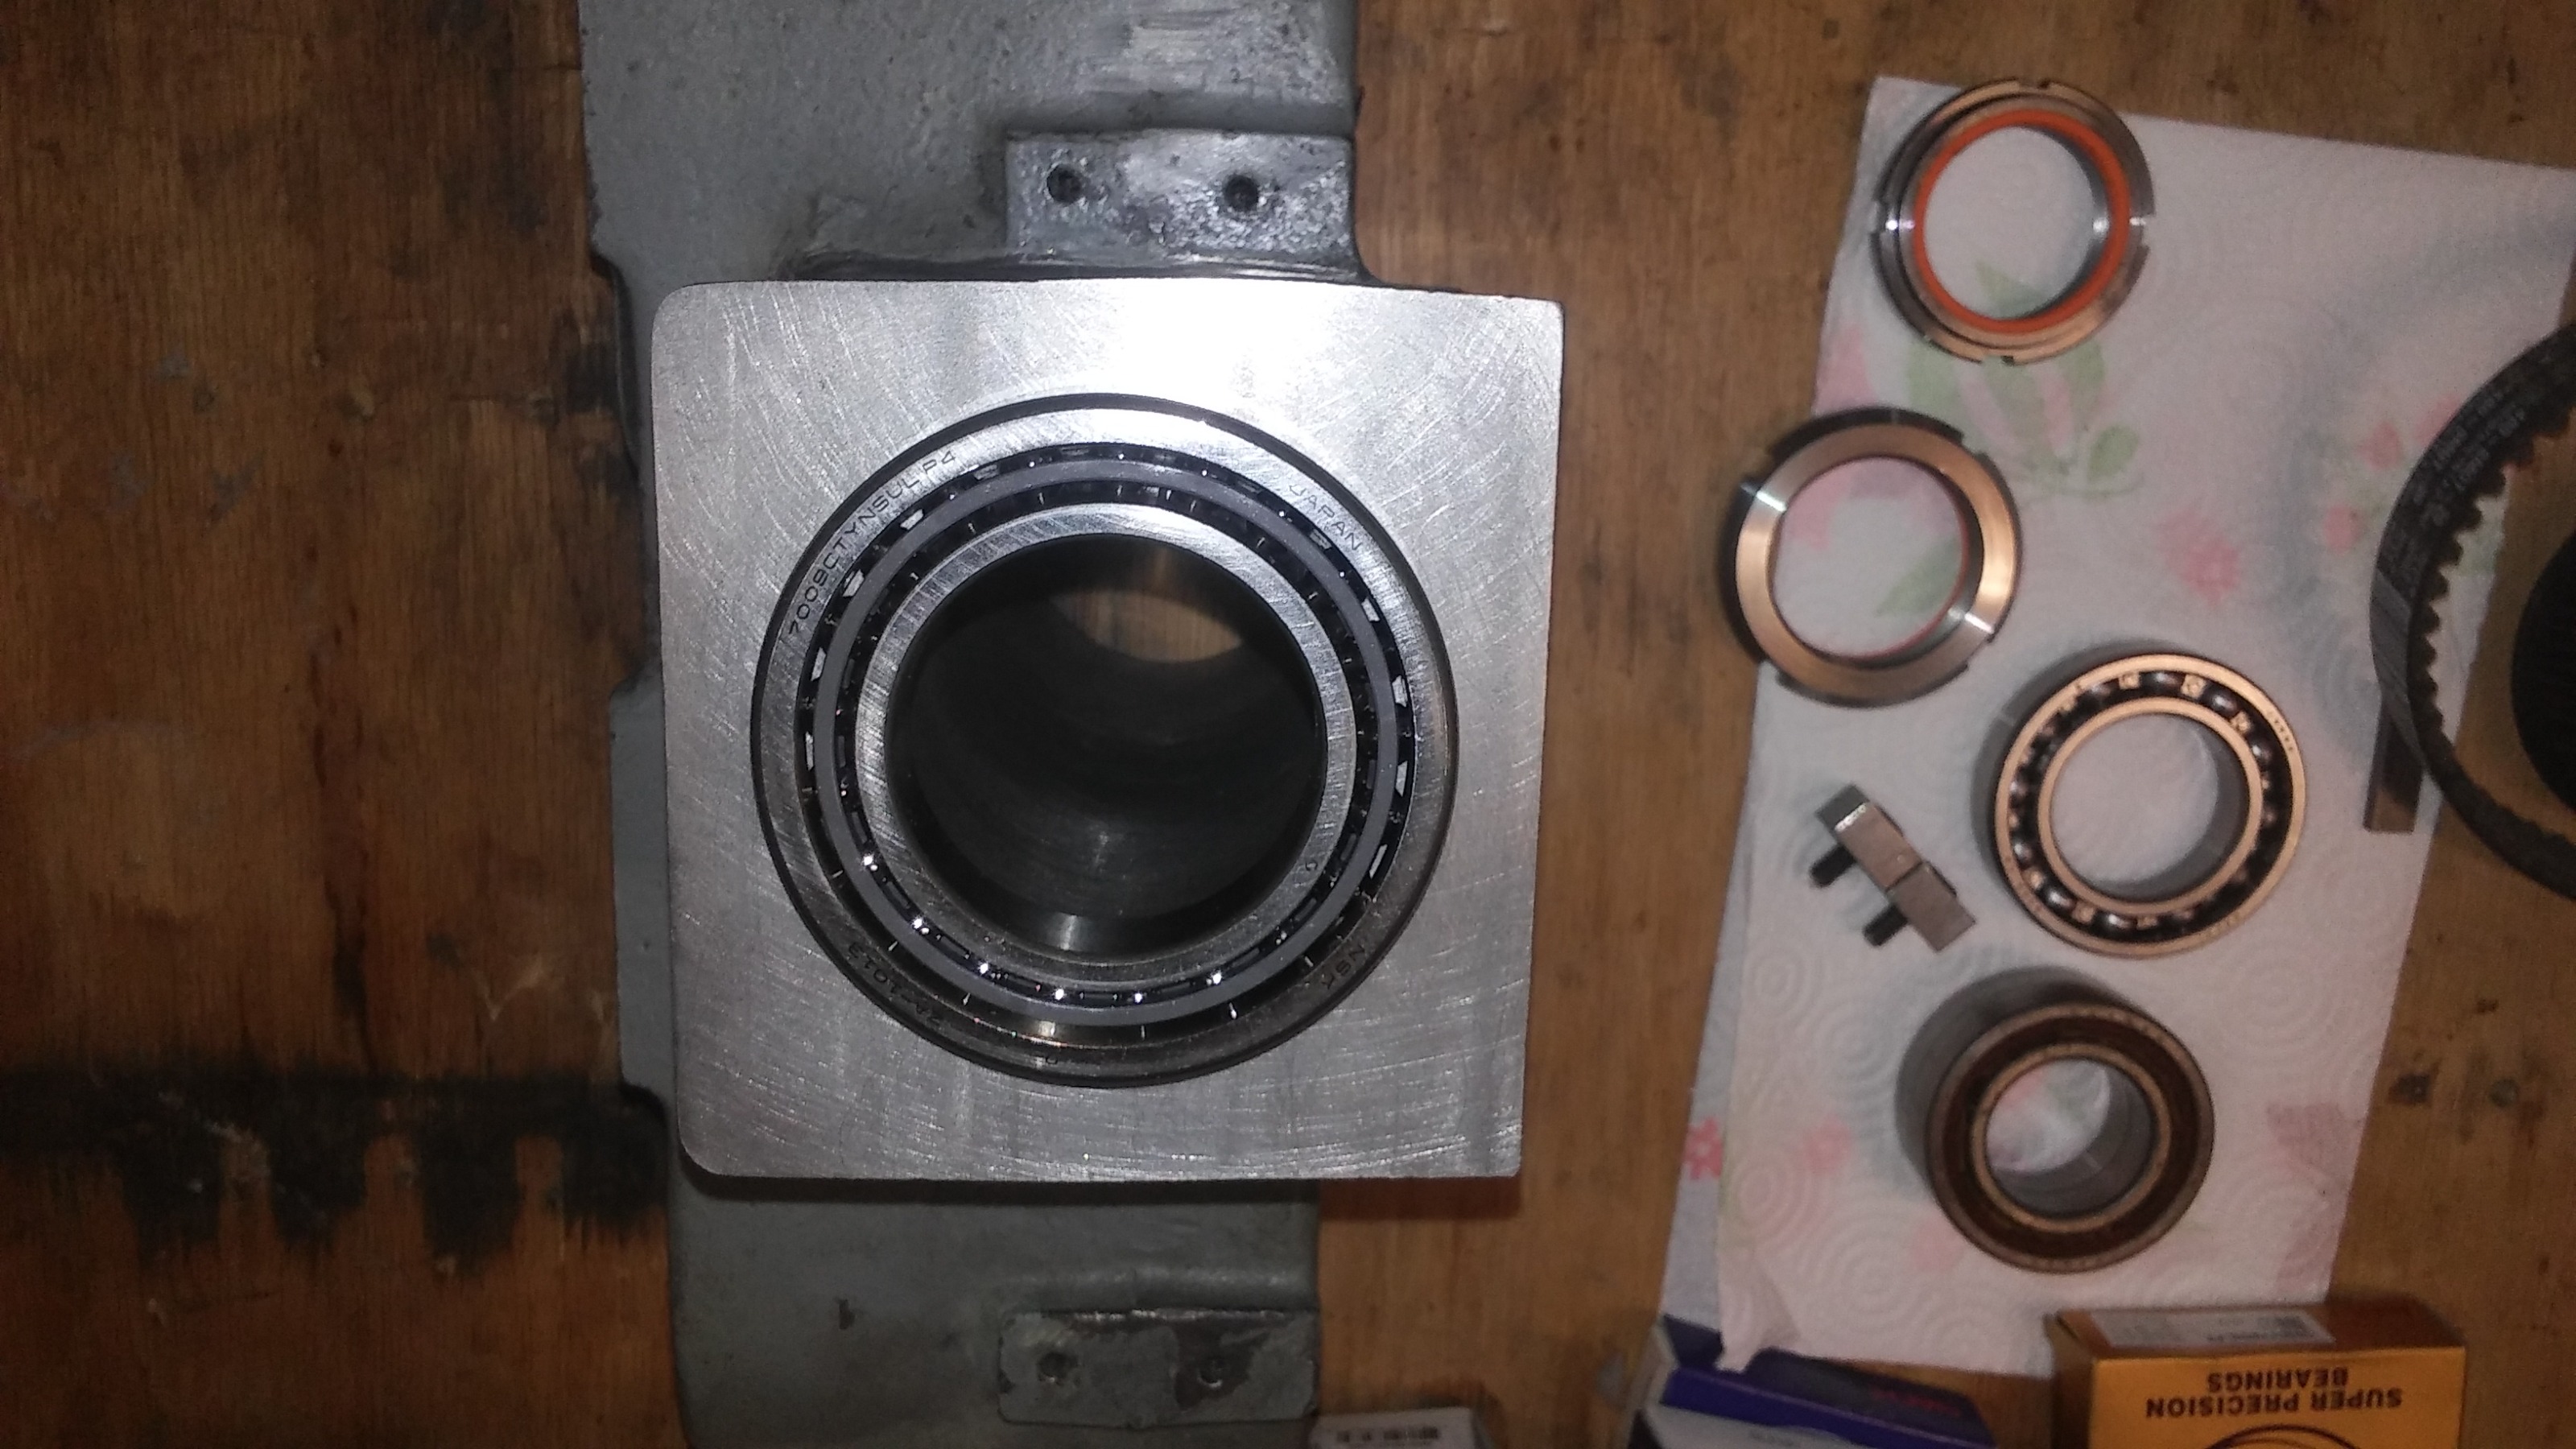
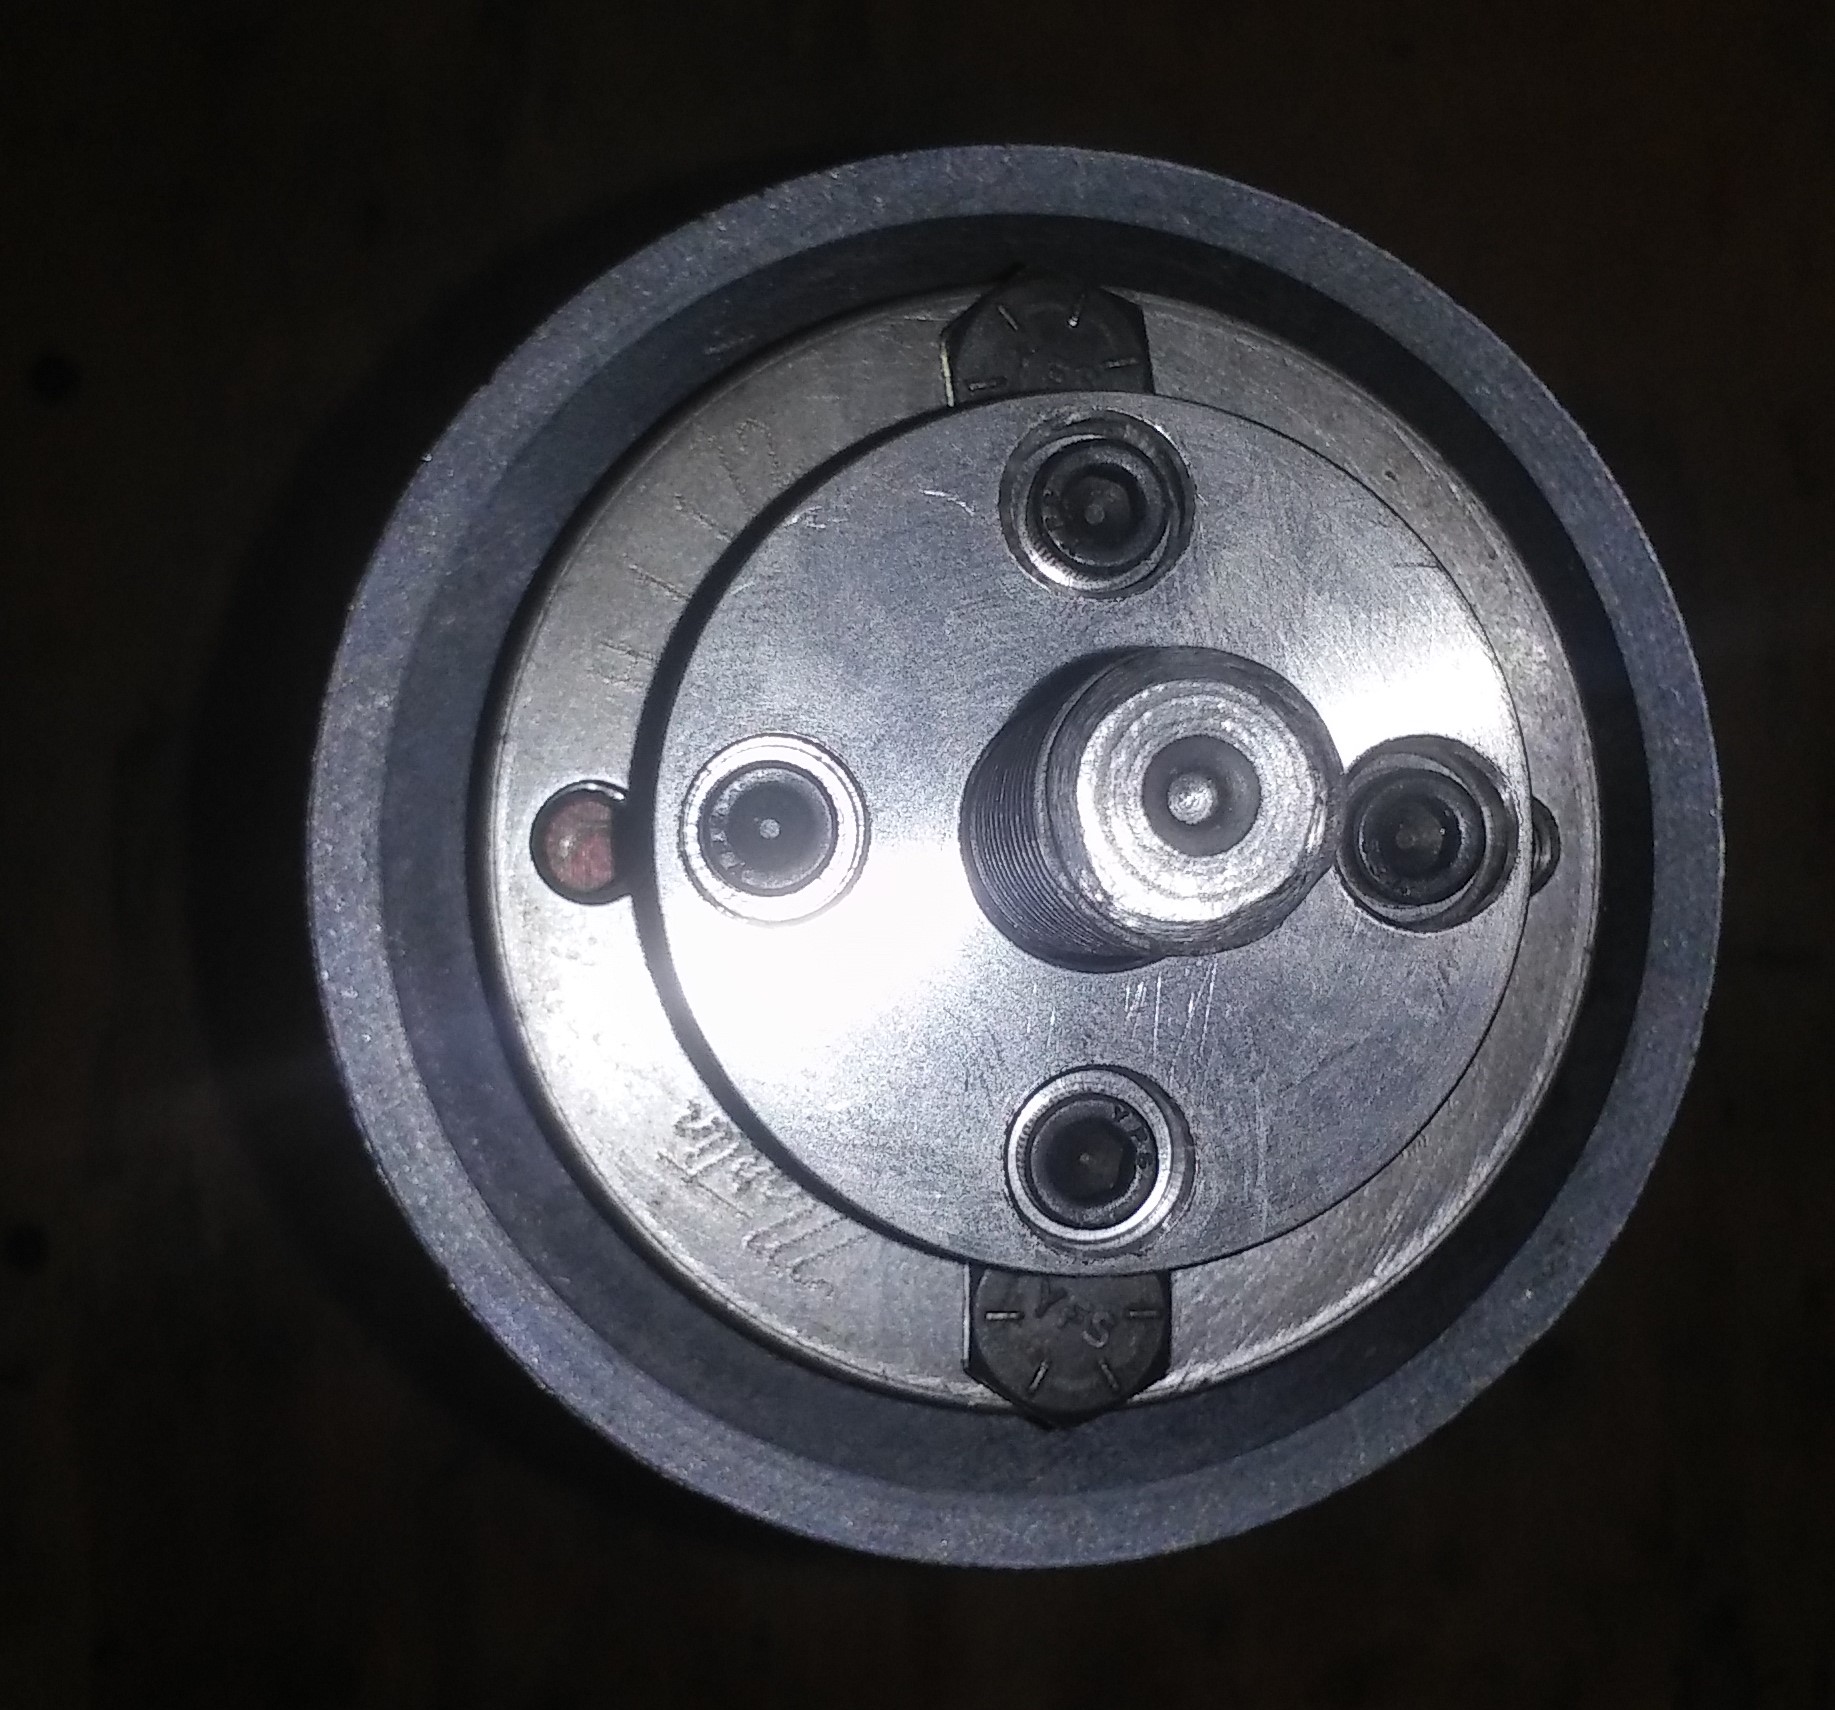
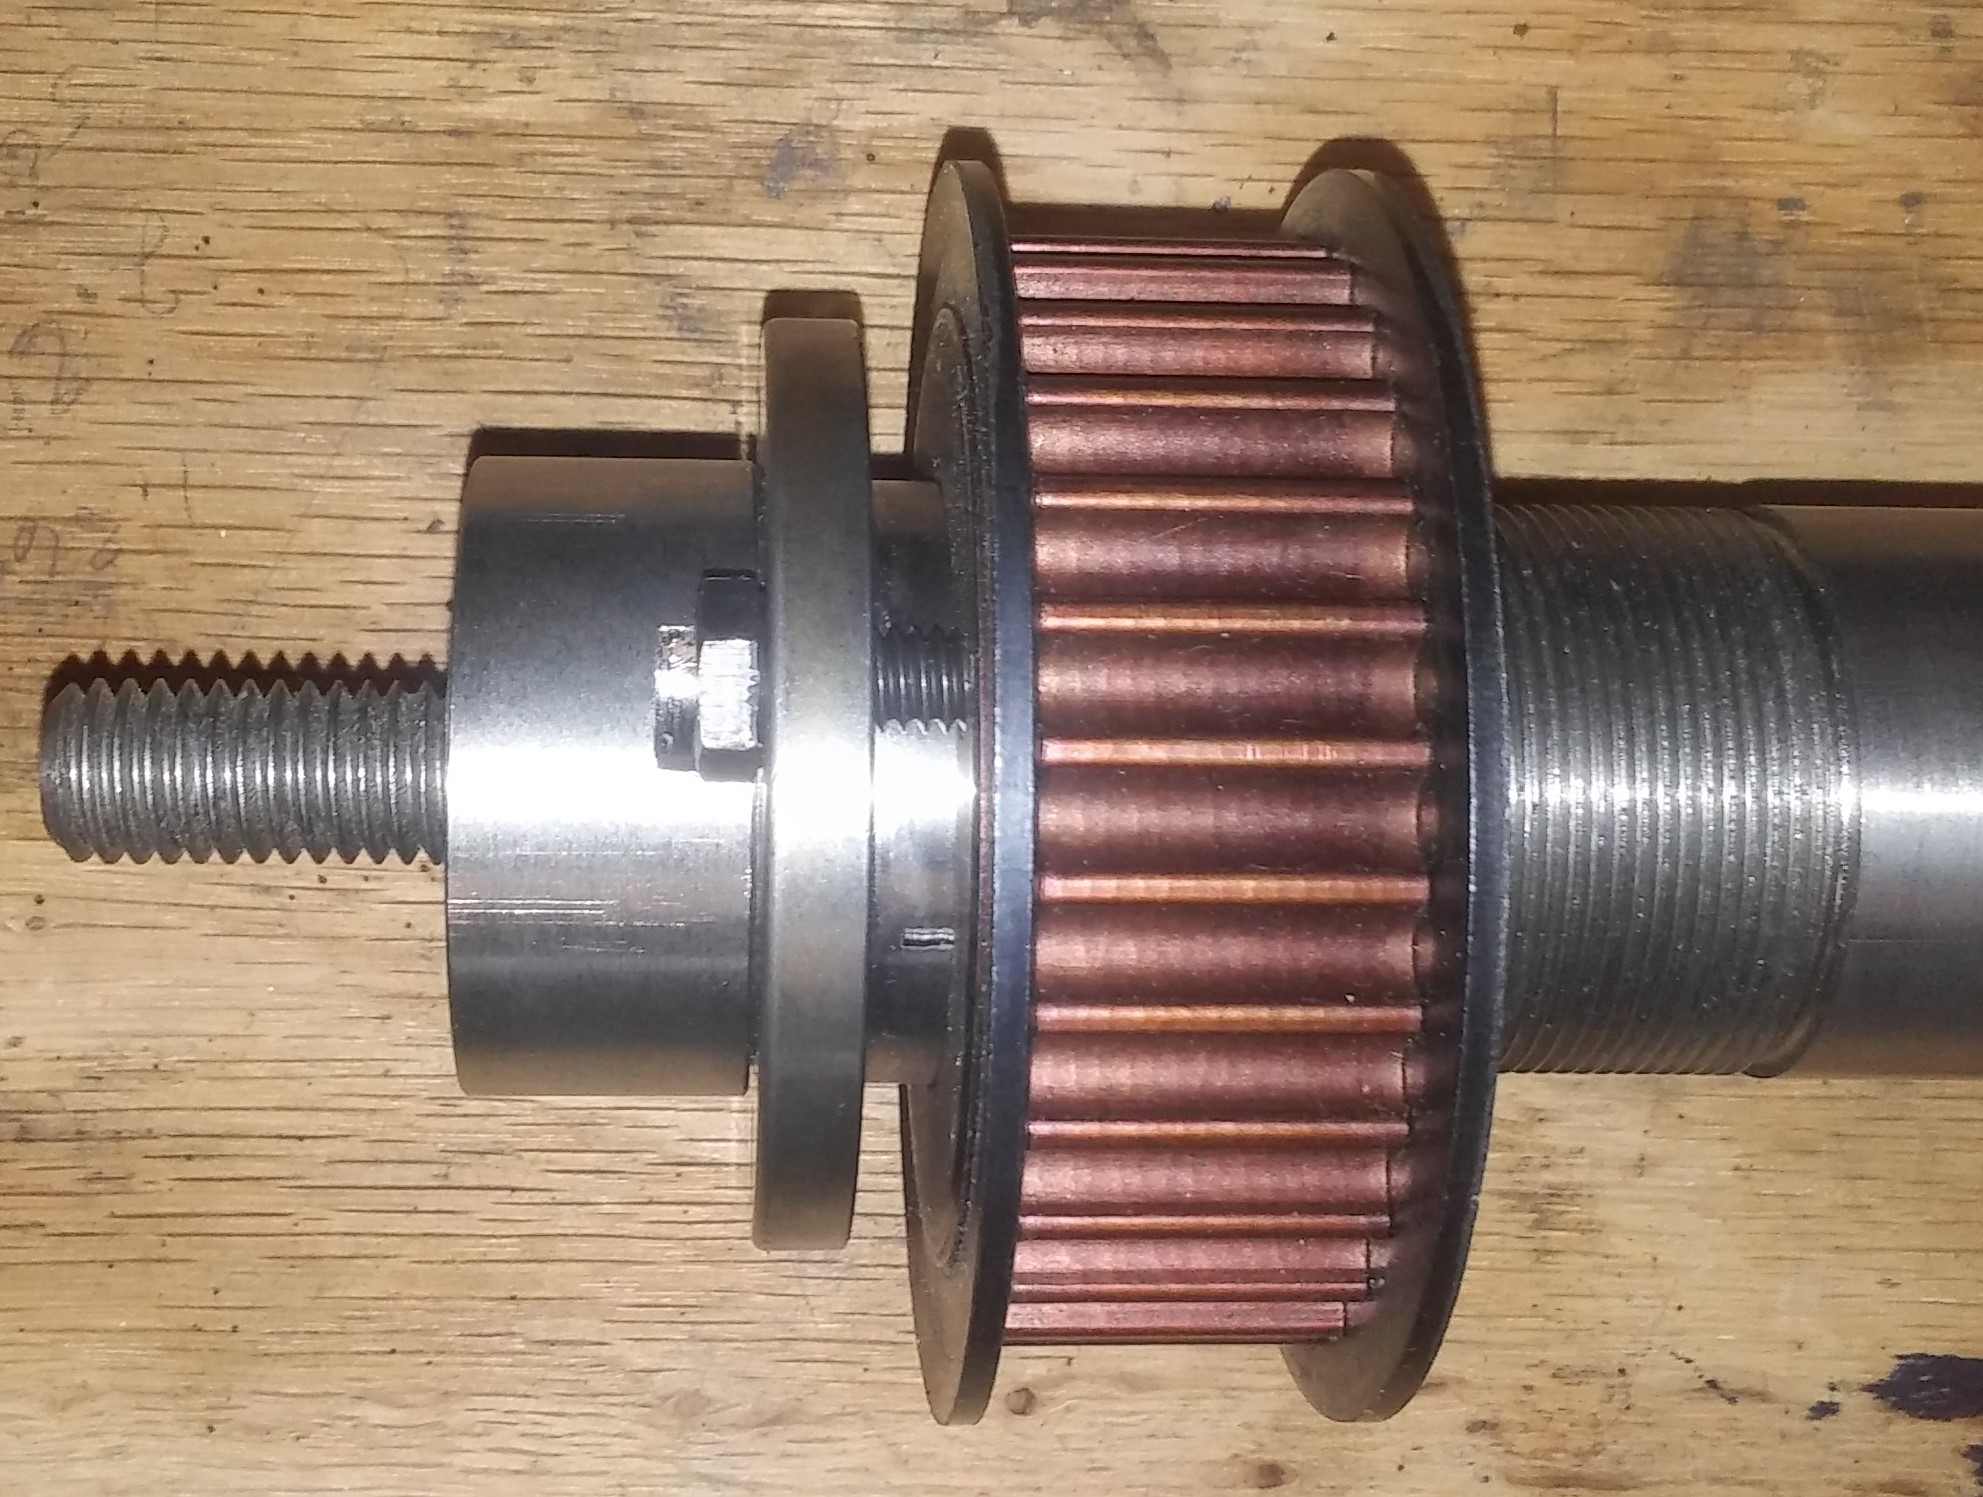
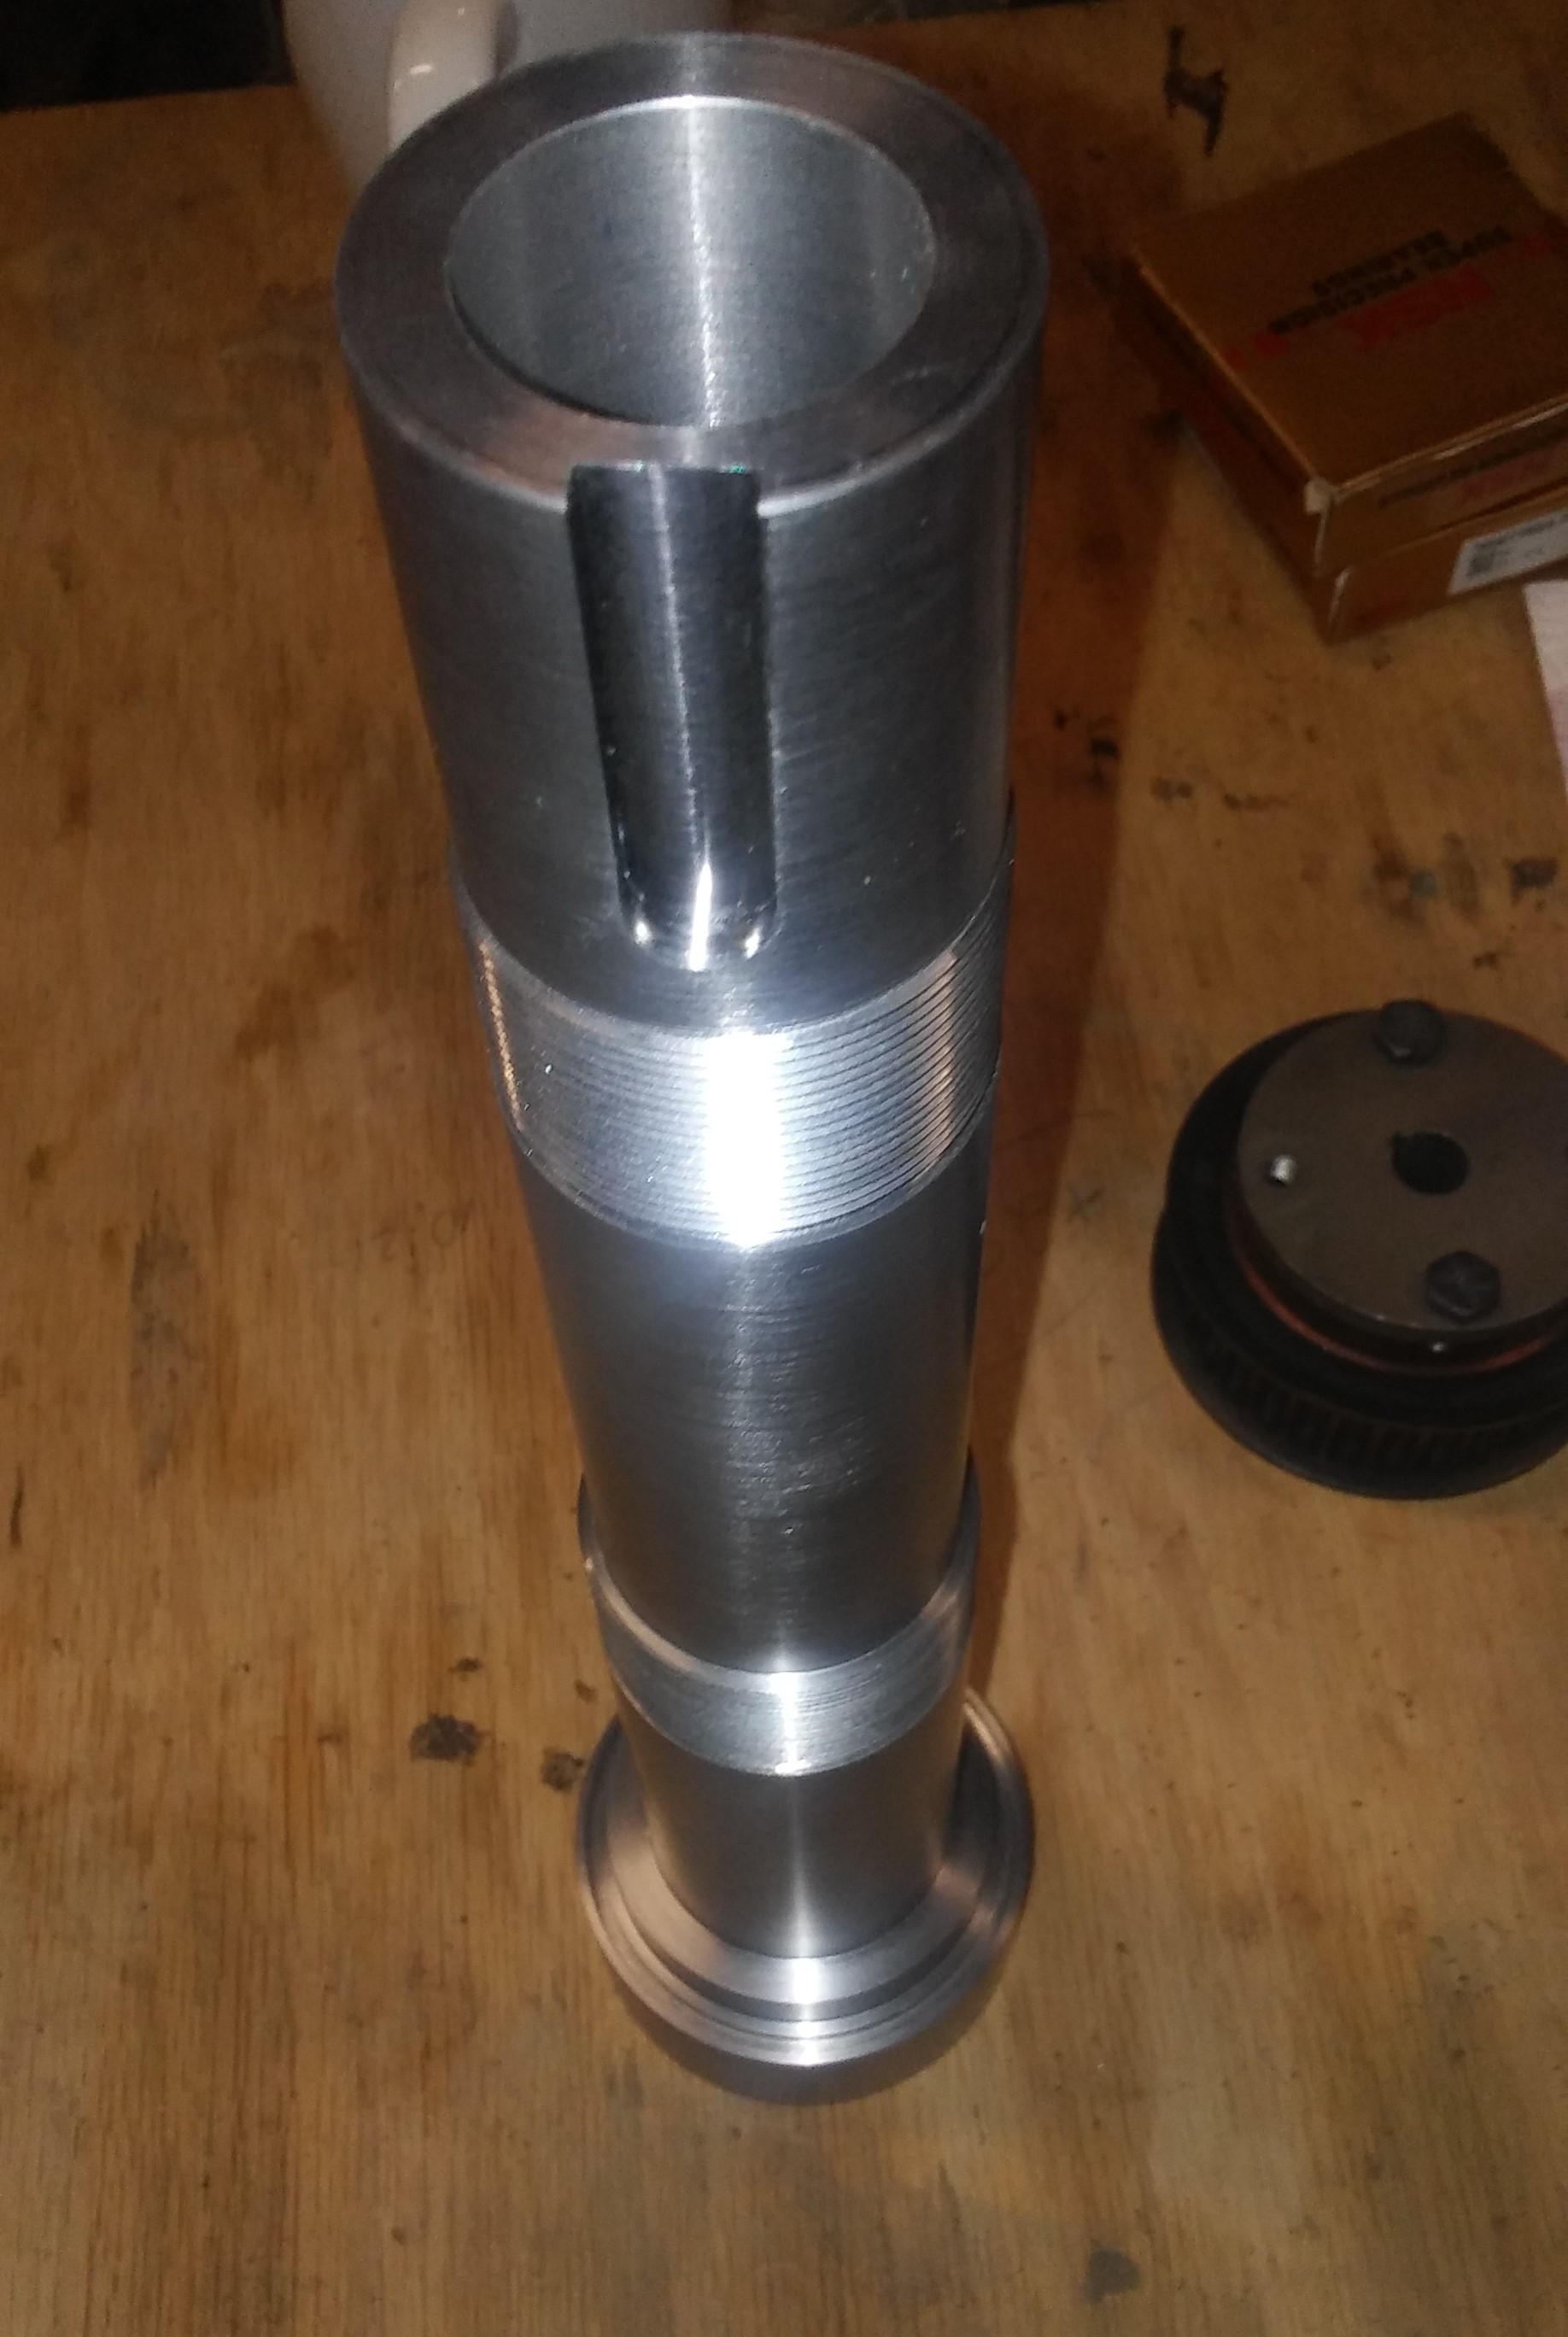 managed to finish up the shaft except adding the drive dogs, i will probably do that today but things work as they should now. i had to rework the bore behind the taper since it cut small the first time but it is fixed now, i'm not sure why but my guess is i had the boring bar out to far and it was pushing away from the cut, that part of the internal work is about impossible to check with bore gauges so it needed fixed regardless.
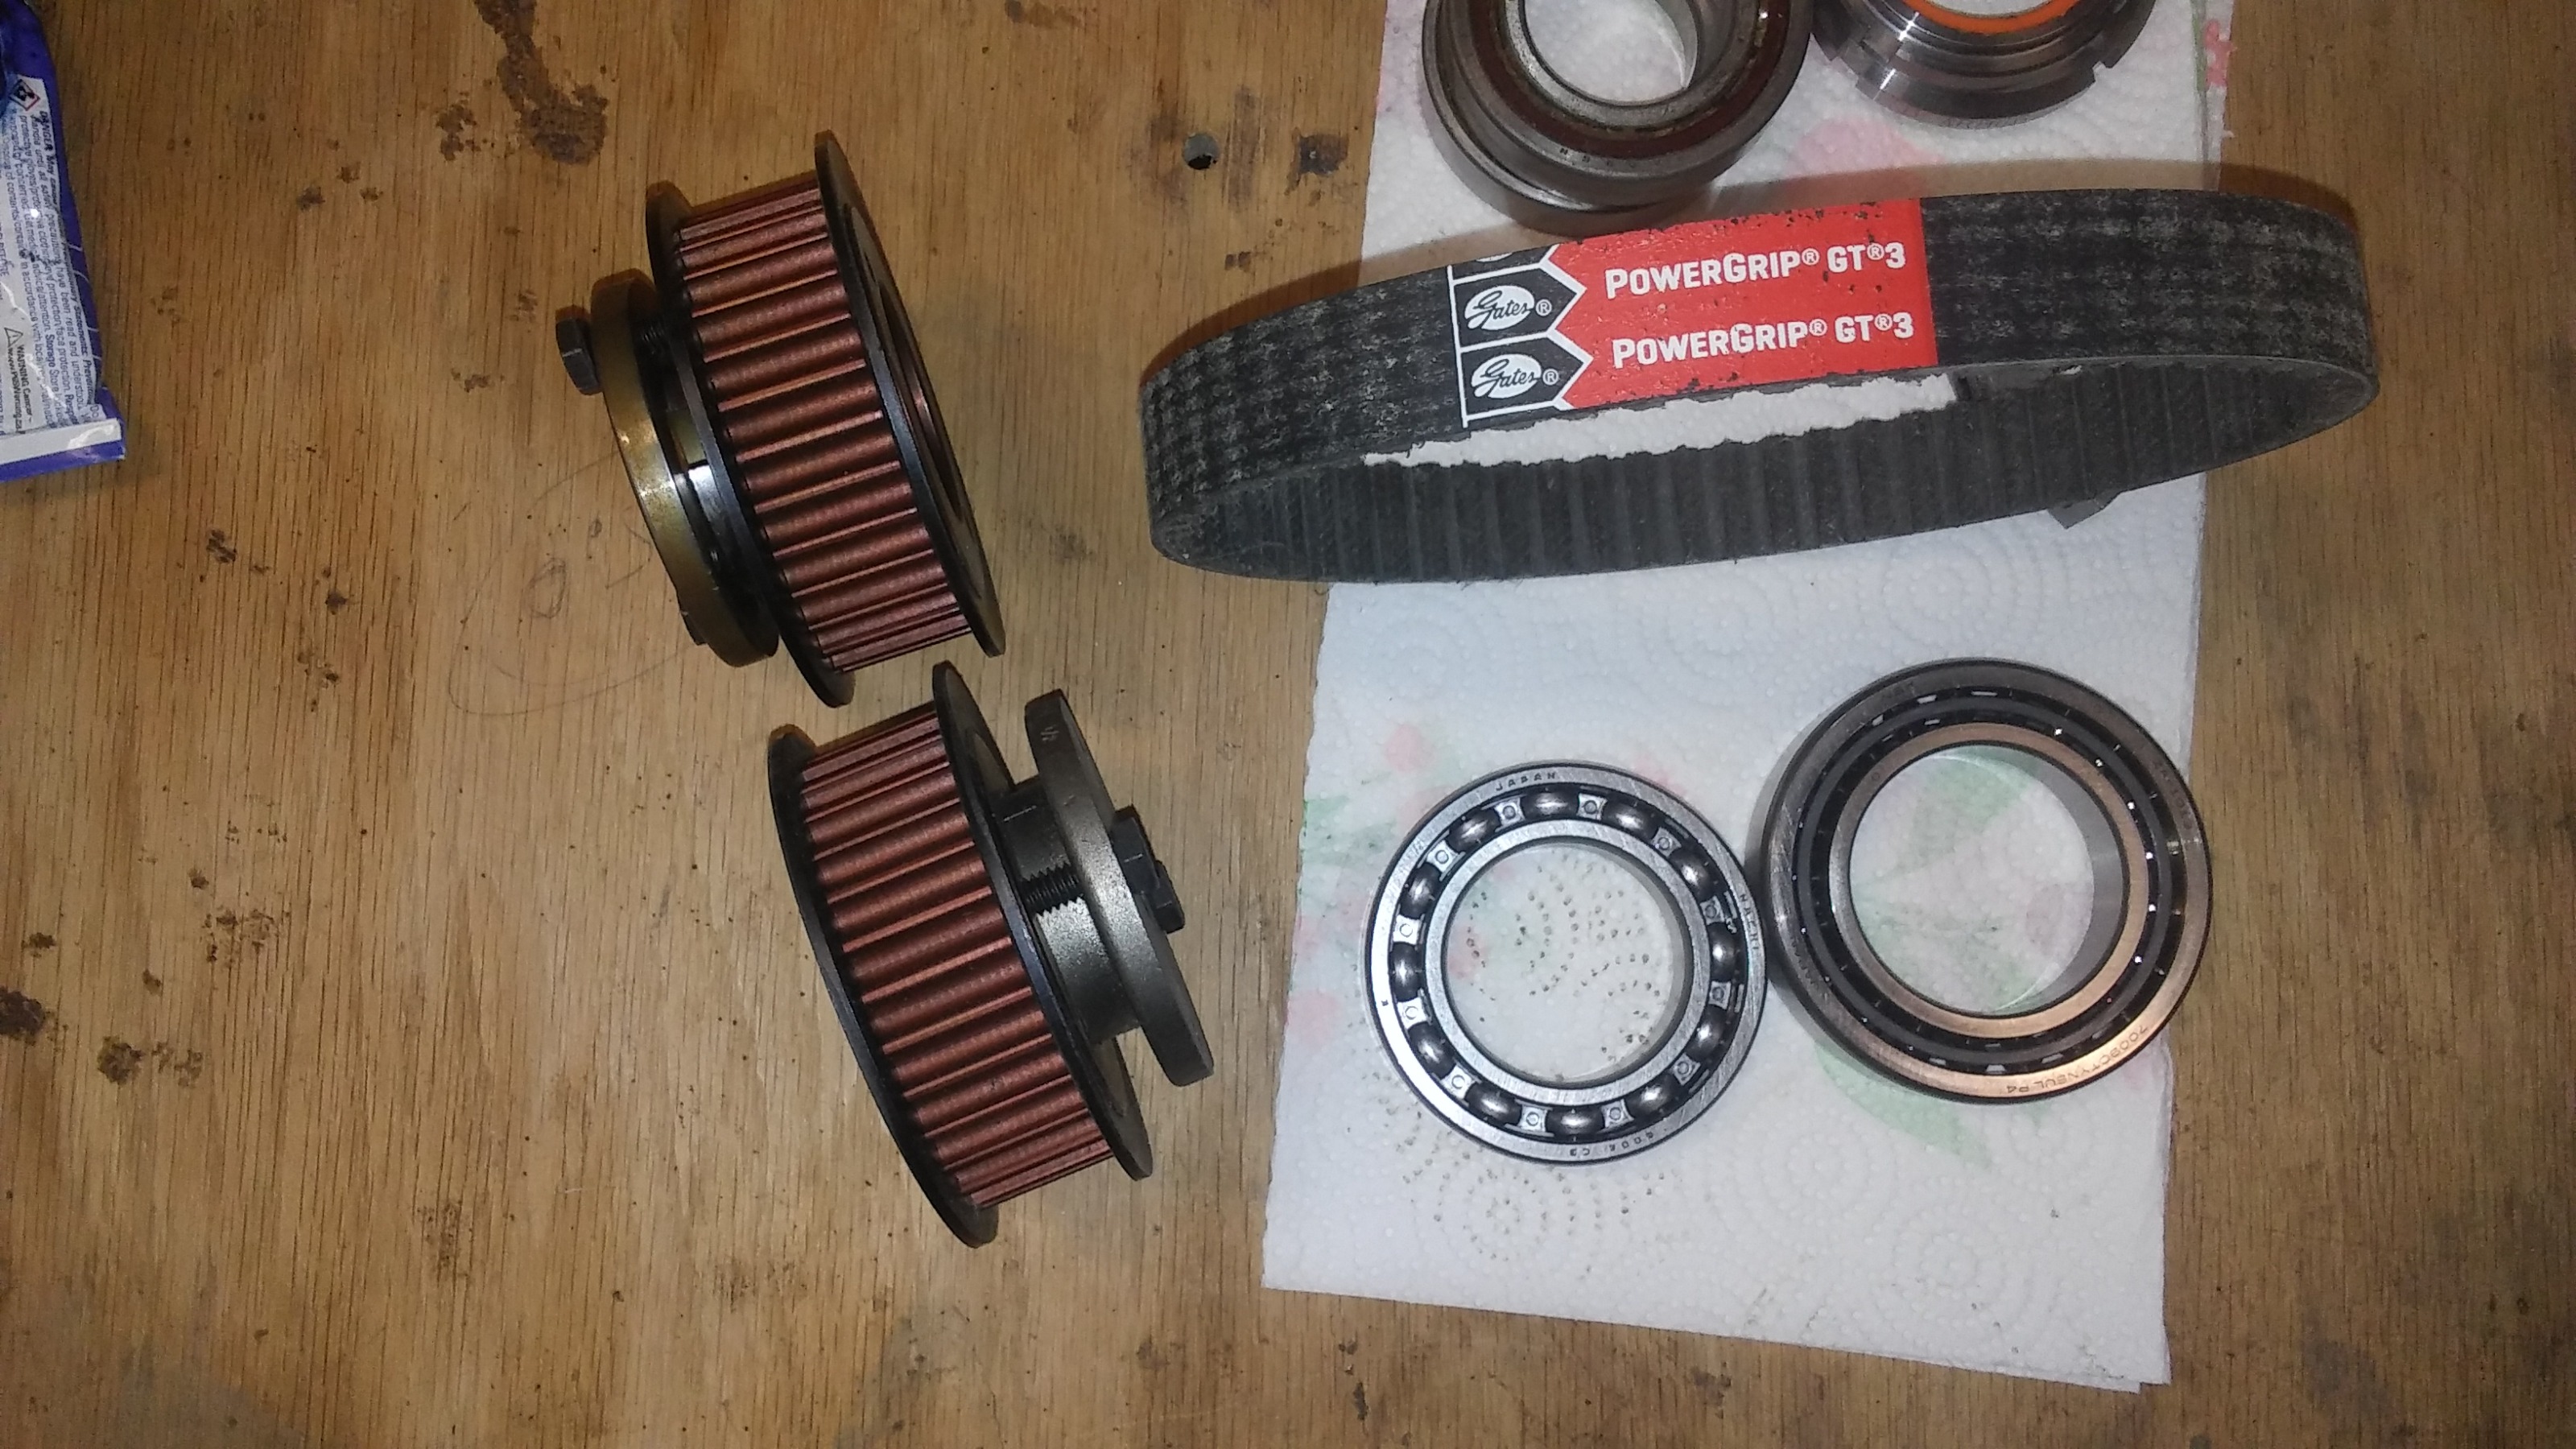
taper lock pulley fits so everything looks good so far. i started working on a labyrinth seal for the front end but it is slow going. only thing i could find to make it form was 316 S.S. which is a pain to drill with HSS drills and boring it out on the lathe is a pain just because i can't get a good chip when cutting and have nothing but stringers always something with this little tink toy of a lathe i have
Replied by machinedude on topic what to do with a free scrap dumpster find ?
taper lock pulley fits so everything looks good so far. i started working on a labyrinth seal for the front end but it is slow going. only thing i could find to make it form was 316 S.S. which is a pain to drill with HSS drills and boring it out on the lathe is a pain just because i can't get a good chip when cutting and have nothing but stringers
always something with this little tink toy of a lathe i have Attachments:
Please Log in or Create an account to join the conversation.
- machinedude
-
Topic Author
- Offline
- Platinum Member
-
Less
More
- Posts: 715
- Thank you received: 312
27 Nov 2021 20:13 #227774
by machinedude
Replied by machinedude on topic what to do with a free scrap dumpster find ?
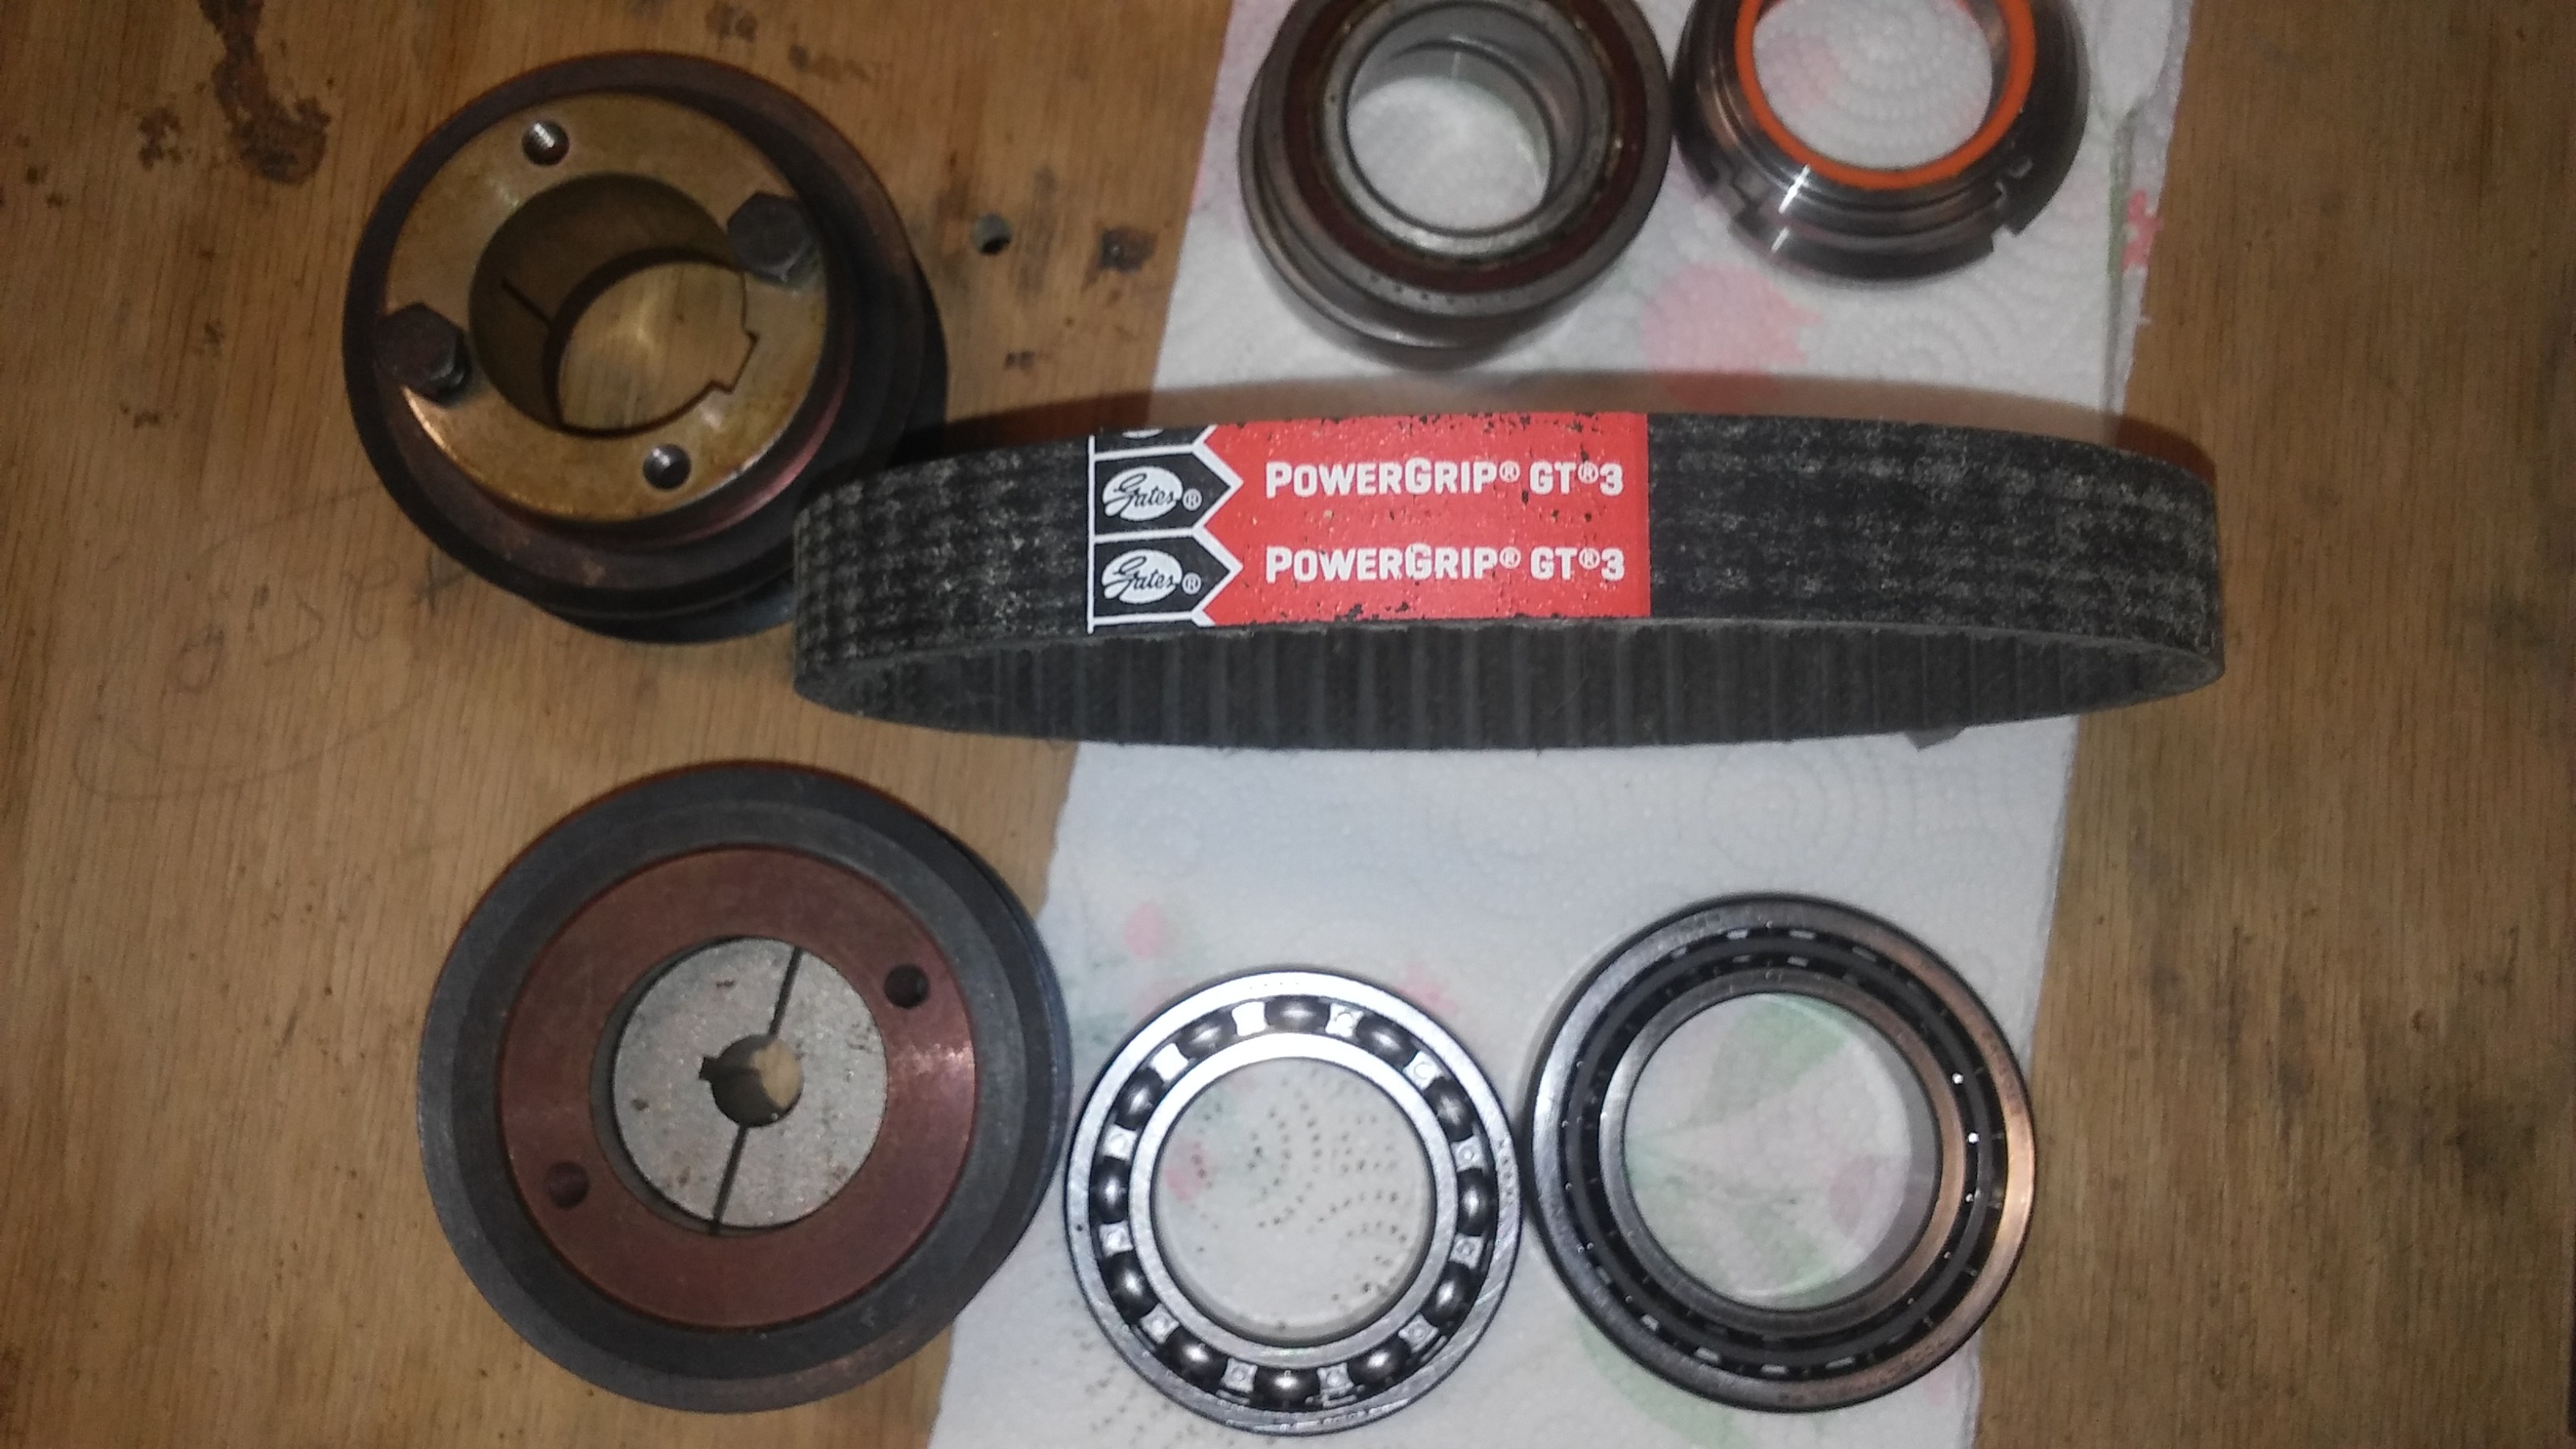
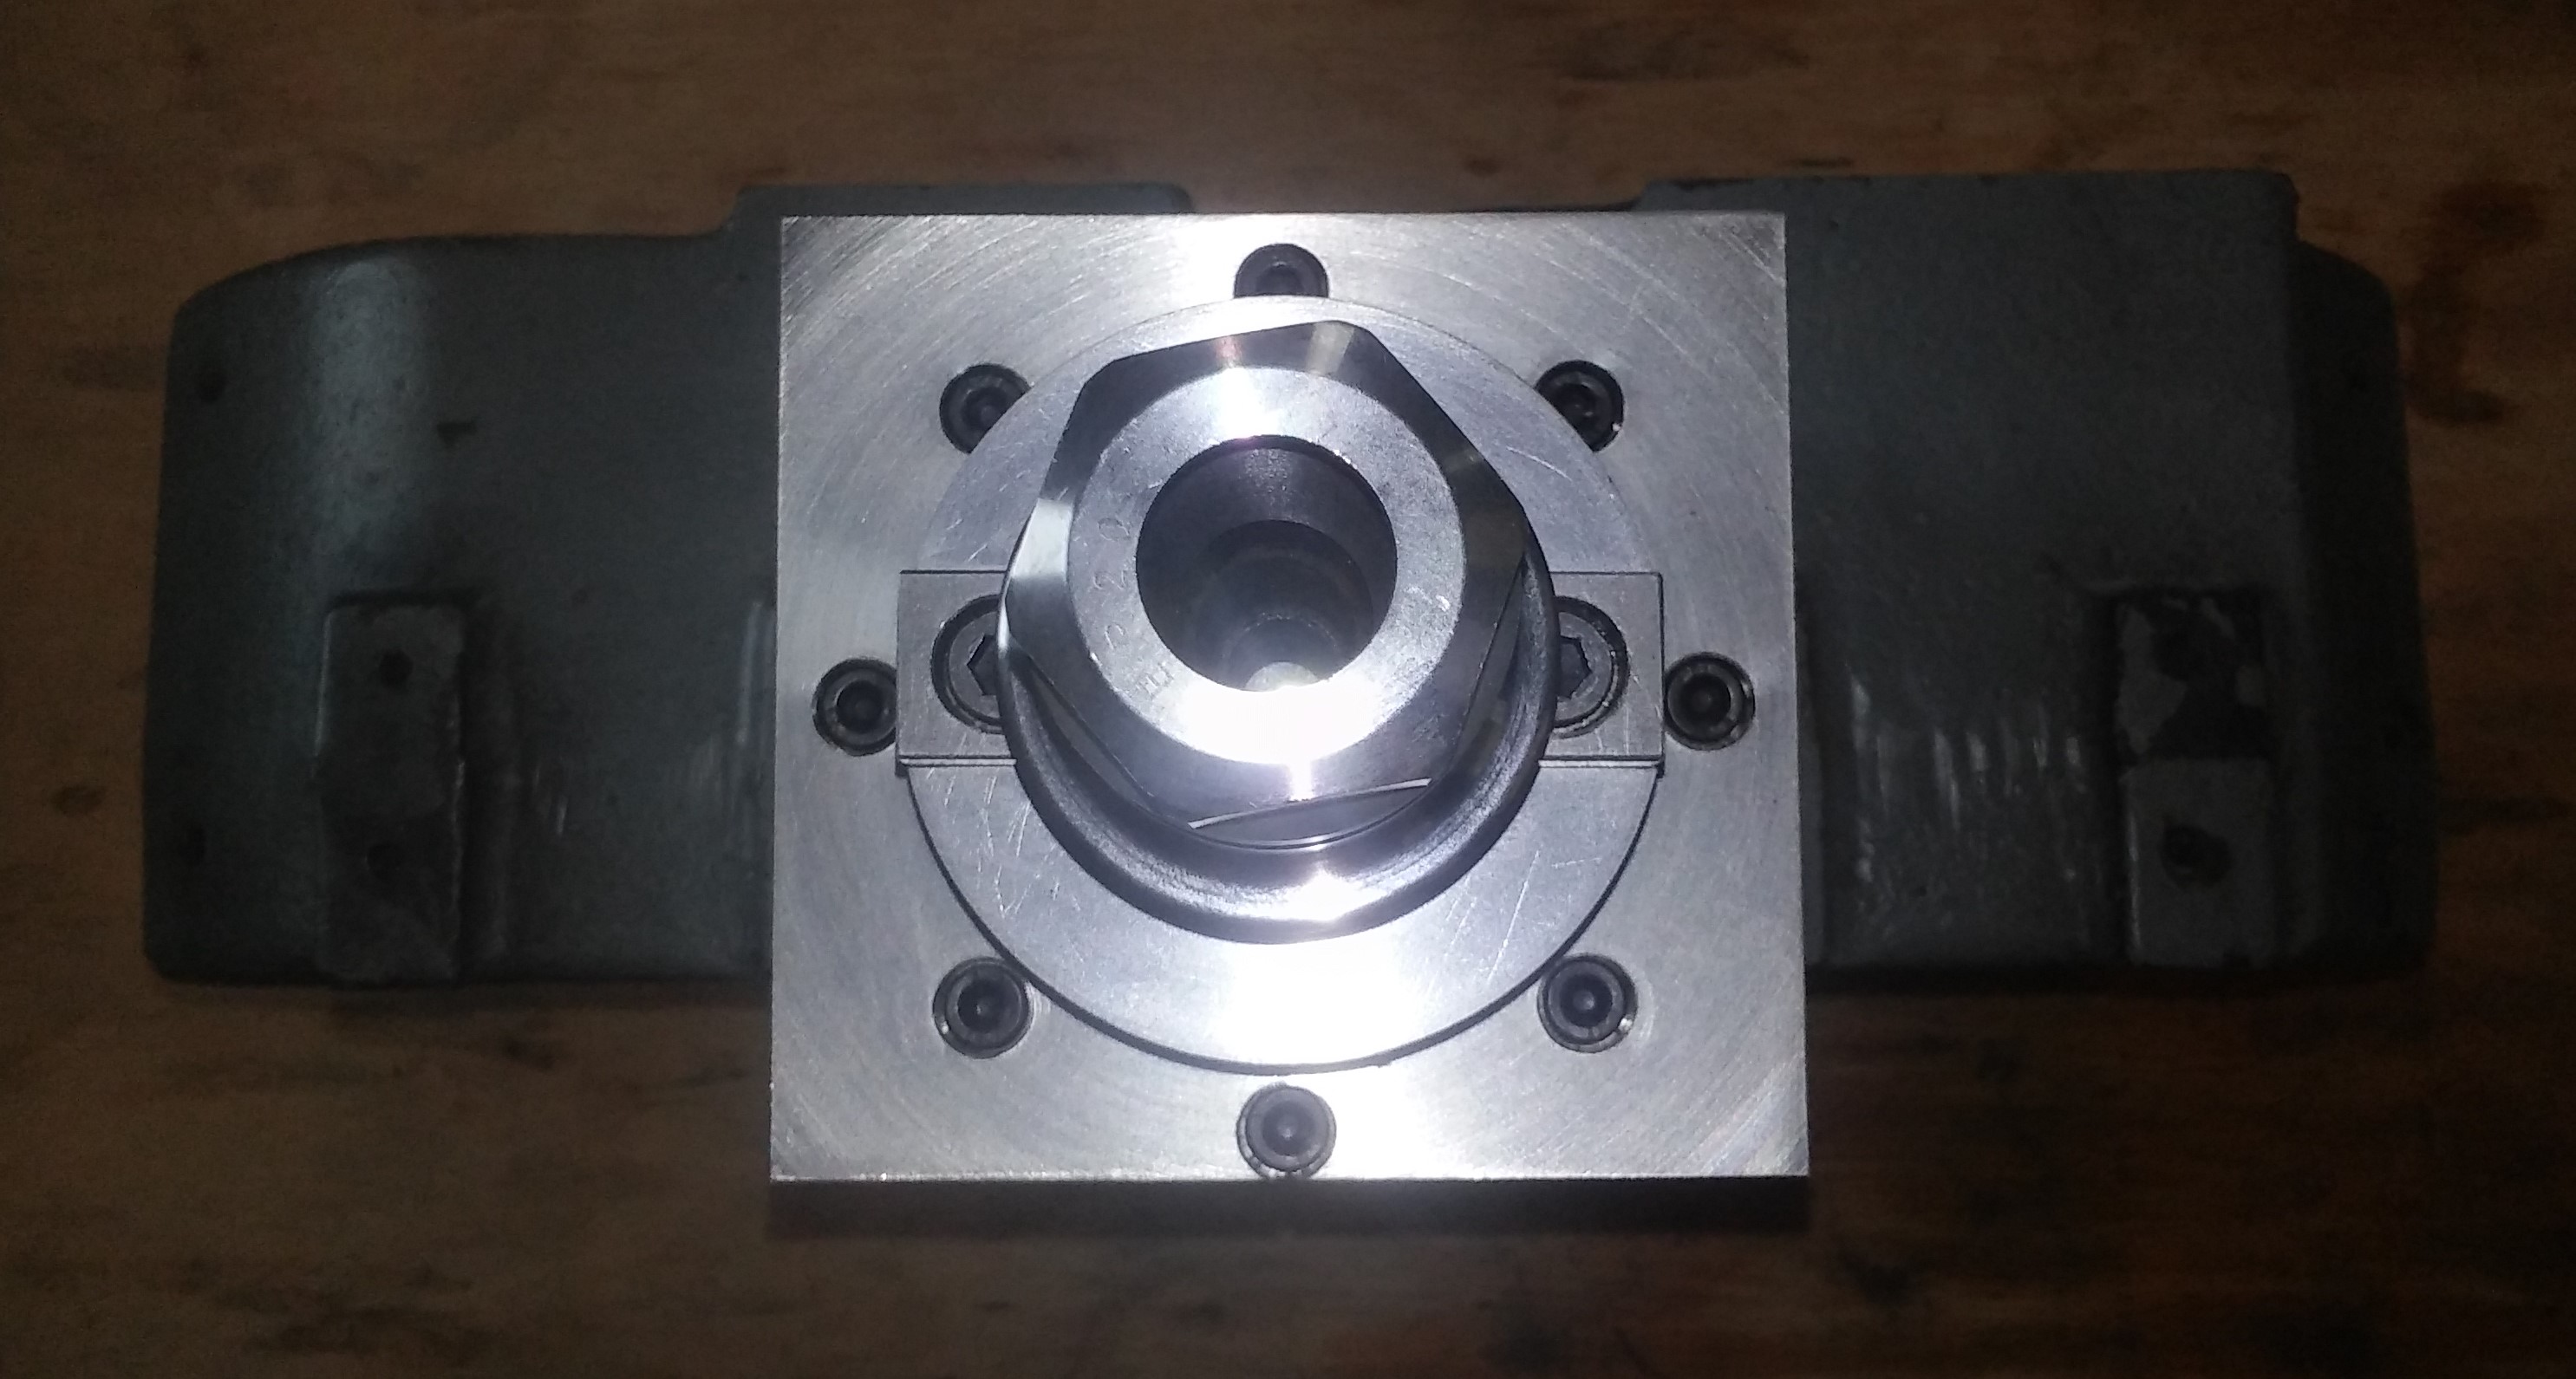
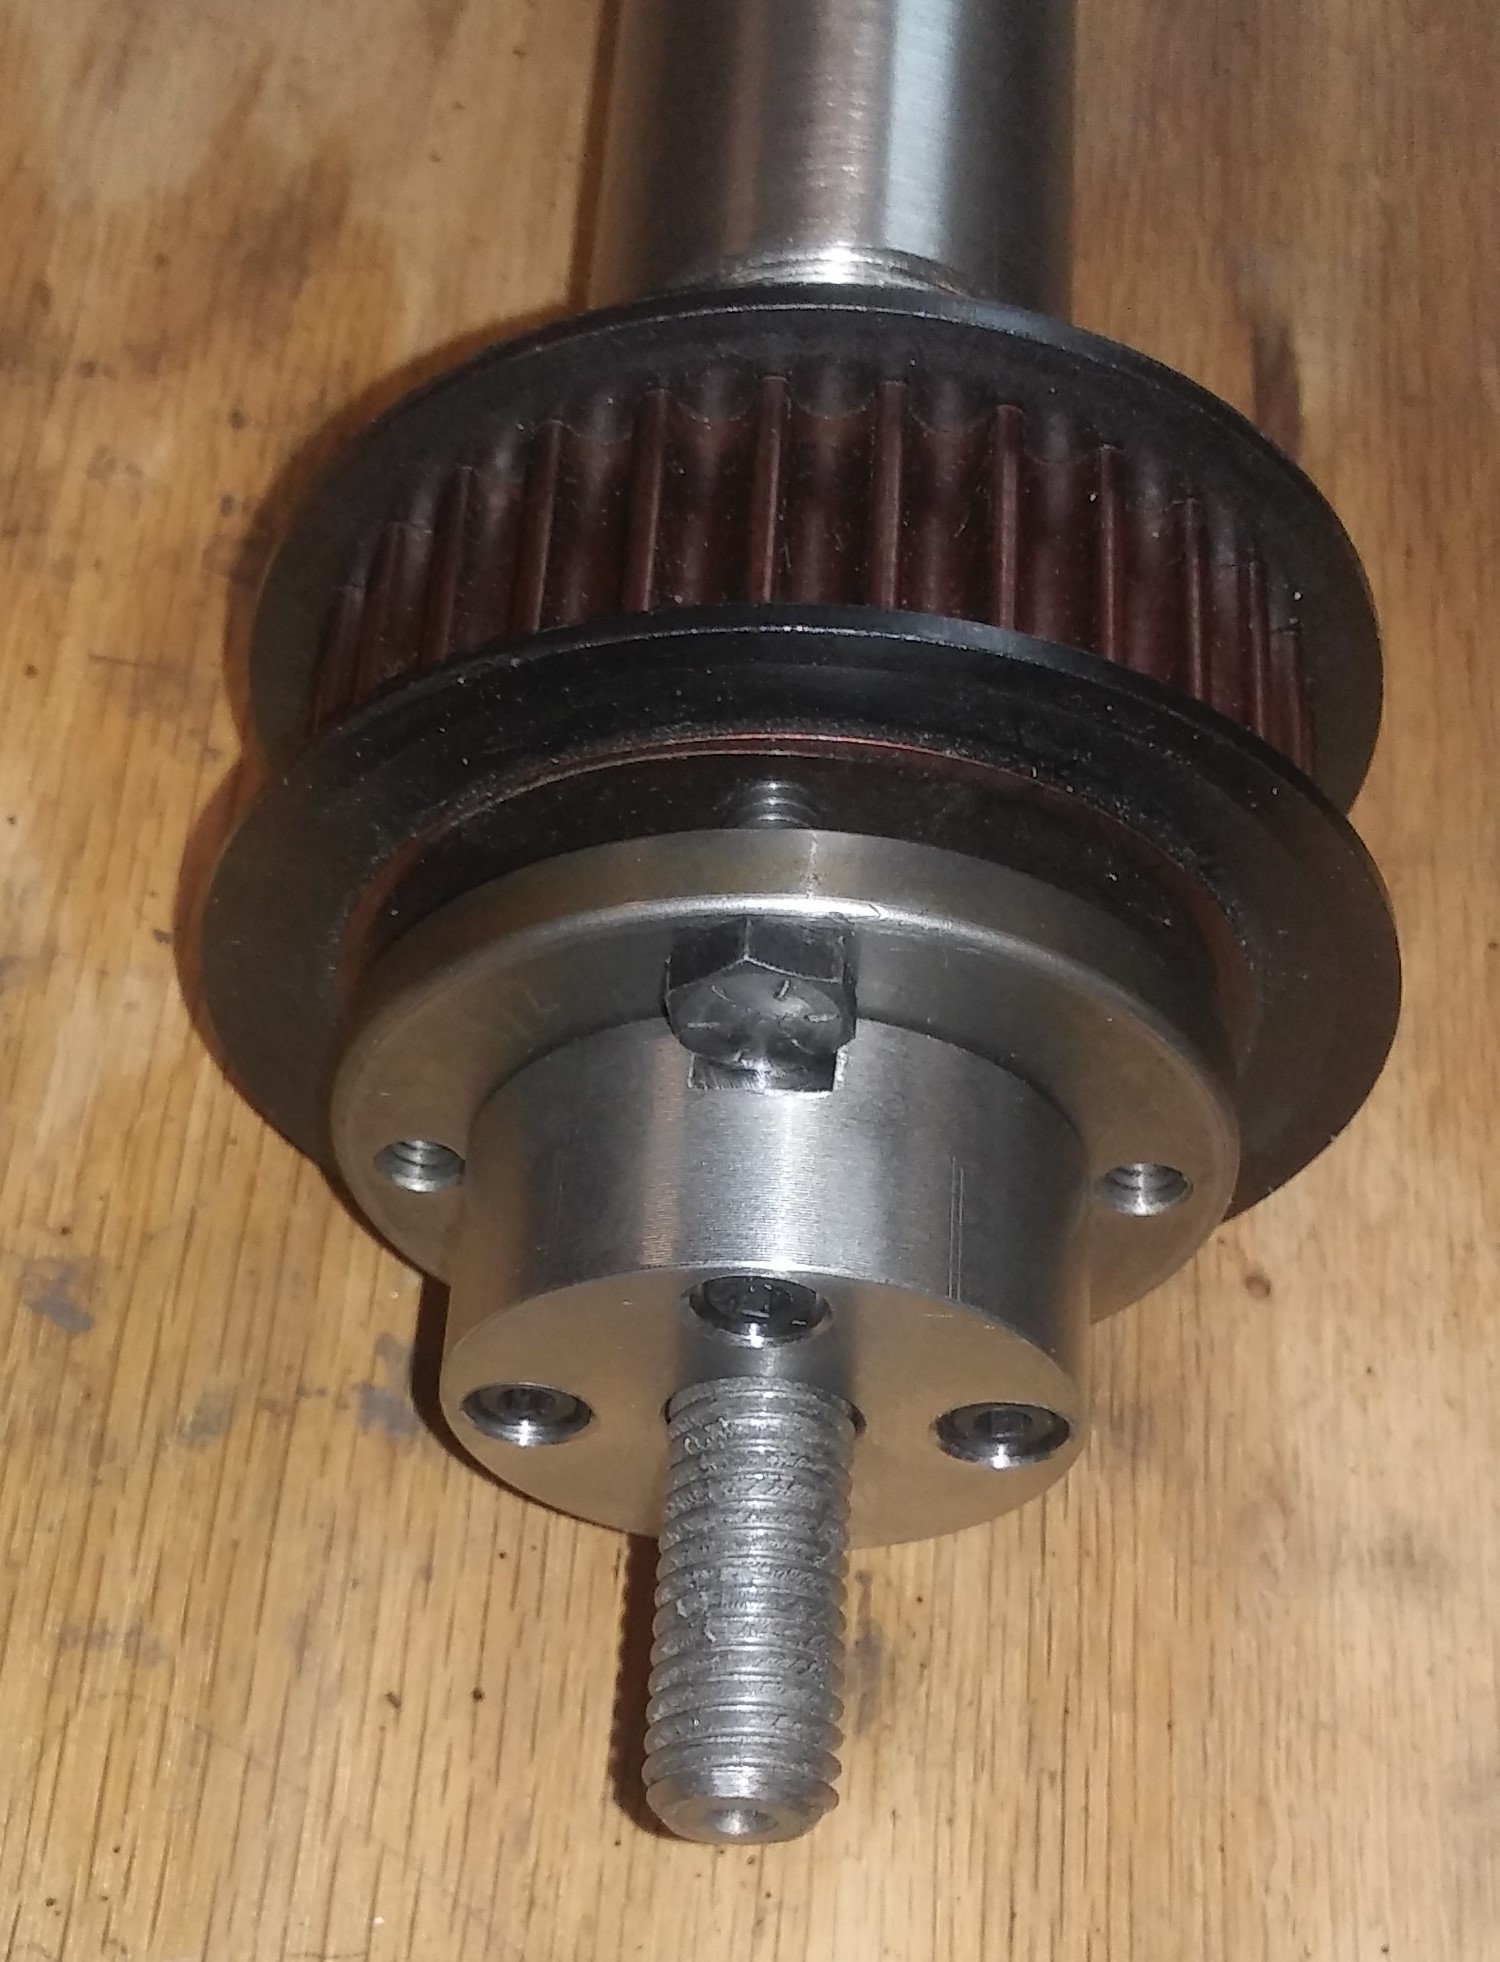
managed to get the drive dogs done and have my labyrinth seal finished and the mounting sorted out on the casting for the labyrinth seal. i will have to do a spring tension cap on the other end after thinking about it since i'm getting closer to that part. still have a bunch to do but at least now i can see how it will look when i'm done,

Attachments:
The following user(s) said Thank You: tommylight
Please Log in or Create an account to join the conversation.
- machinedude
-
Topic Author
- Offline
- Platinum Member
-
Less
More
- Posts: 715
- Thank you received: 312
28 Nov 2021 19:20 #227834
by machinedude
Replied by machinedude on topic what to do with a free scrap dumpster find ?
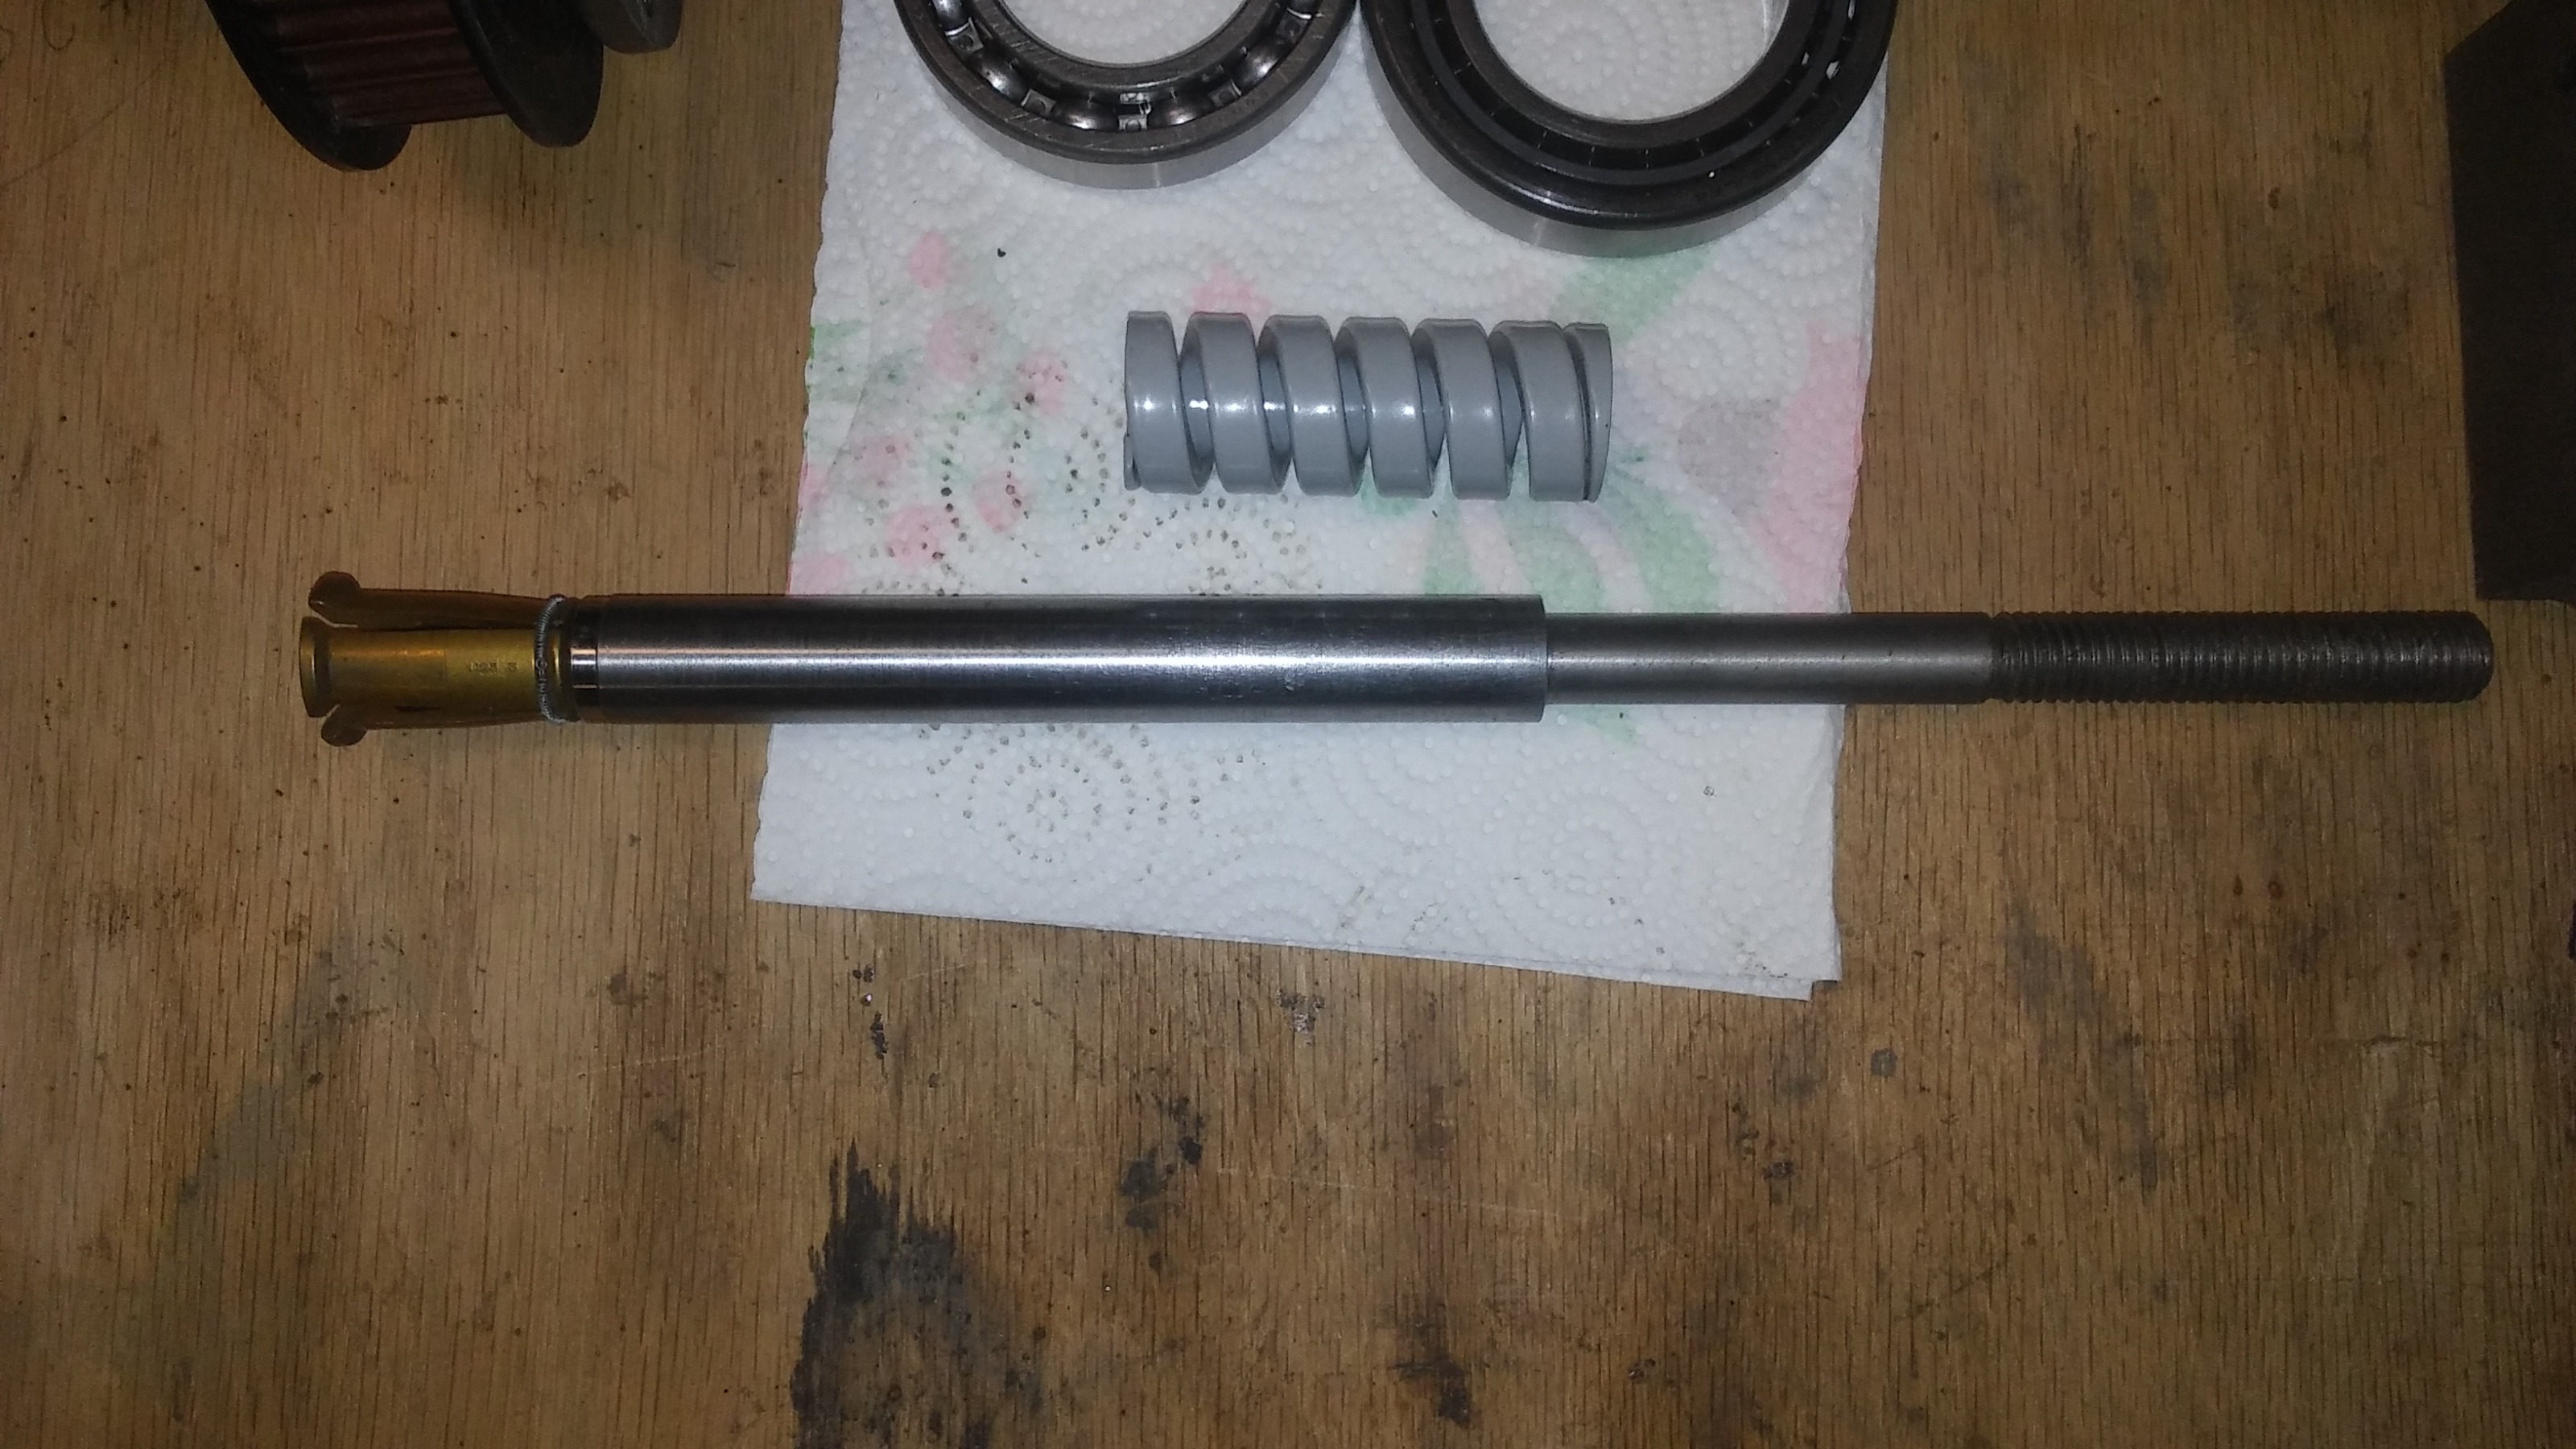
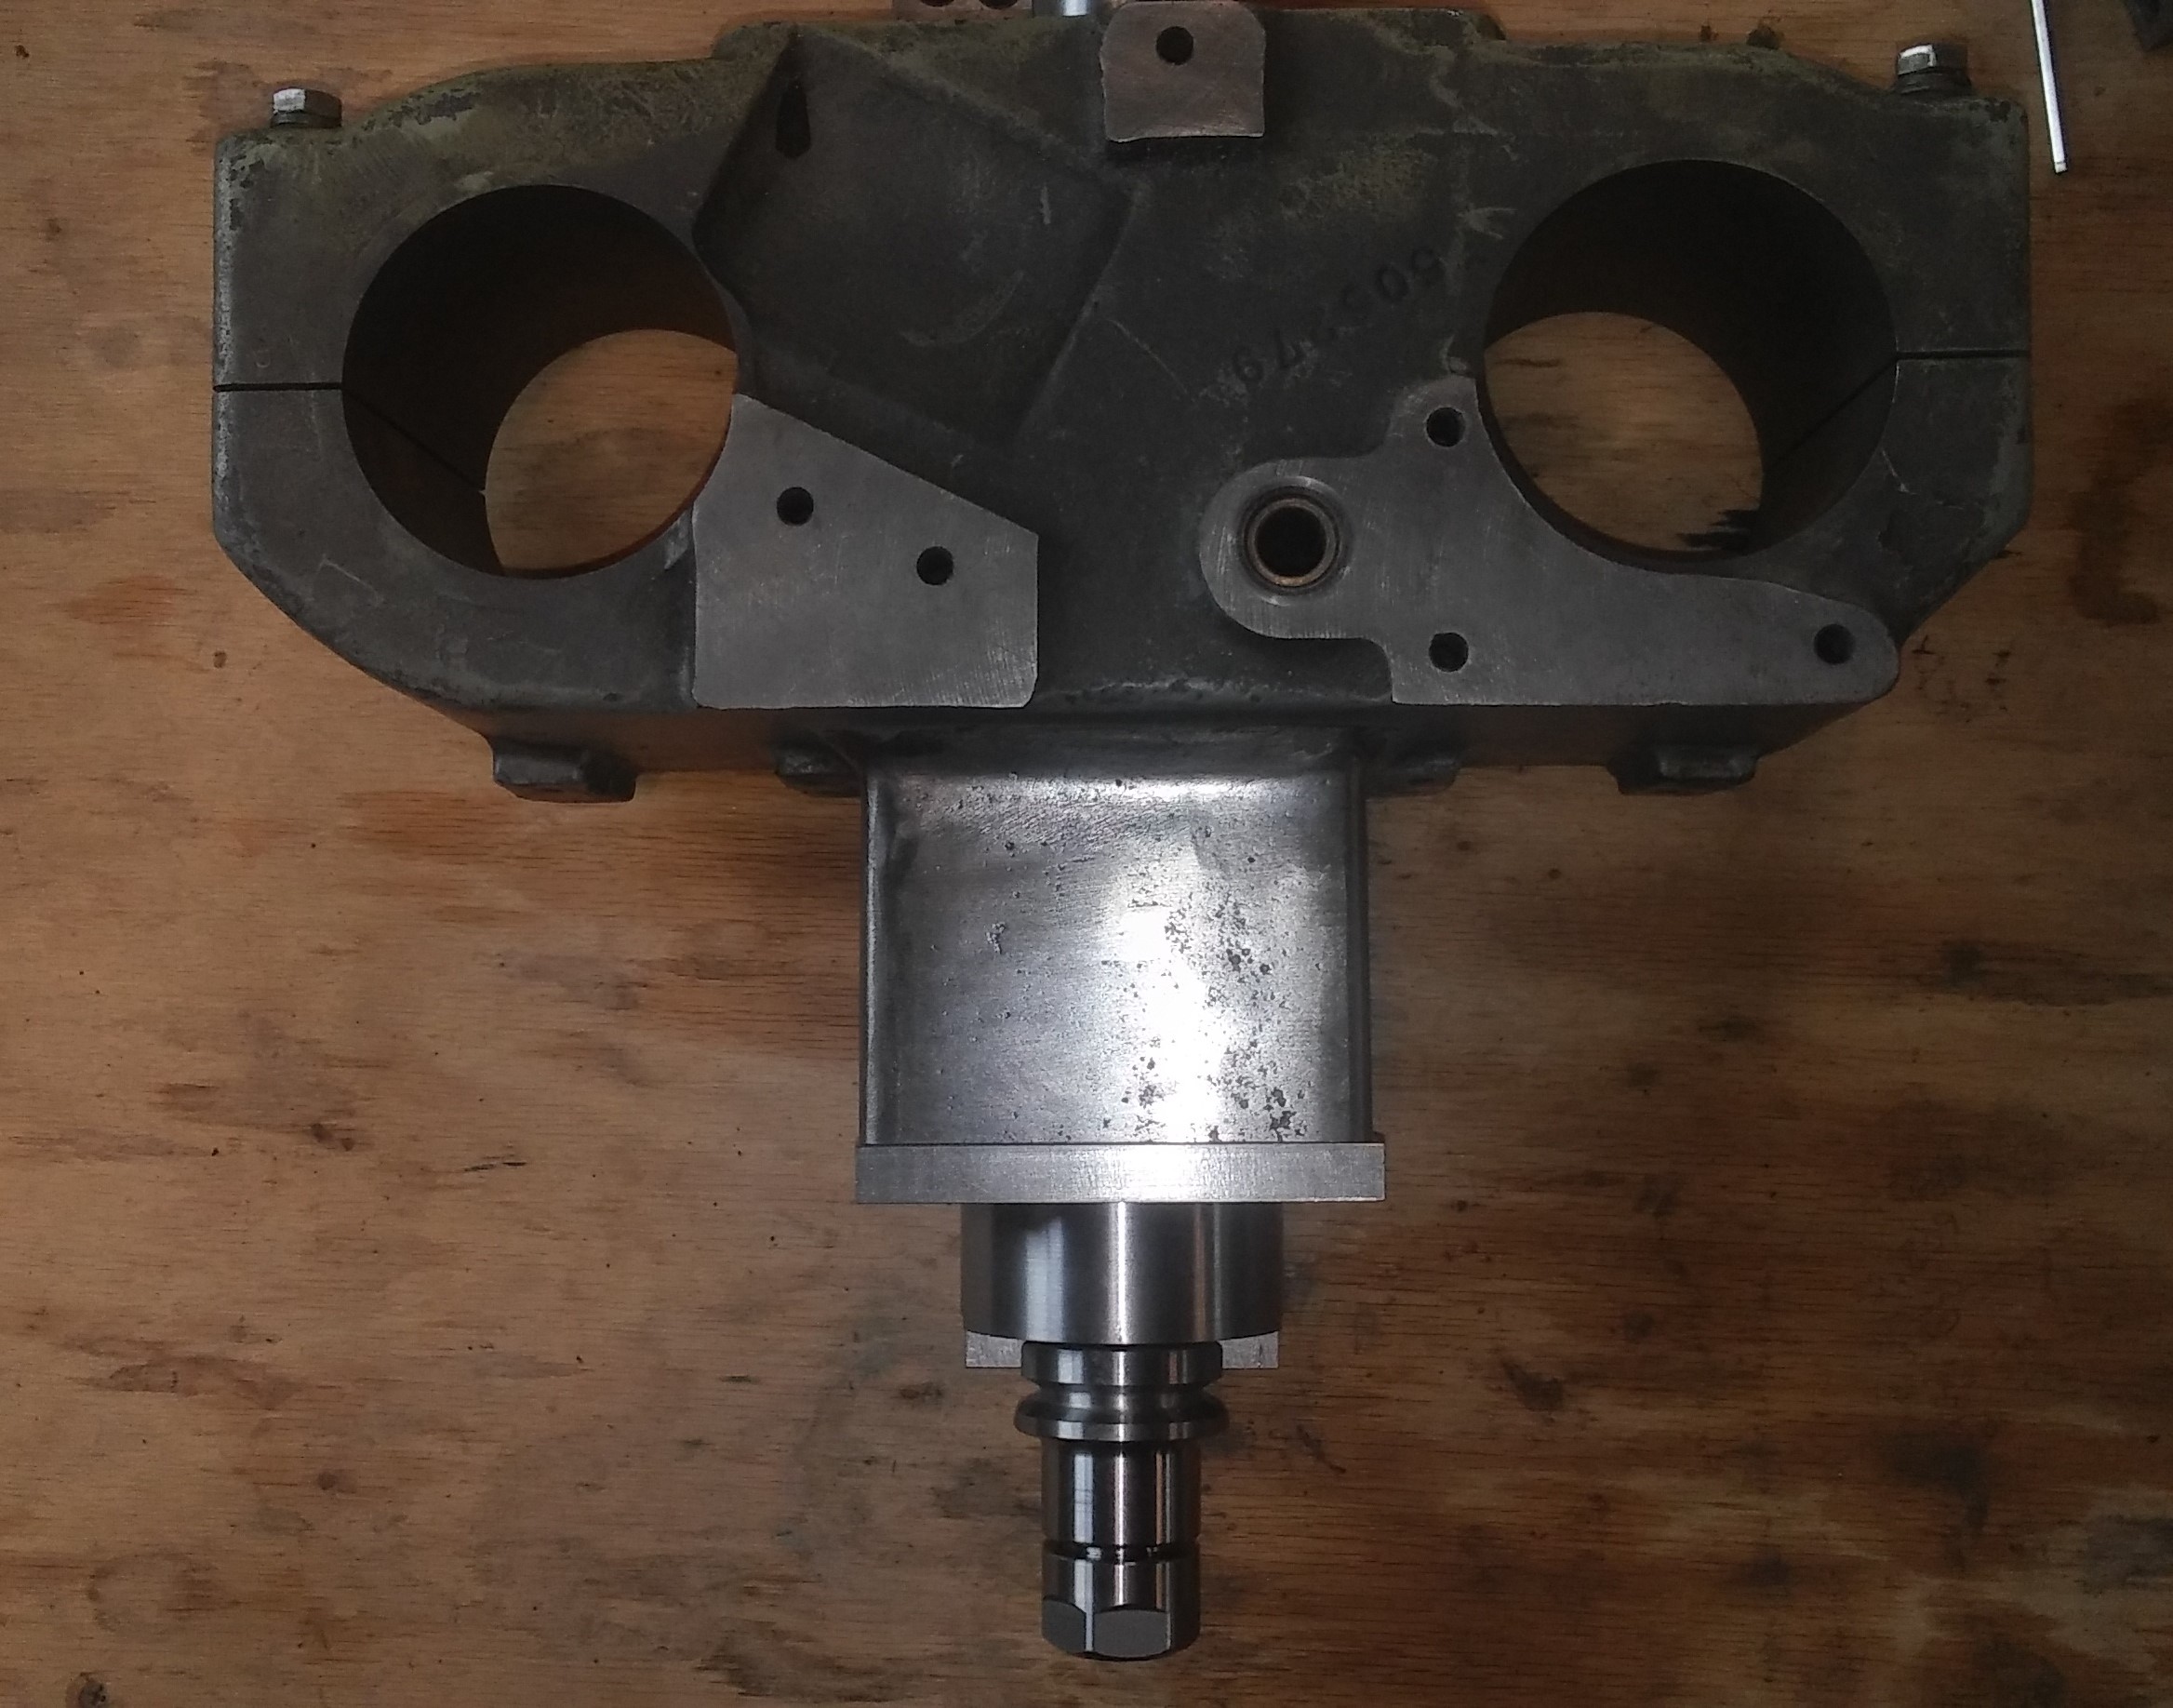
i cut my day short yesterday since my foot was hurting but felt pretty good today so i wanted to get something done today before going back into work tonight. i got the end work on the shaft finished and made the cap to hold the compressed spring in place so all is good. i ended up cutting some slight clearance on the bottom of the cap because i did not account for the bolts sticking up on the taper lock pulley. got that sorted out and since the draw bar was in place i checked the travel needed for the ejection stroke of the draw bar. what i noticed was the stroke was long so i will be reworking the ID of the shaft again 
i have the spring travel as is but the extra ejection length takes away from the actual holding force in the end. so the shorter the ejection stroke the better. it stinks i have to rework it again but it's better to catch it now before any bearings are in place so that part is a plus at the very least.
one other thing i will add is a threaded cap to the end of the draw bar so when the air cylinder does the ejecting it's not messing the treads up on the end of the draw bar. once i get the ejection stroke length nailed down i can shorten the end of the draw bar. i made it longer so i could sort this out later
Attachments:
Please Log in or Create an account to join the conversation.
Time to create page: 0.610 seconds